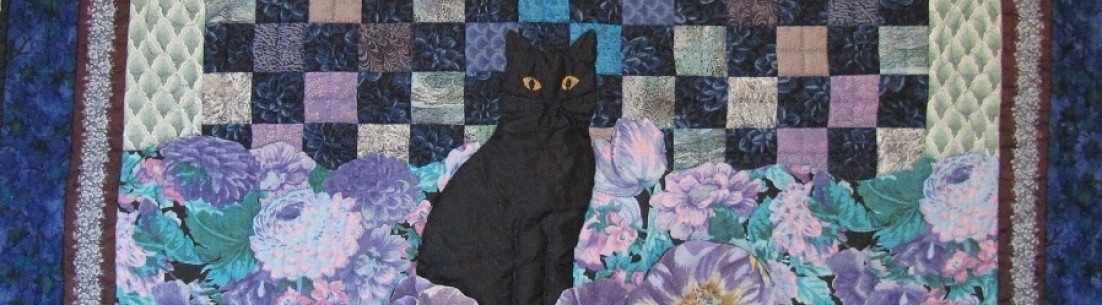
Here is the tutorial several readers requested in December, 2012, for finishing a quilt (usually a baby quilt) with rayon blanket binding. It’s easy, and it really is a favorite for those little fingers to stroke. The width does require a few design considerations, but applying it is quicker than making and sewing on regular binding, even if you do yours all by machine. I don’t know if there is a “better” or more standard way to attach this binding, but this is the way I do it, and I’m always satisfied with the result.

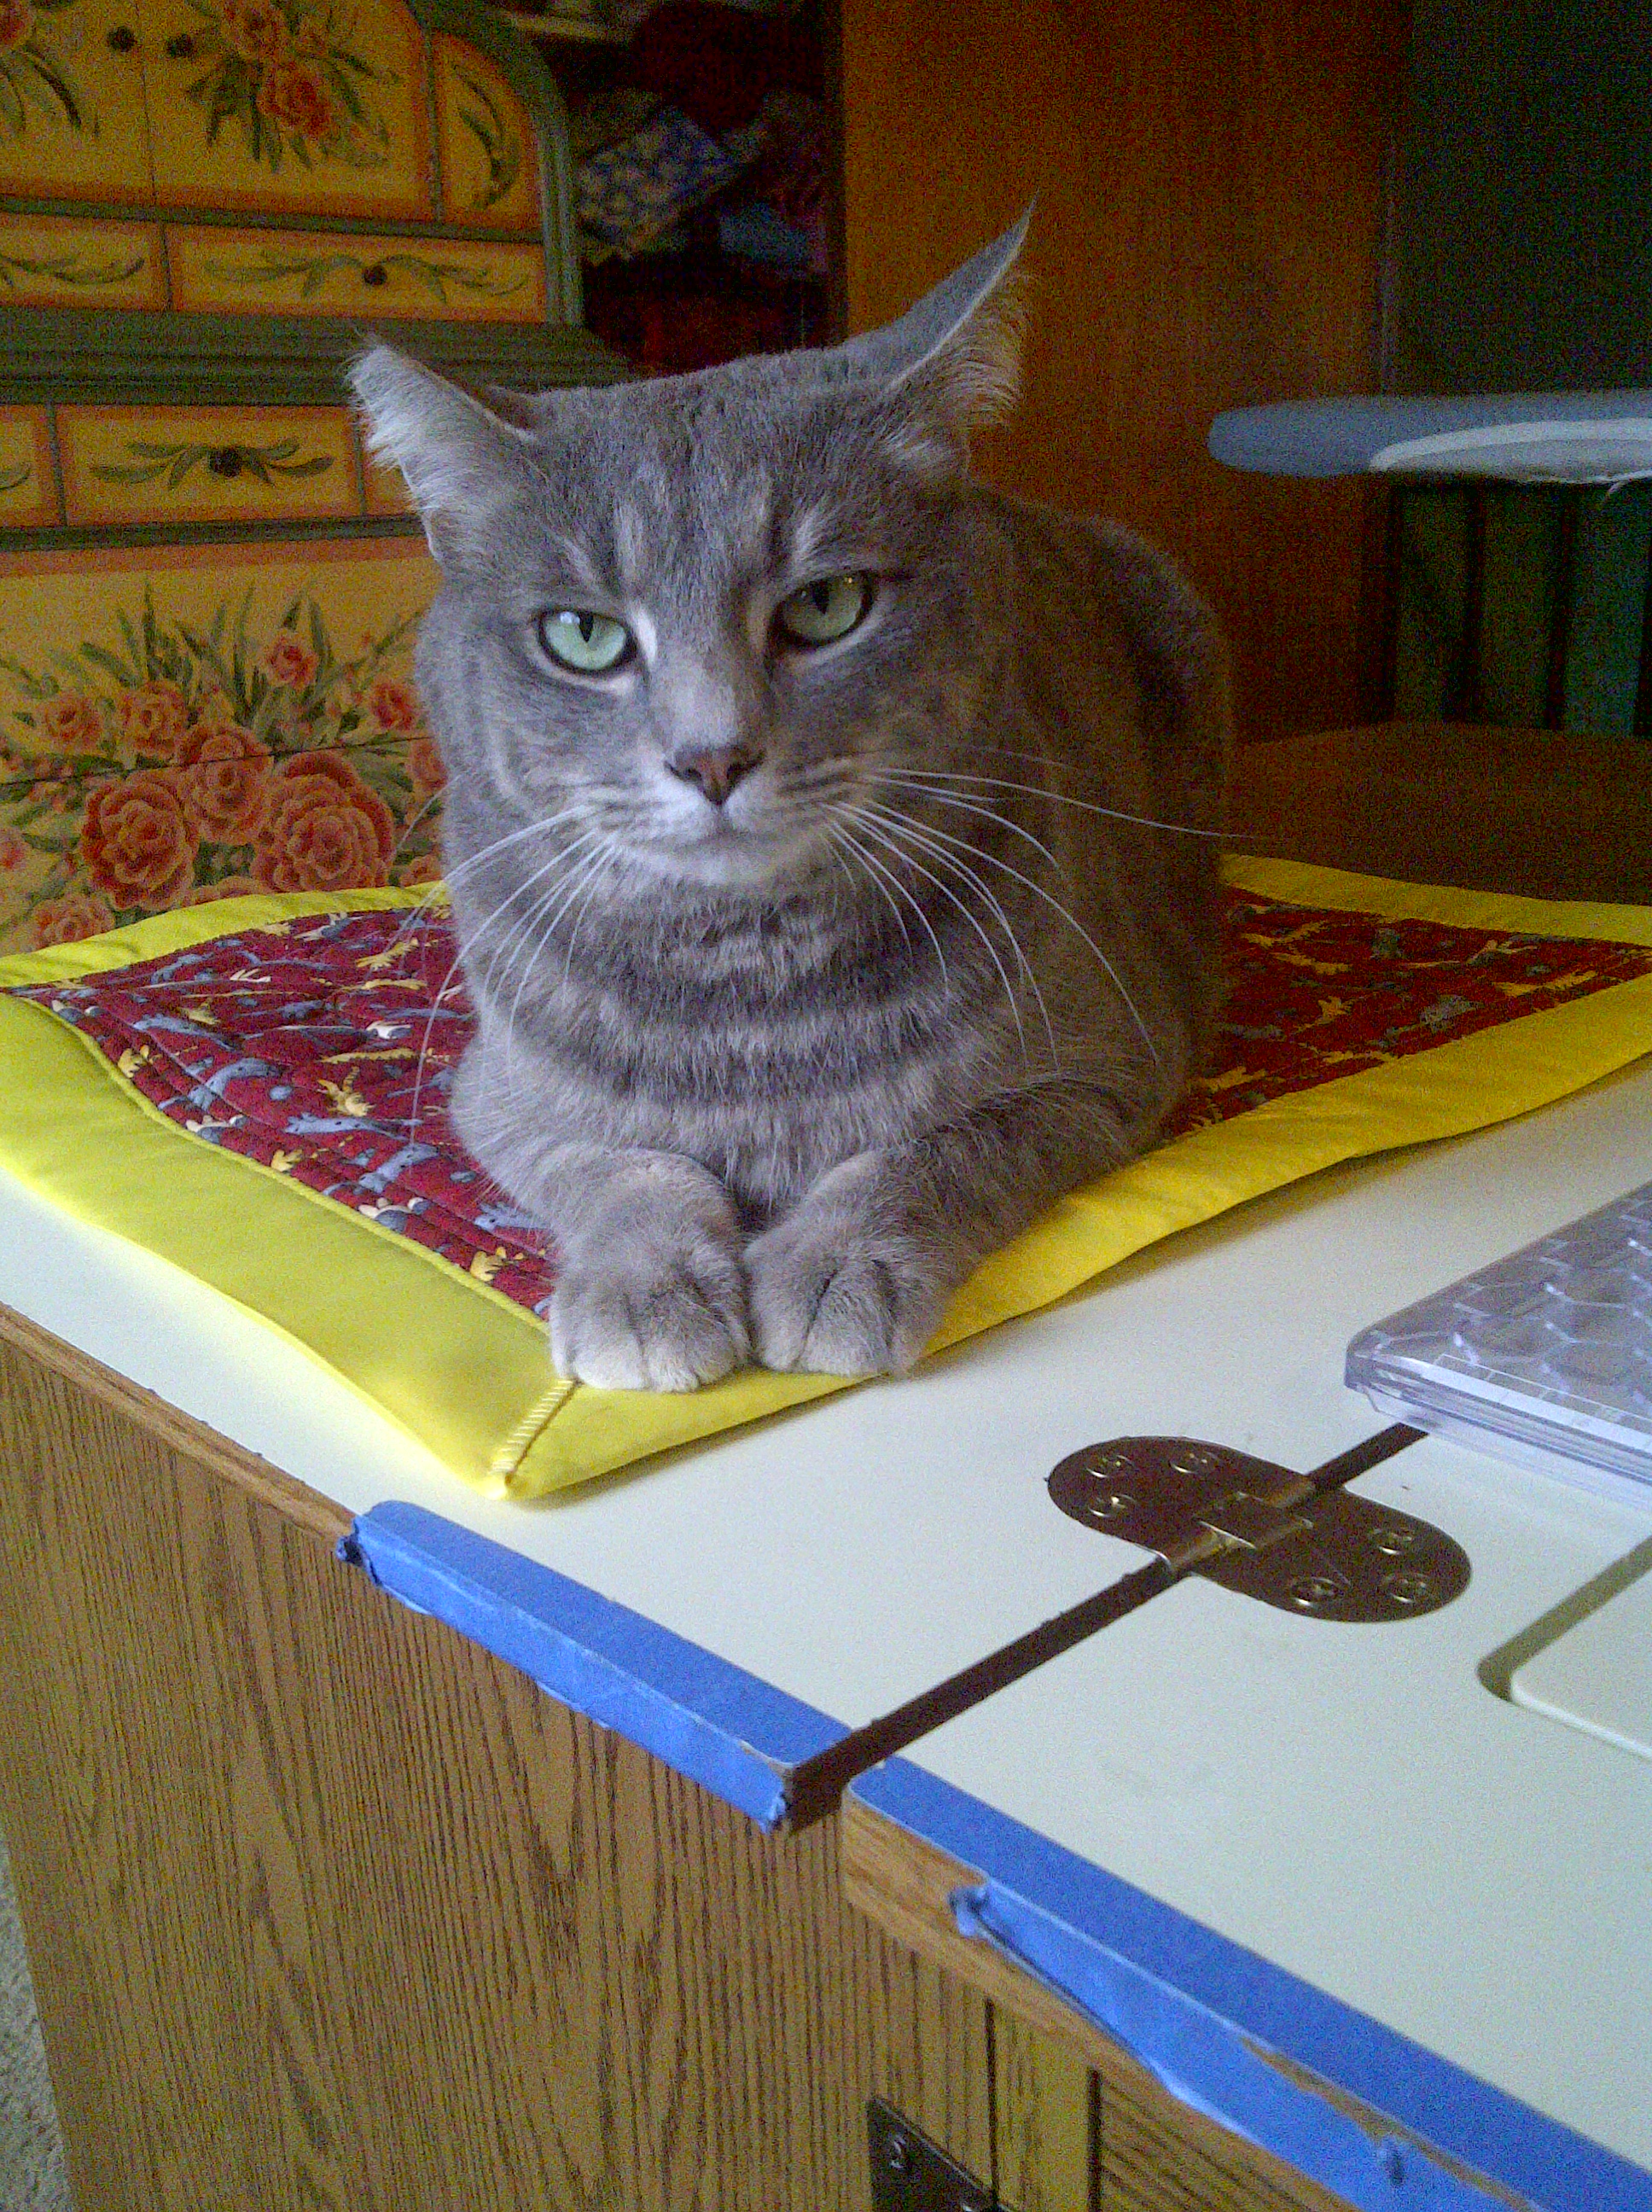
For demonstration purposes, I chose to make a cat mat. My cats don’t really need an additional mat (it will keep your furniture clean), but I needed to use up this frisky cat print fabric and this..ahem…bright yellow blanket binding that has never complimented anything else.
Design Considerations
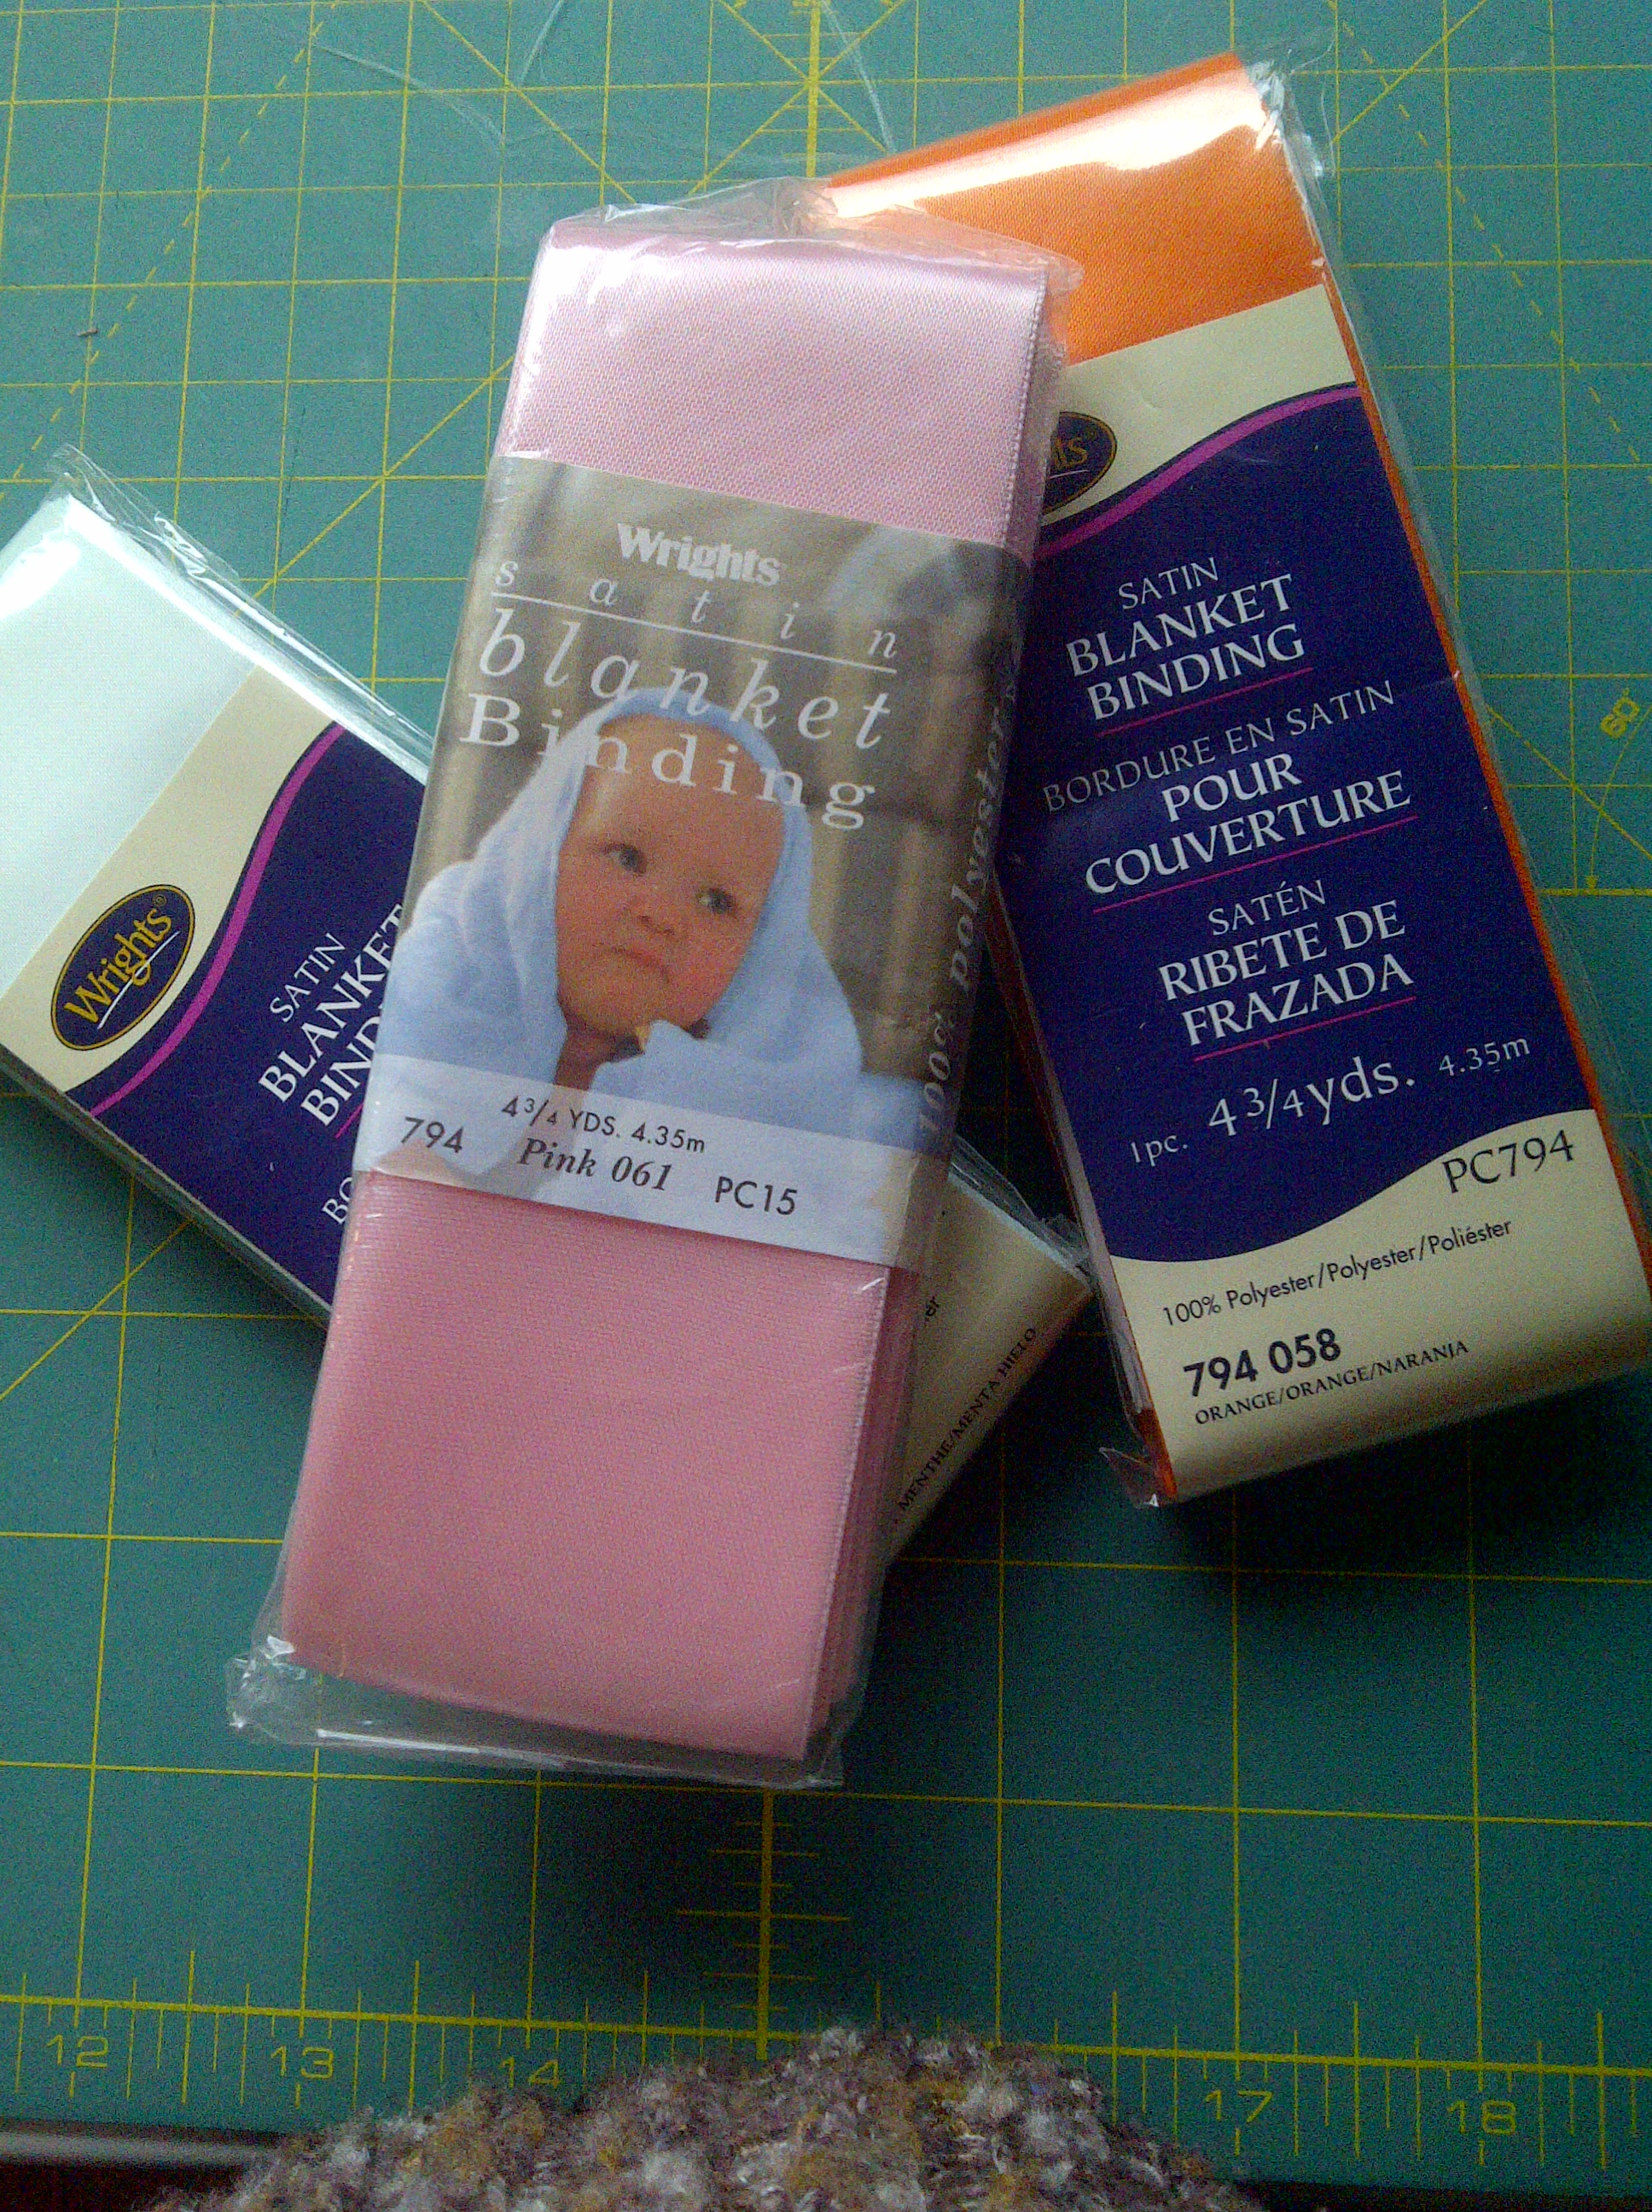
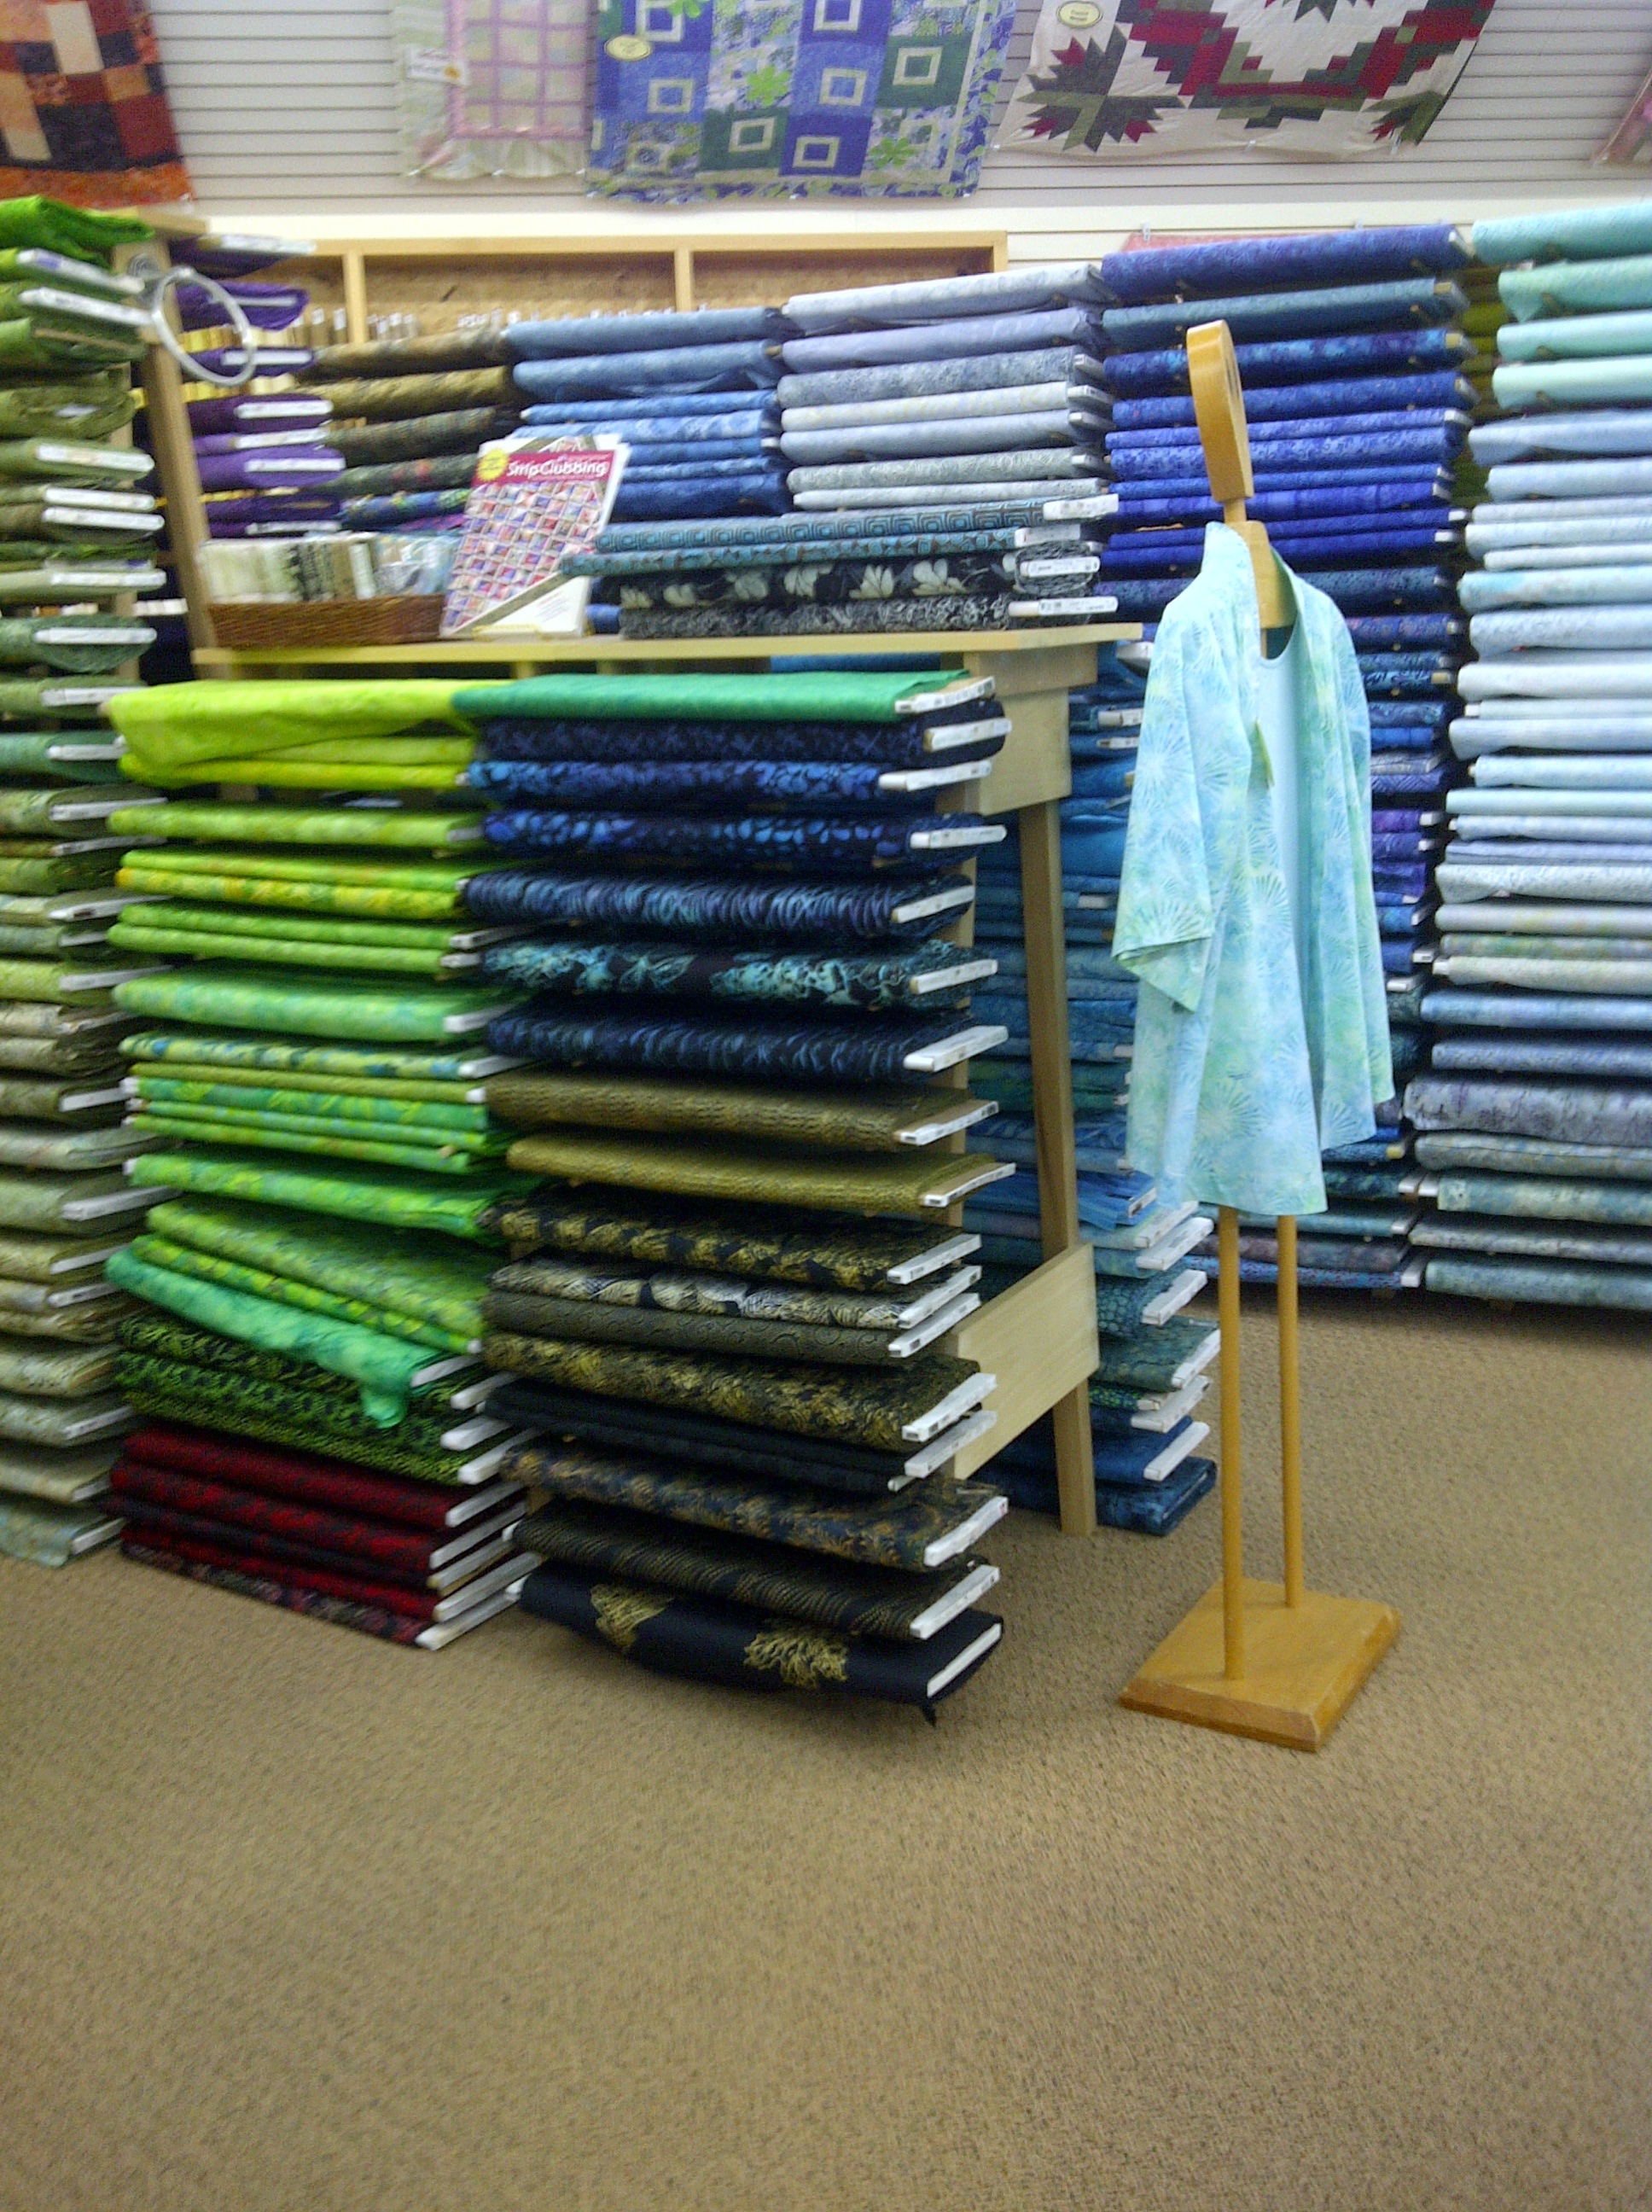
Blanket binding is nearly two inches (four inches folded in half) of solid color around your quilt. While it doesn’t have to be nearly as loud as this example, it does add a lot more color and is a much stronger design element that narrow binding. Be sure to addition your binding to make it accentuate the rest of the quilt, and be aware that there are several shades of most colors available. Wrights make several shades of pink, for instance, and I think the dye lots vary, so you should be able to find the perfect one. One package contains 4 3/4 yards, which is perfect for the size baby quilt I usually make, 36″ x 42″. If your quilt is larger, be sure both/all of your packages really match each other.
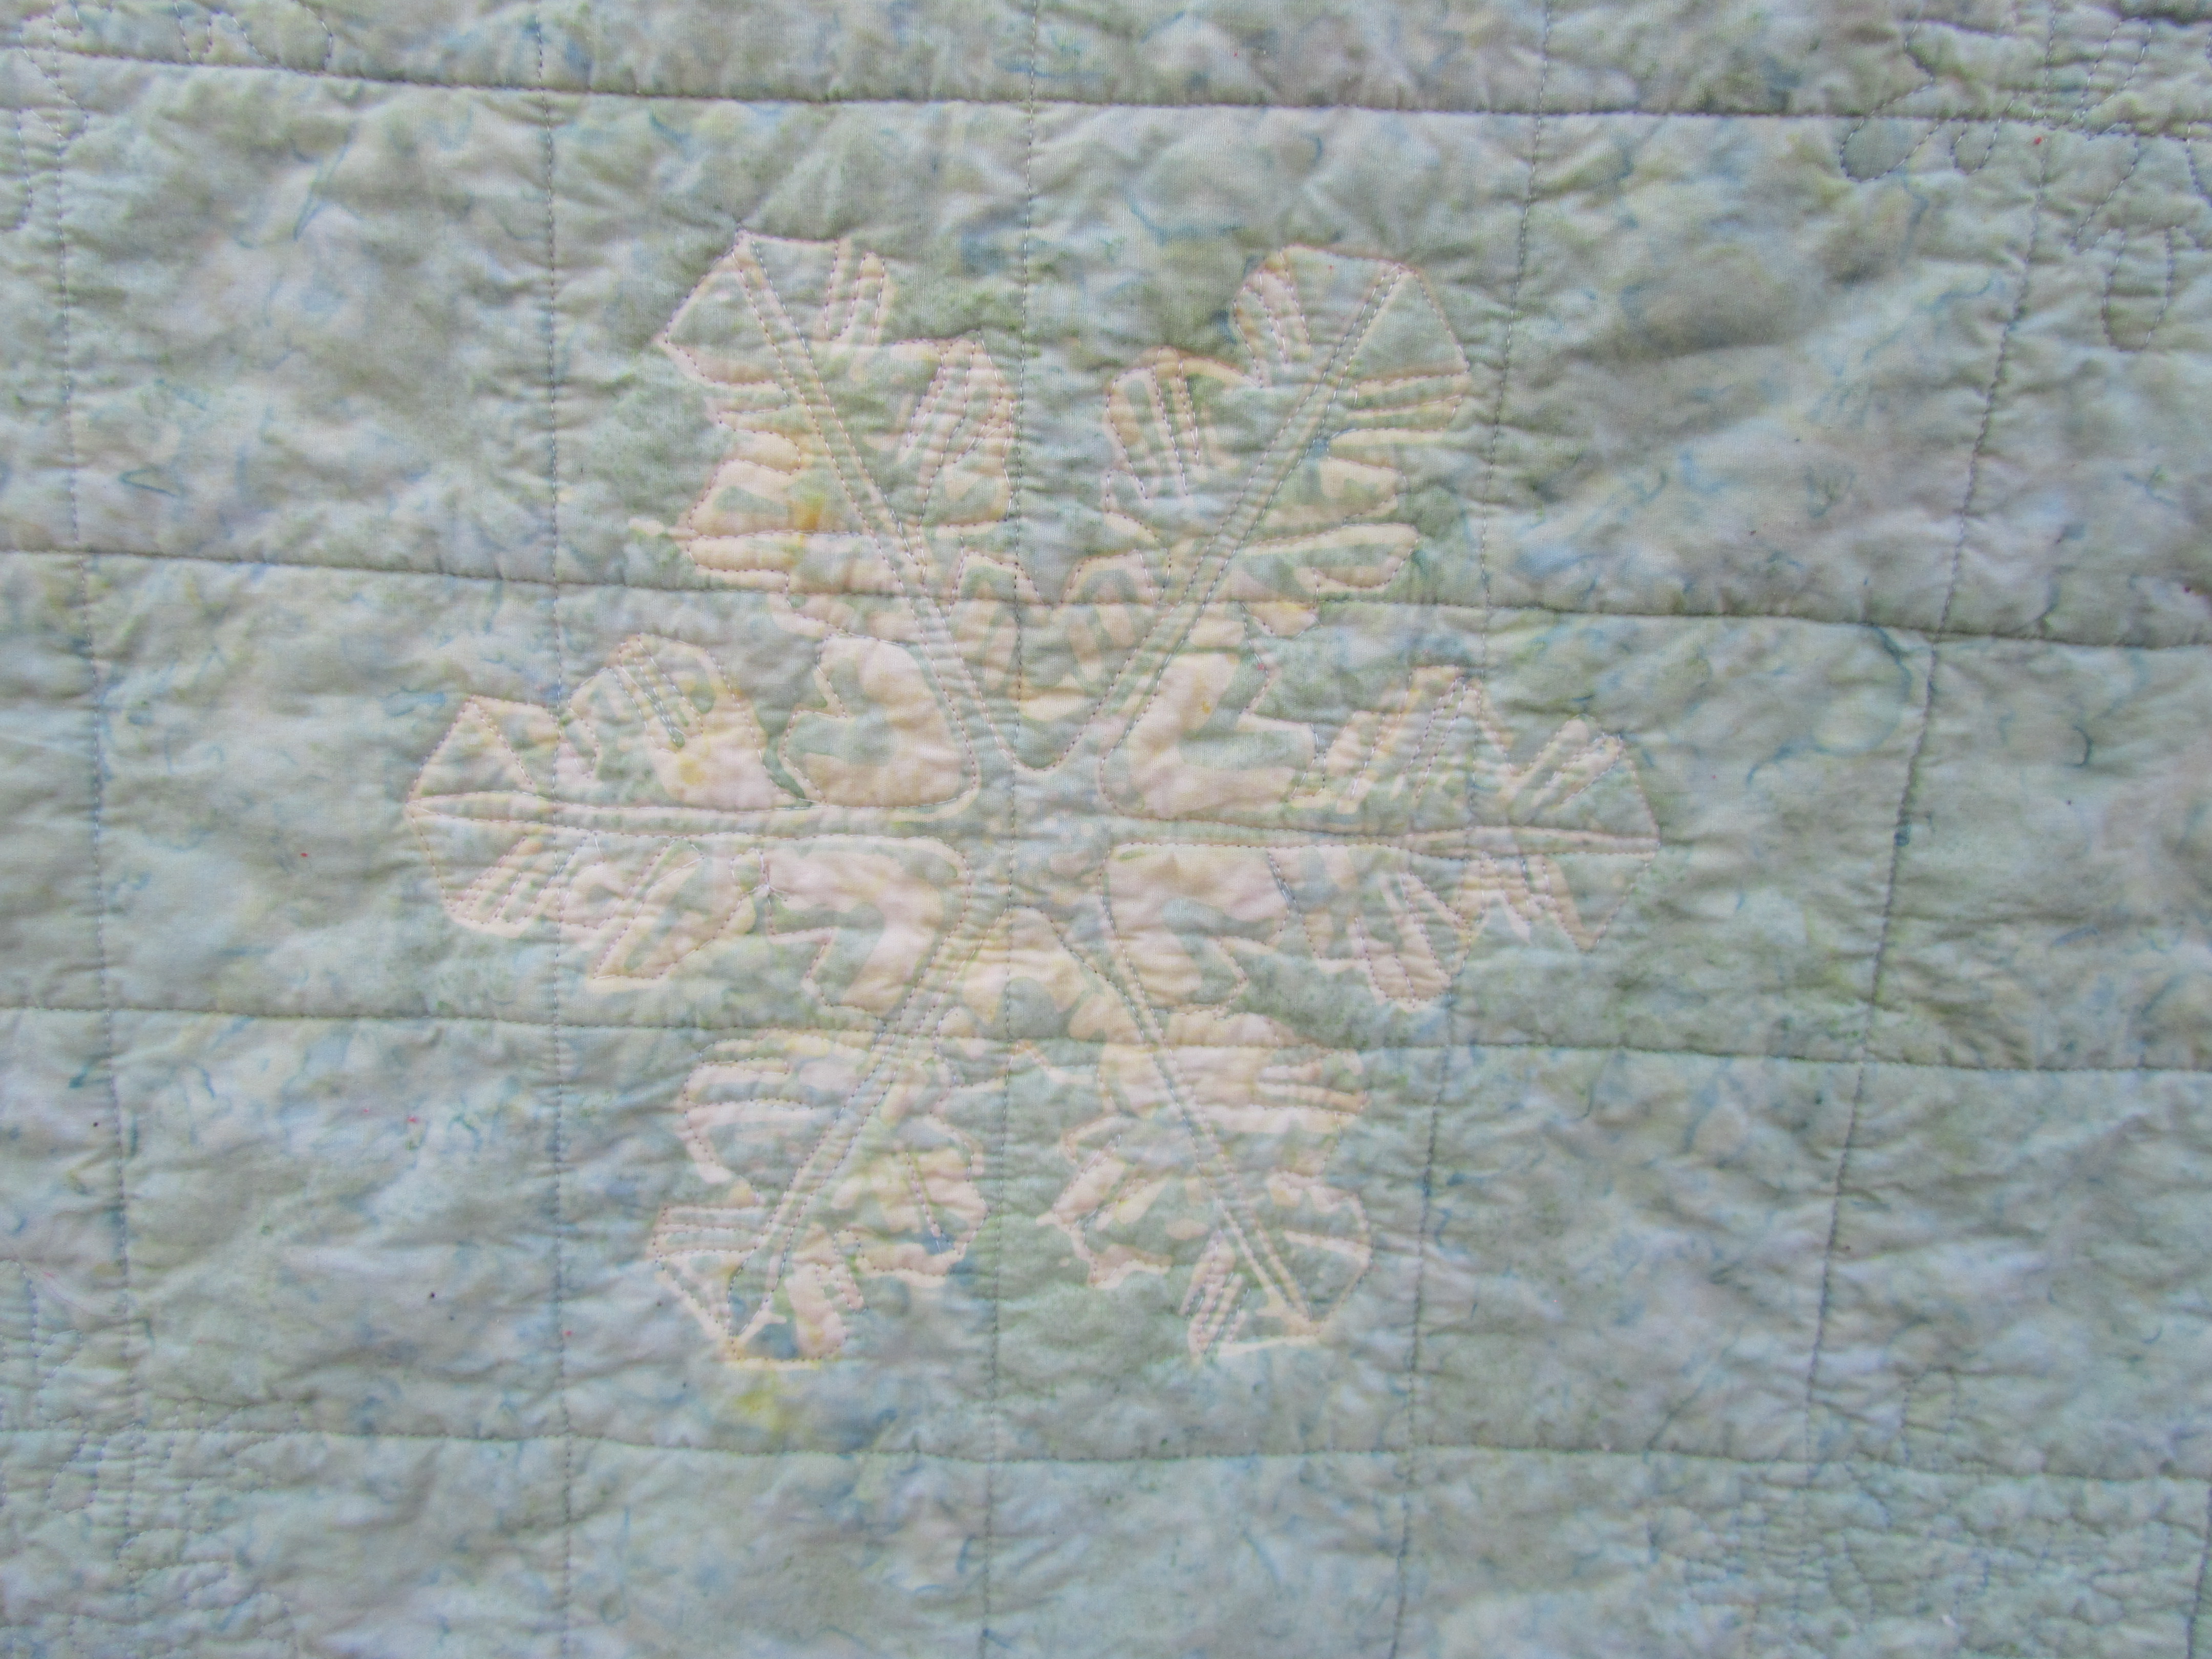
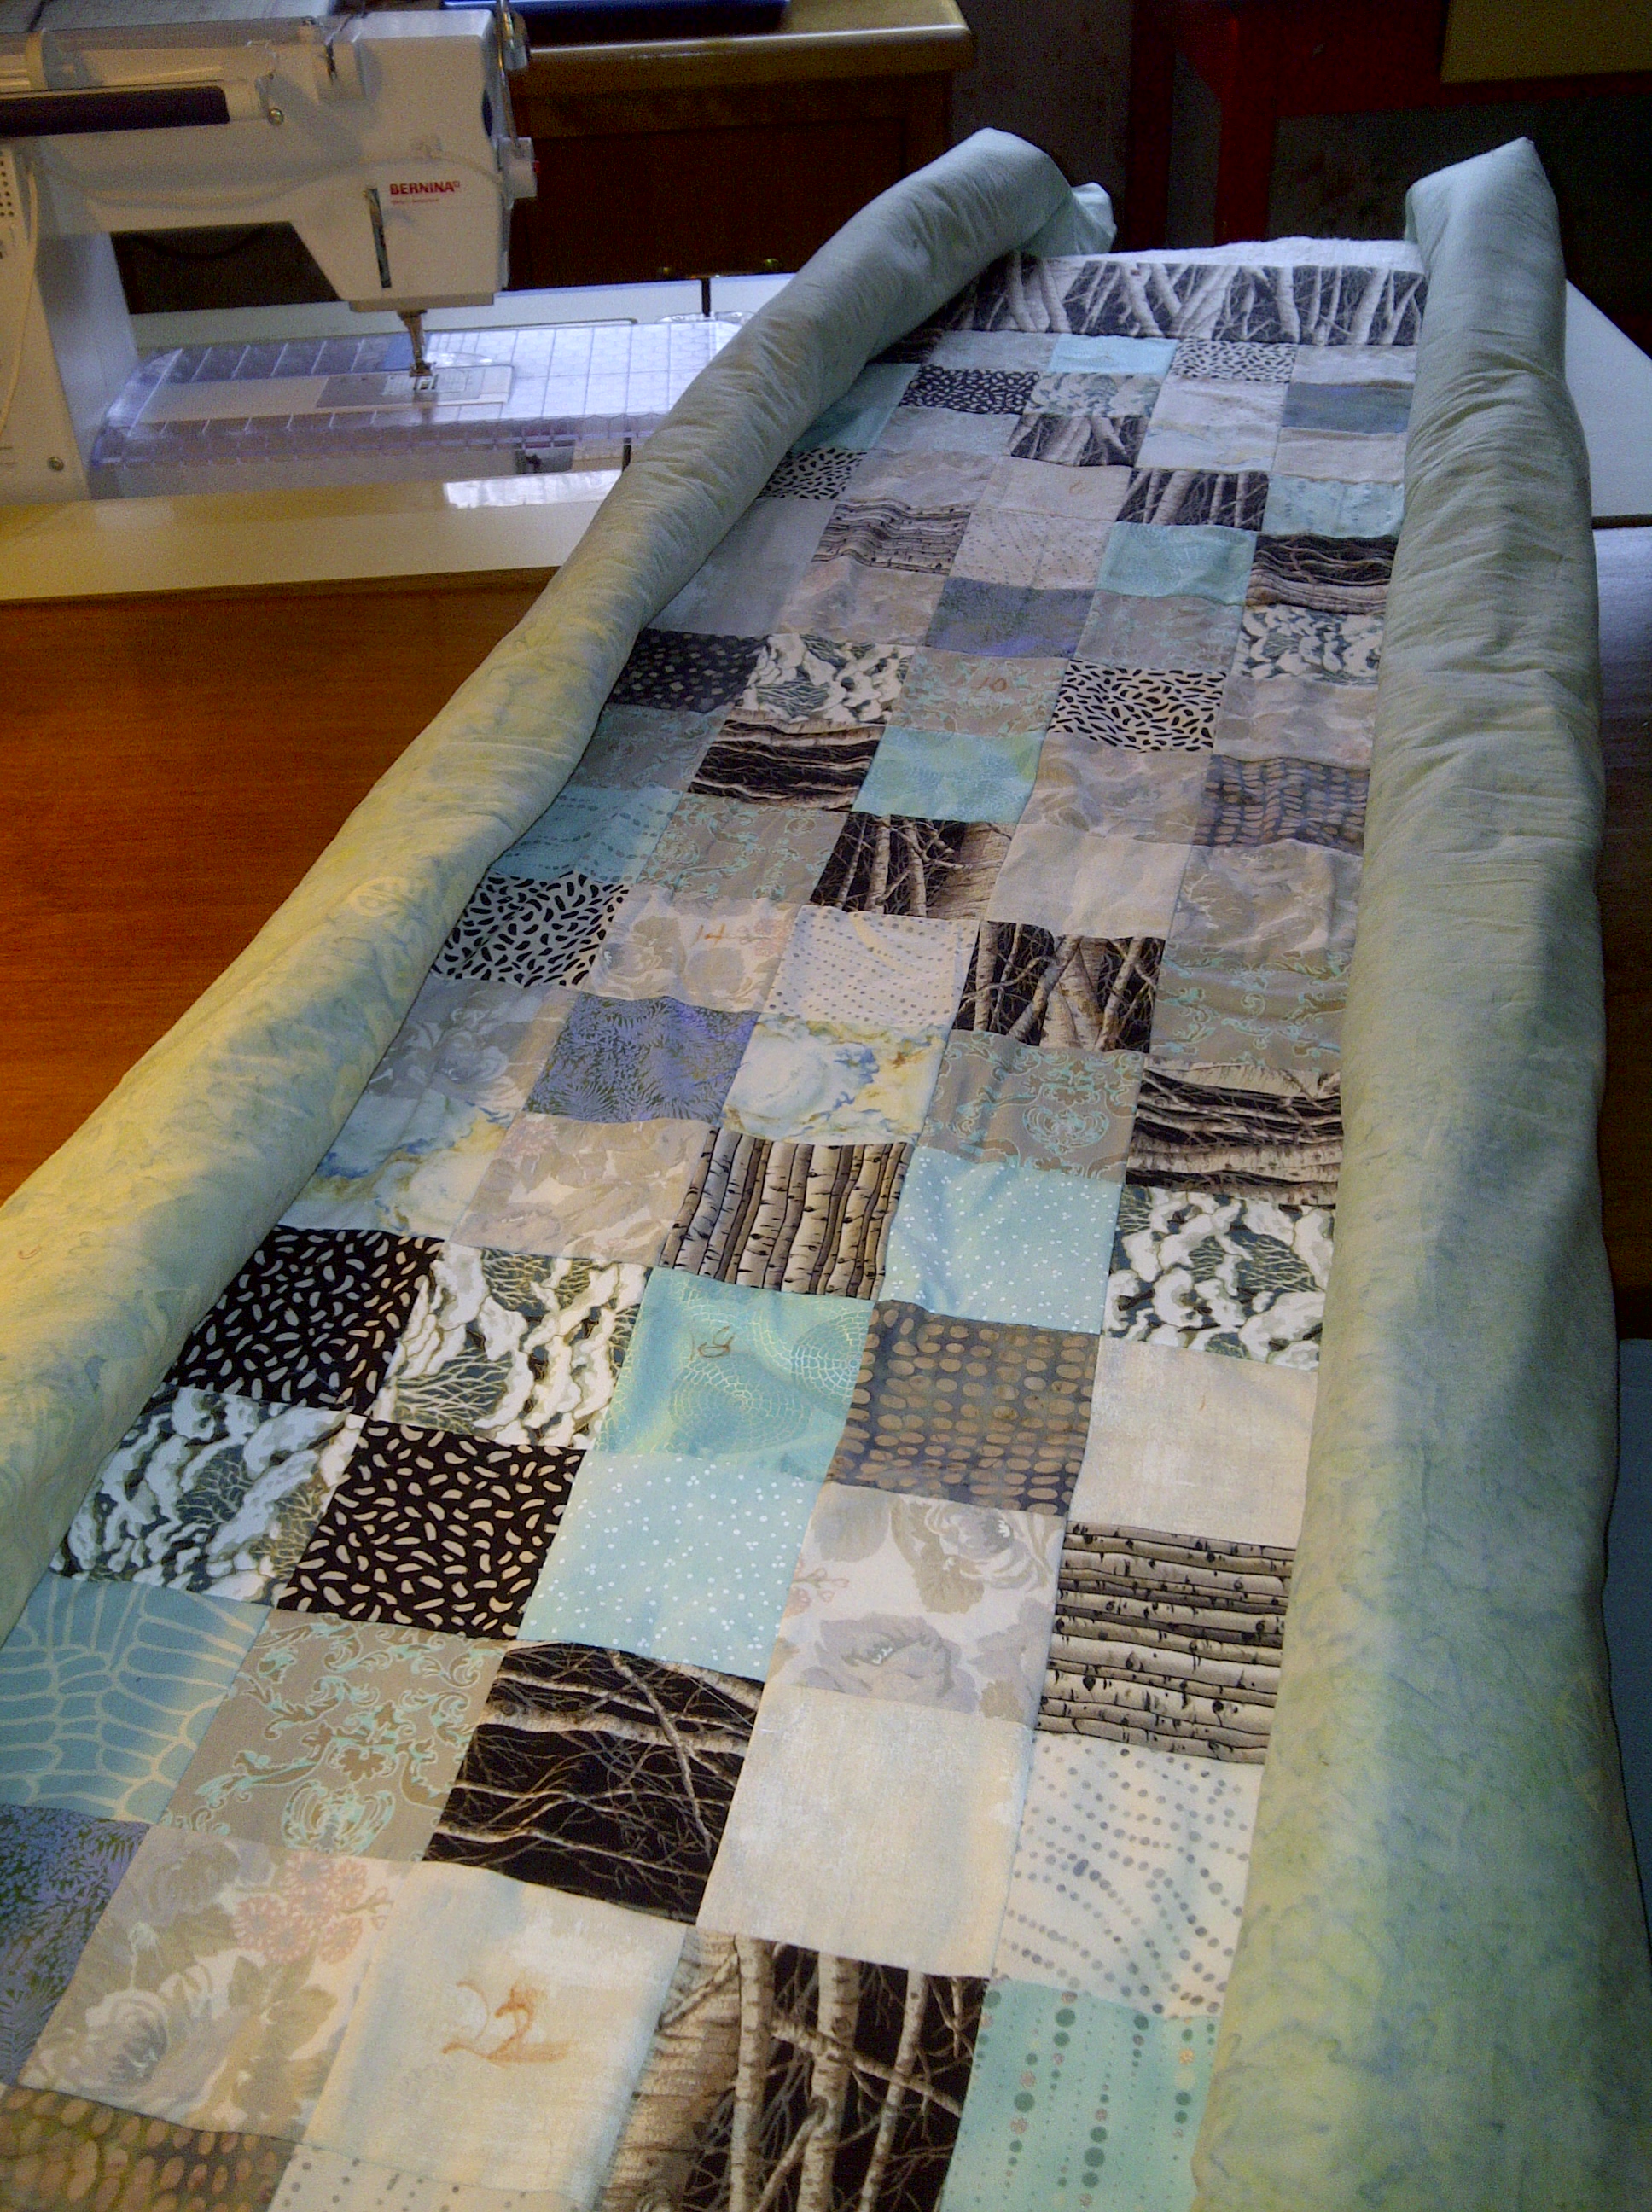
 This two-inch finish will change the design of your quilt. If your blocks go edge to edge, quite a bit will be covered up and the design may look “cut off”, probably a bad thing. Three- to four- inch borders that once finished your quilt will now be cut way down to very narrow borders, possibly a bad thing. Narrow borders or patches of different colors will show through the blanket binding and look funky. I usually like to use a six-inch wide border, so that when two inches are covered up, four inches are still showing and it looks intentional. It will look odd to put such a wide border on a small baby quilt, but much better when the binding’s attached. I forgot what I was doing when I quilted this example and put rows of quilting near the edges. It won’t hurt, but these will be covered by the binding. Plan ahead.
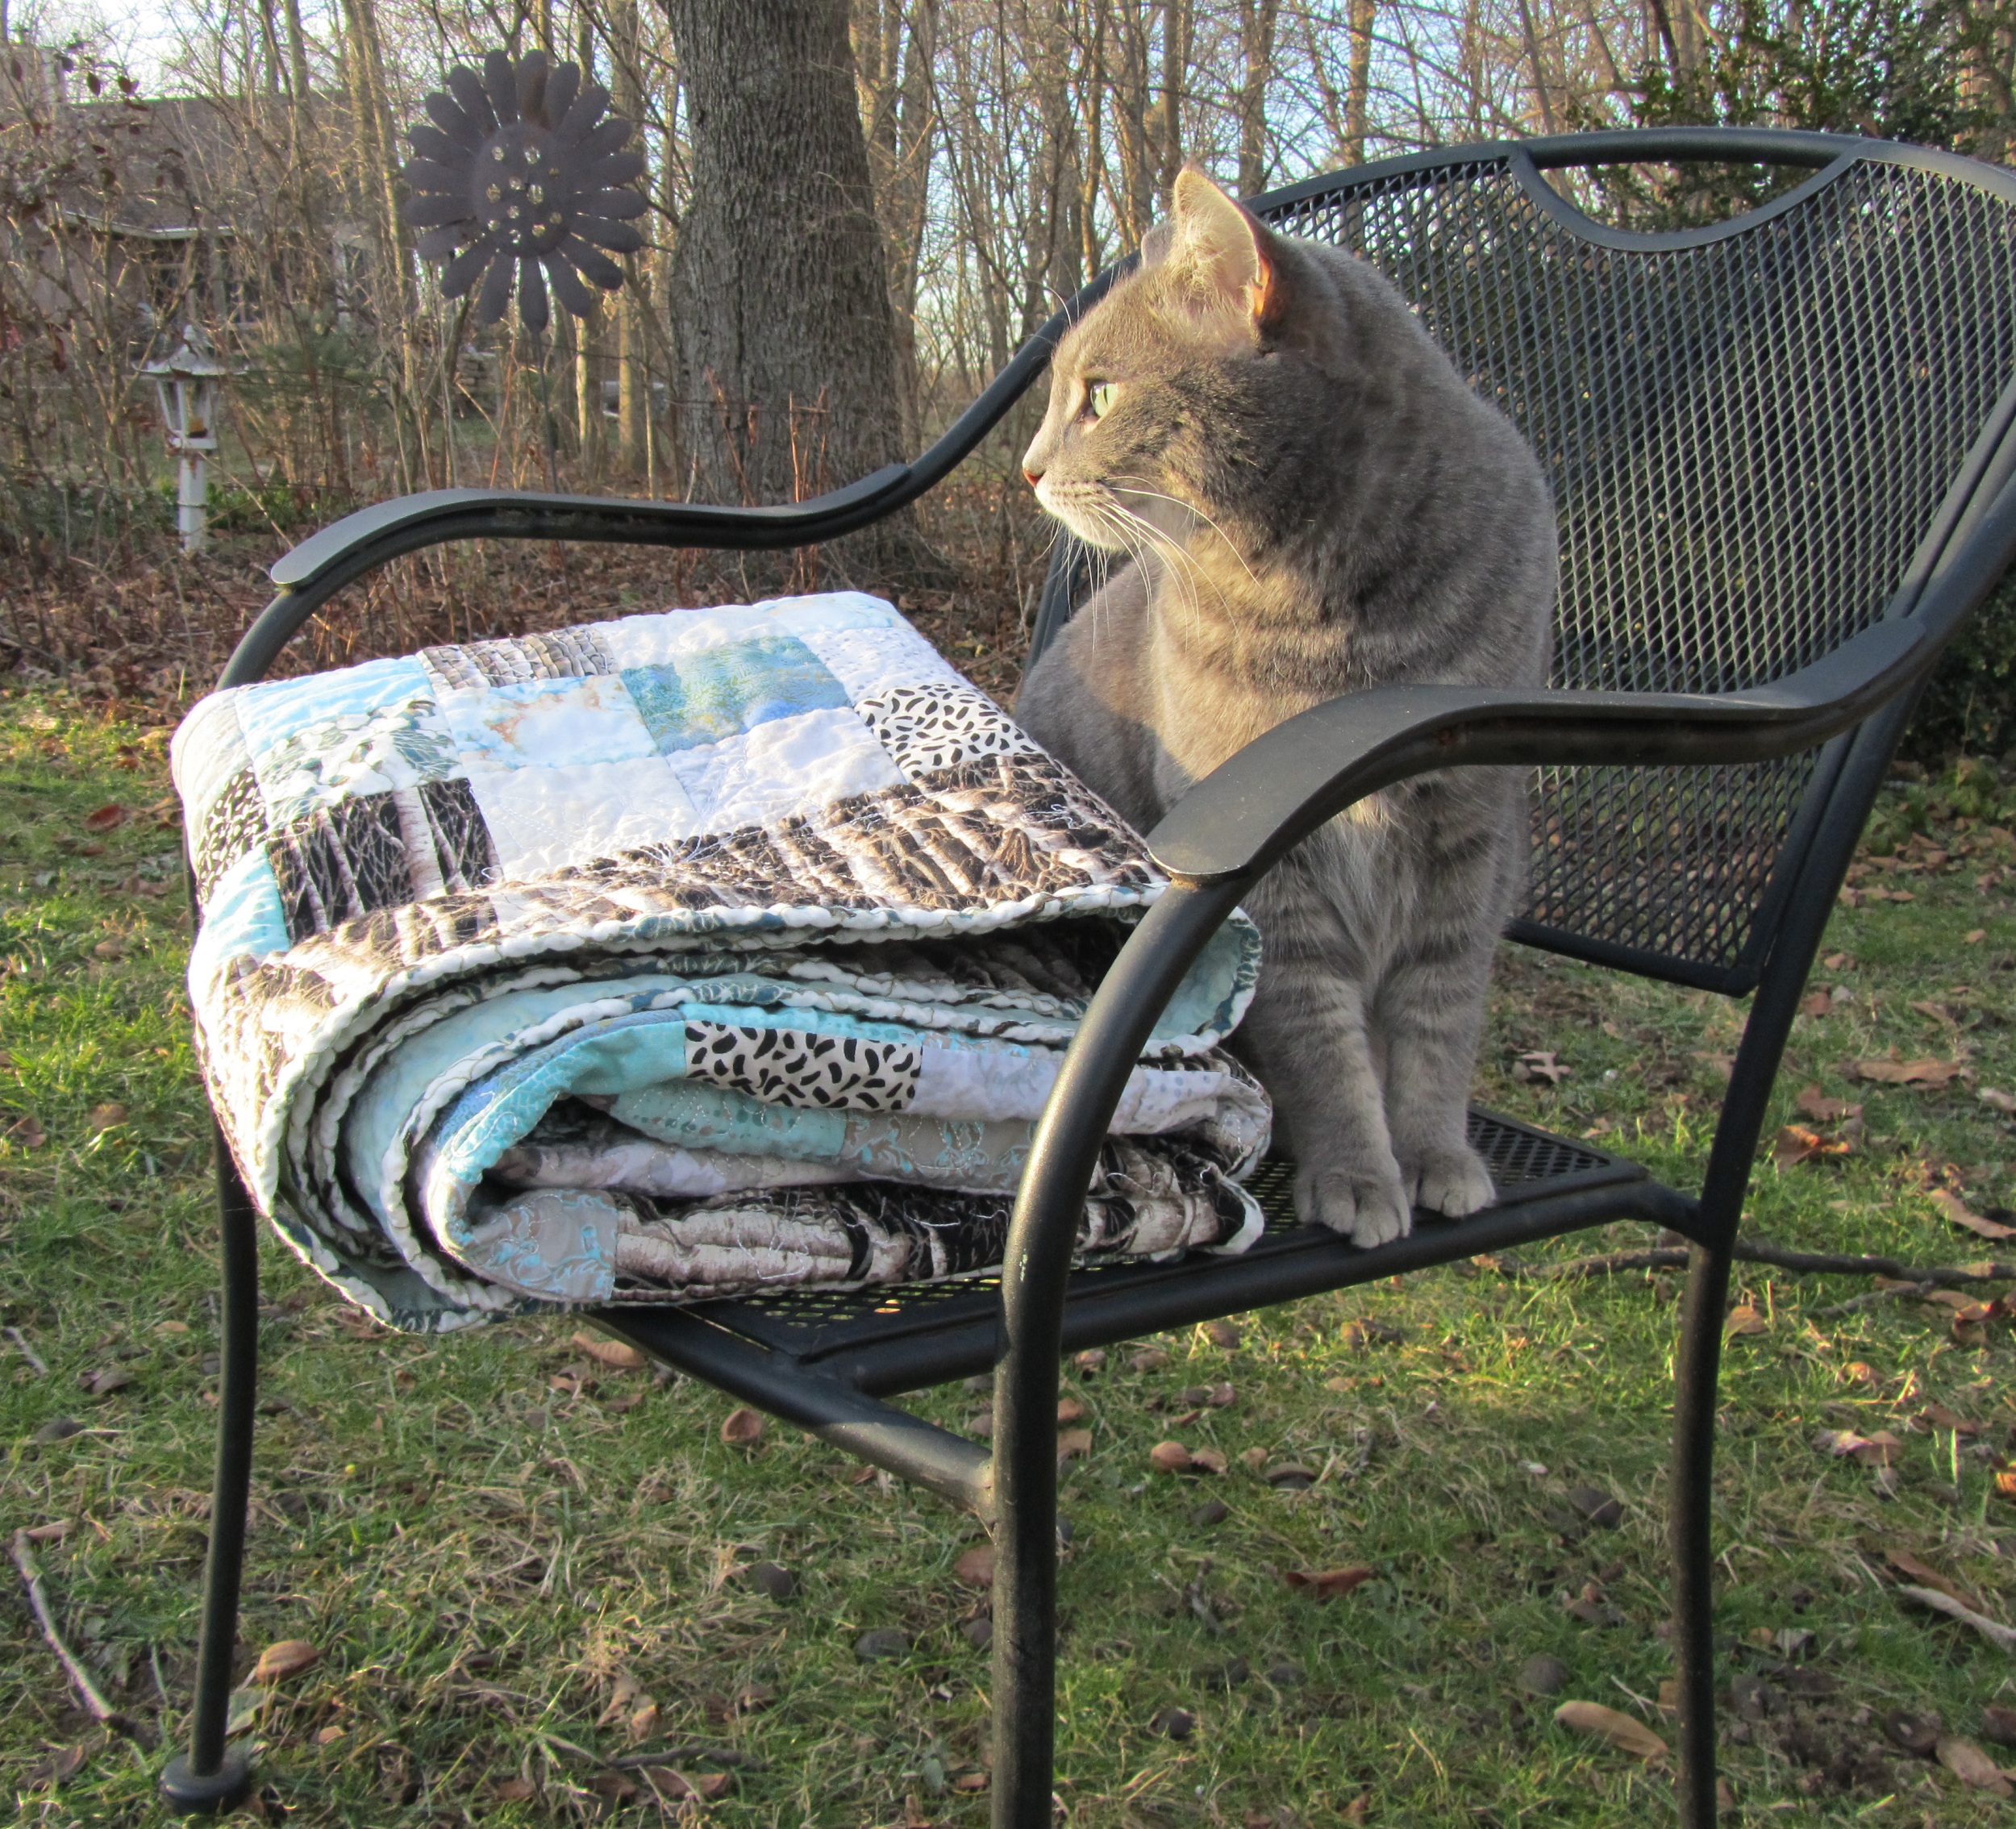
Notice how smooth and flat the yellow binding looks on my cat mat? That’s because I have not washed the mat. When I do, the mat will shrink a bit, but the binding will not, creating a slightly ruffled effect on the binding. This is just lovely on a little girl’s quilt. If you don’t want this effect, zigzag the edges of your quilt and wash it first, then bind it. I don’t think my cats will mind.
Procedure
I like to finish the edges of my quilt first with a basting or zigzag stitch.

Baby quilts wear out, and sometimes the rayon binding wears through, so I don’t want raw edges and batting ever hanging out. It also makes a nice stable edge to work with.

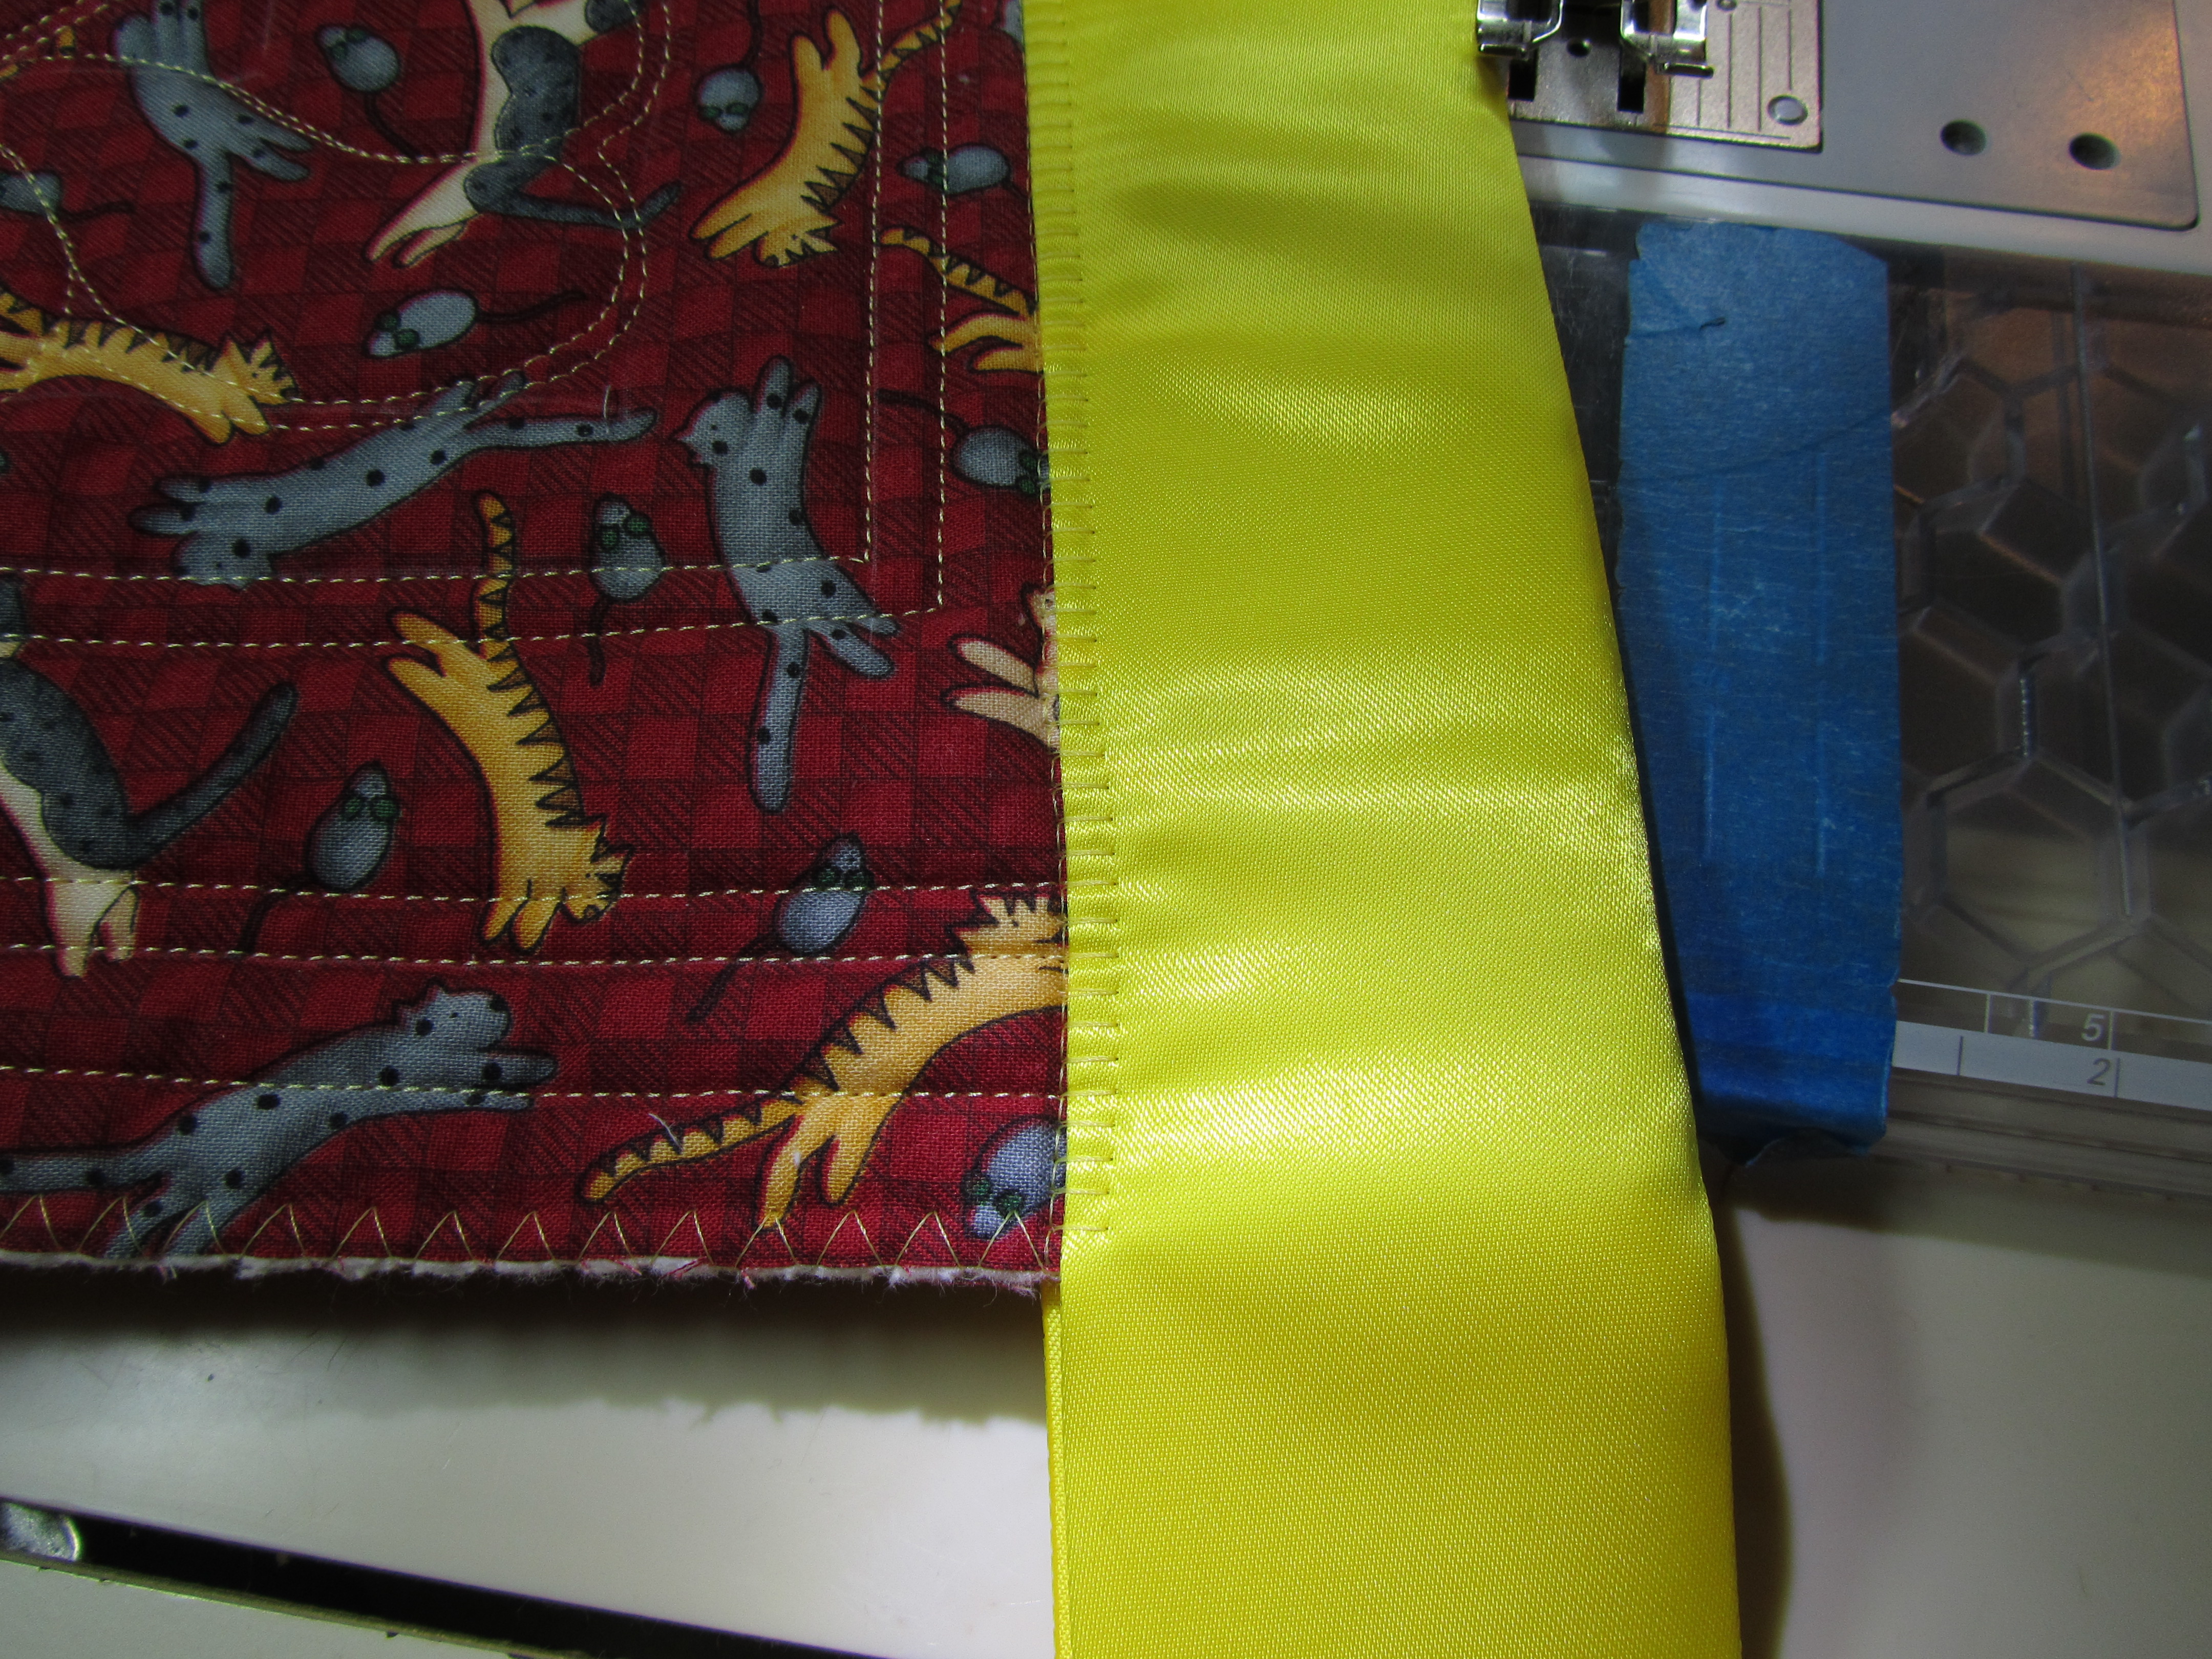
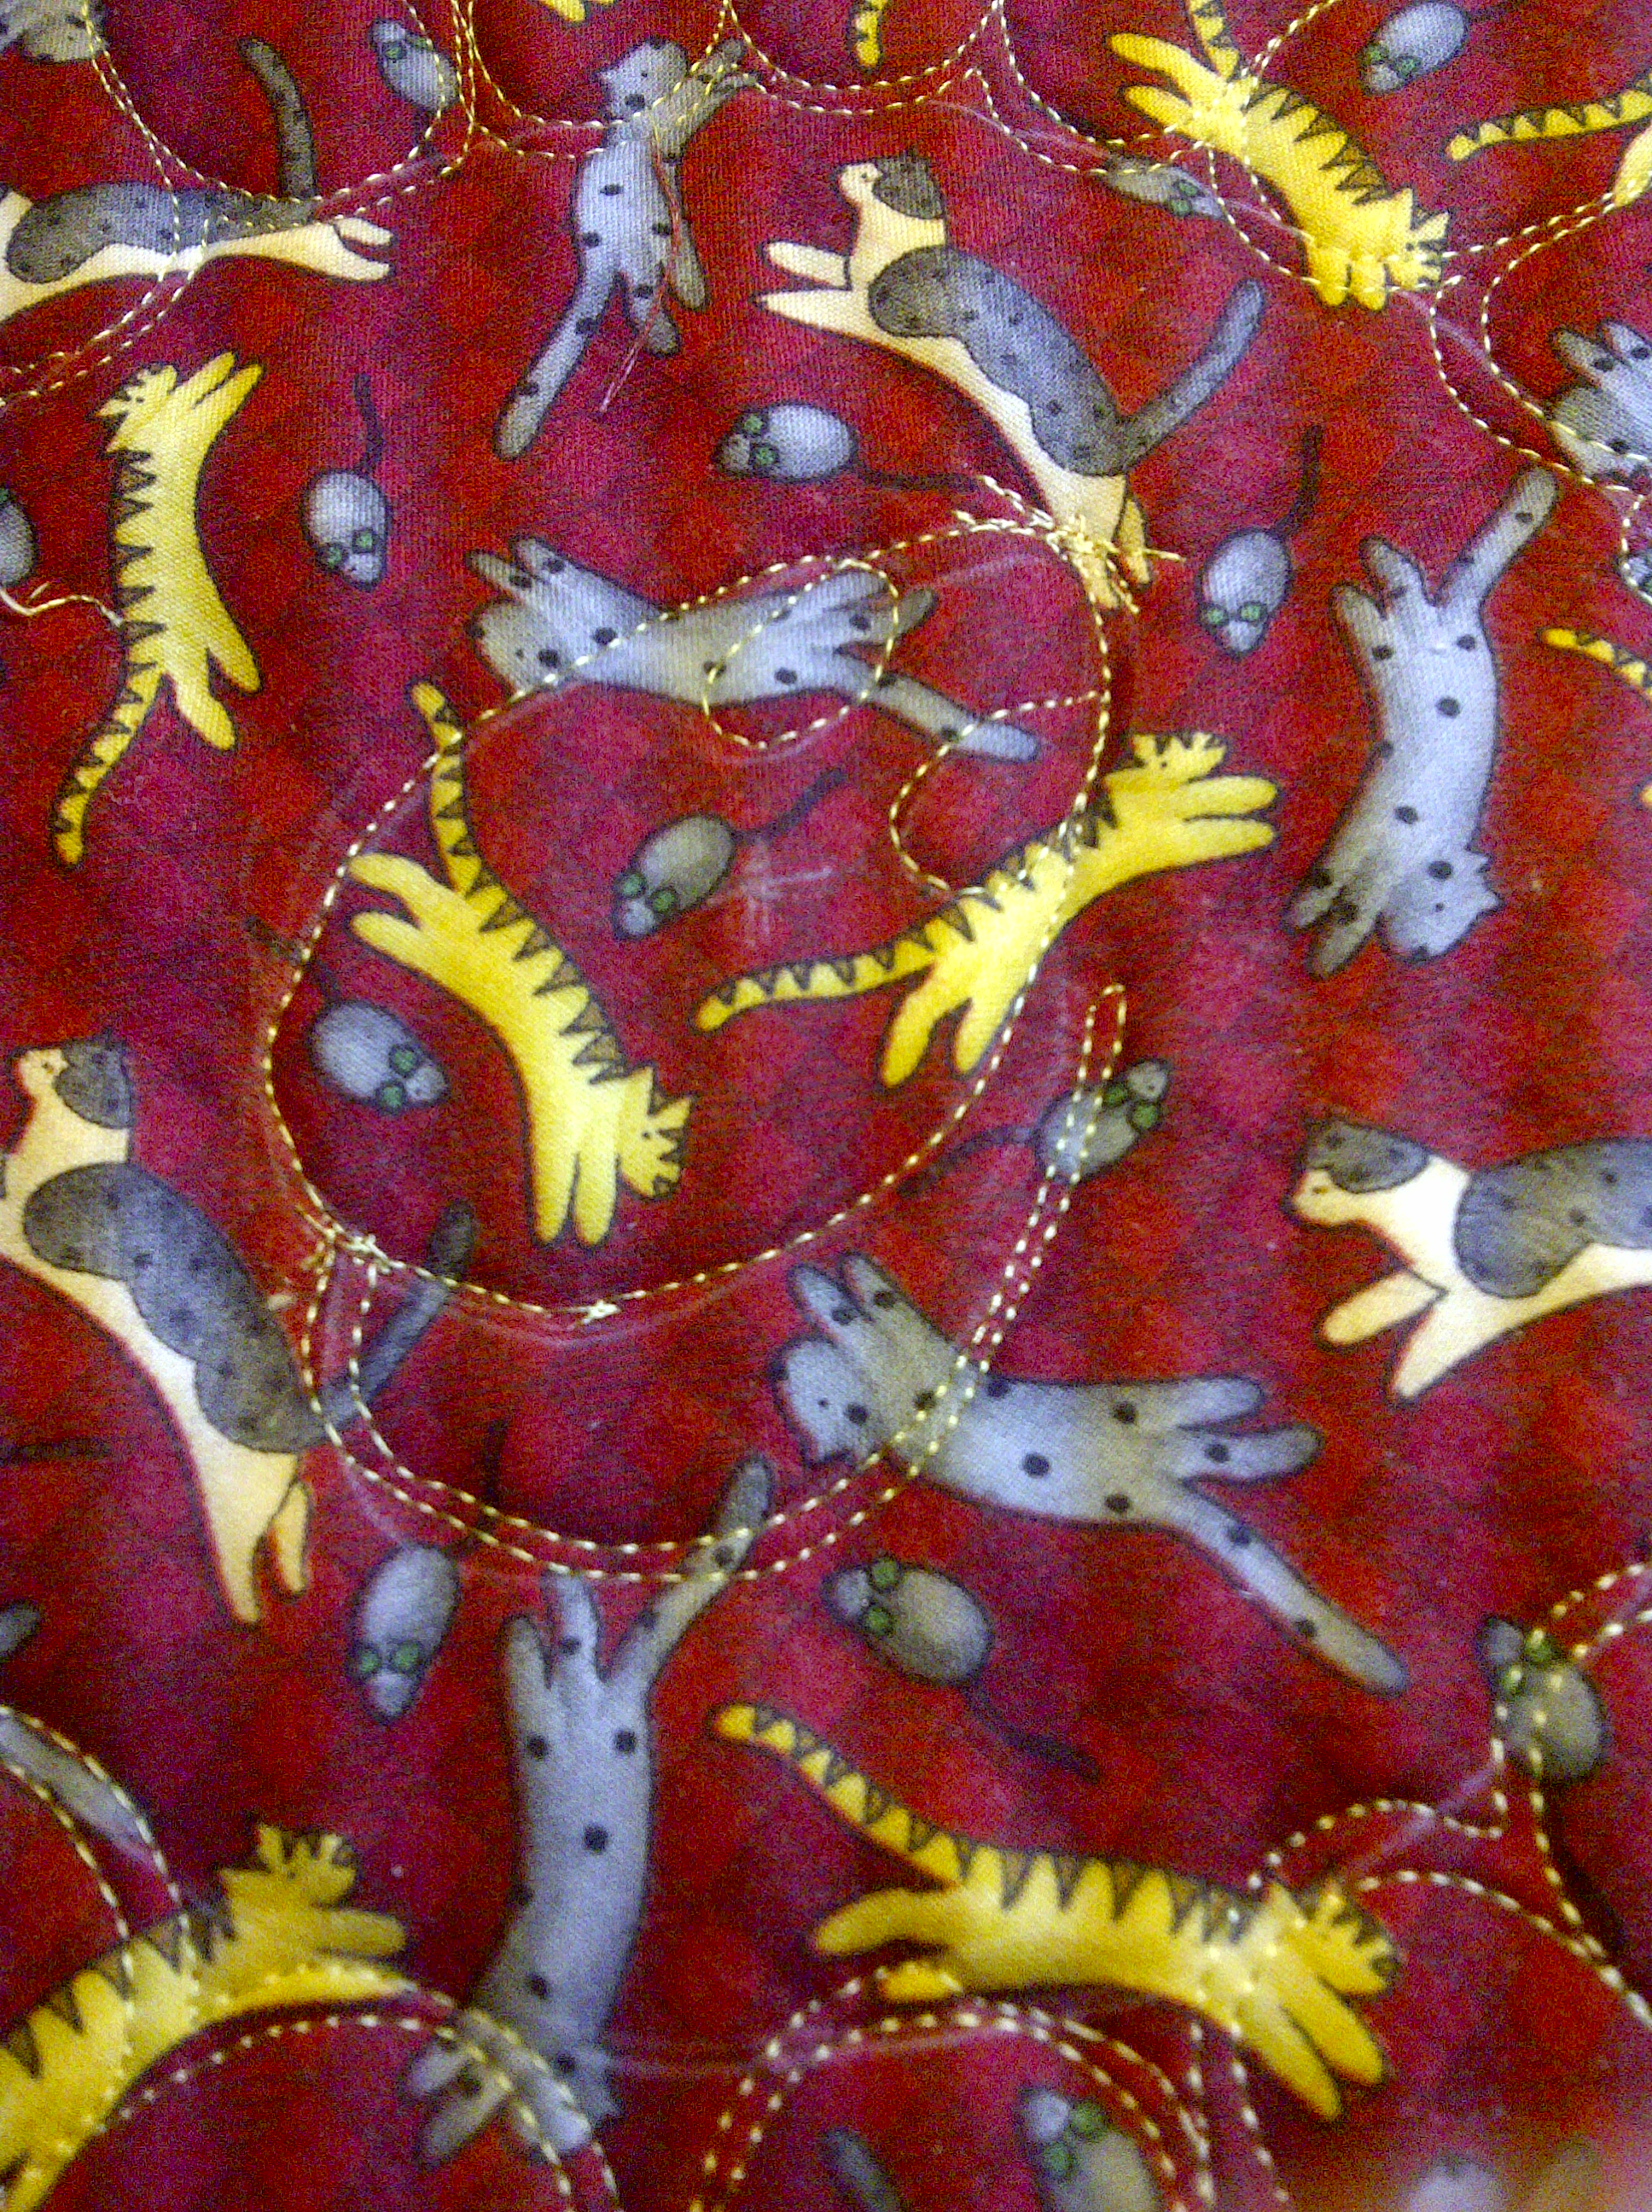
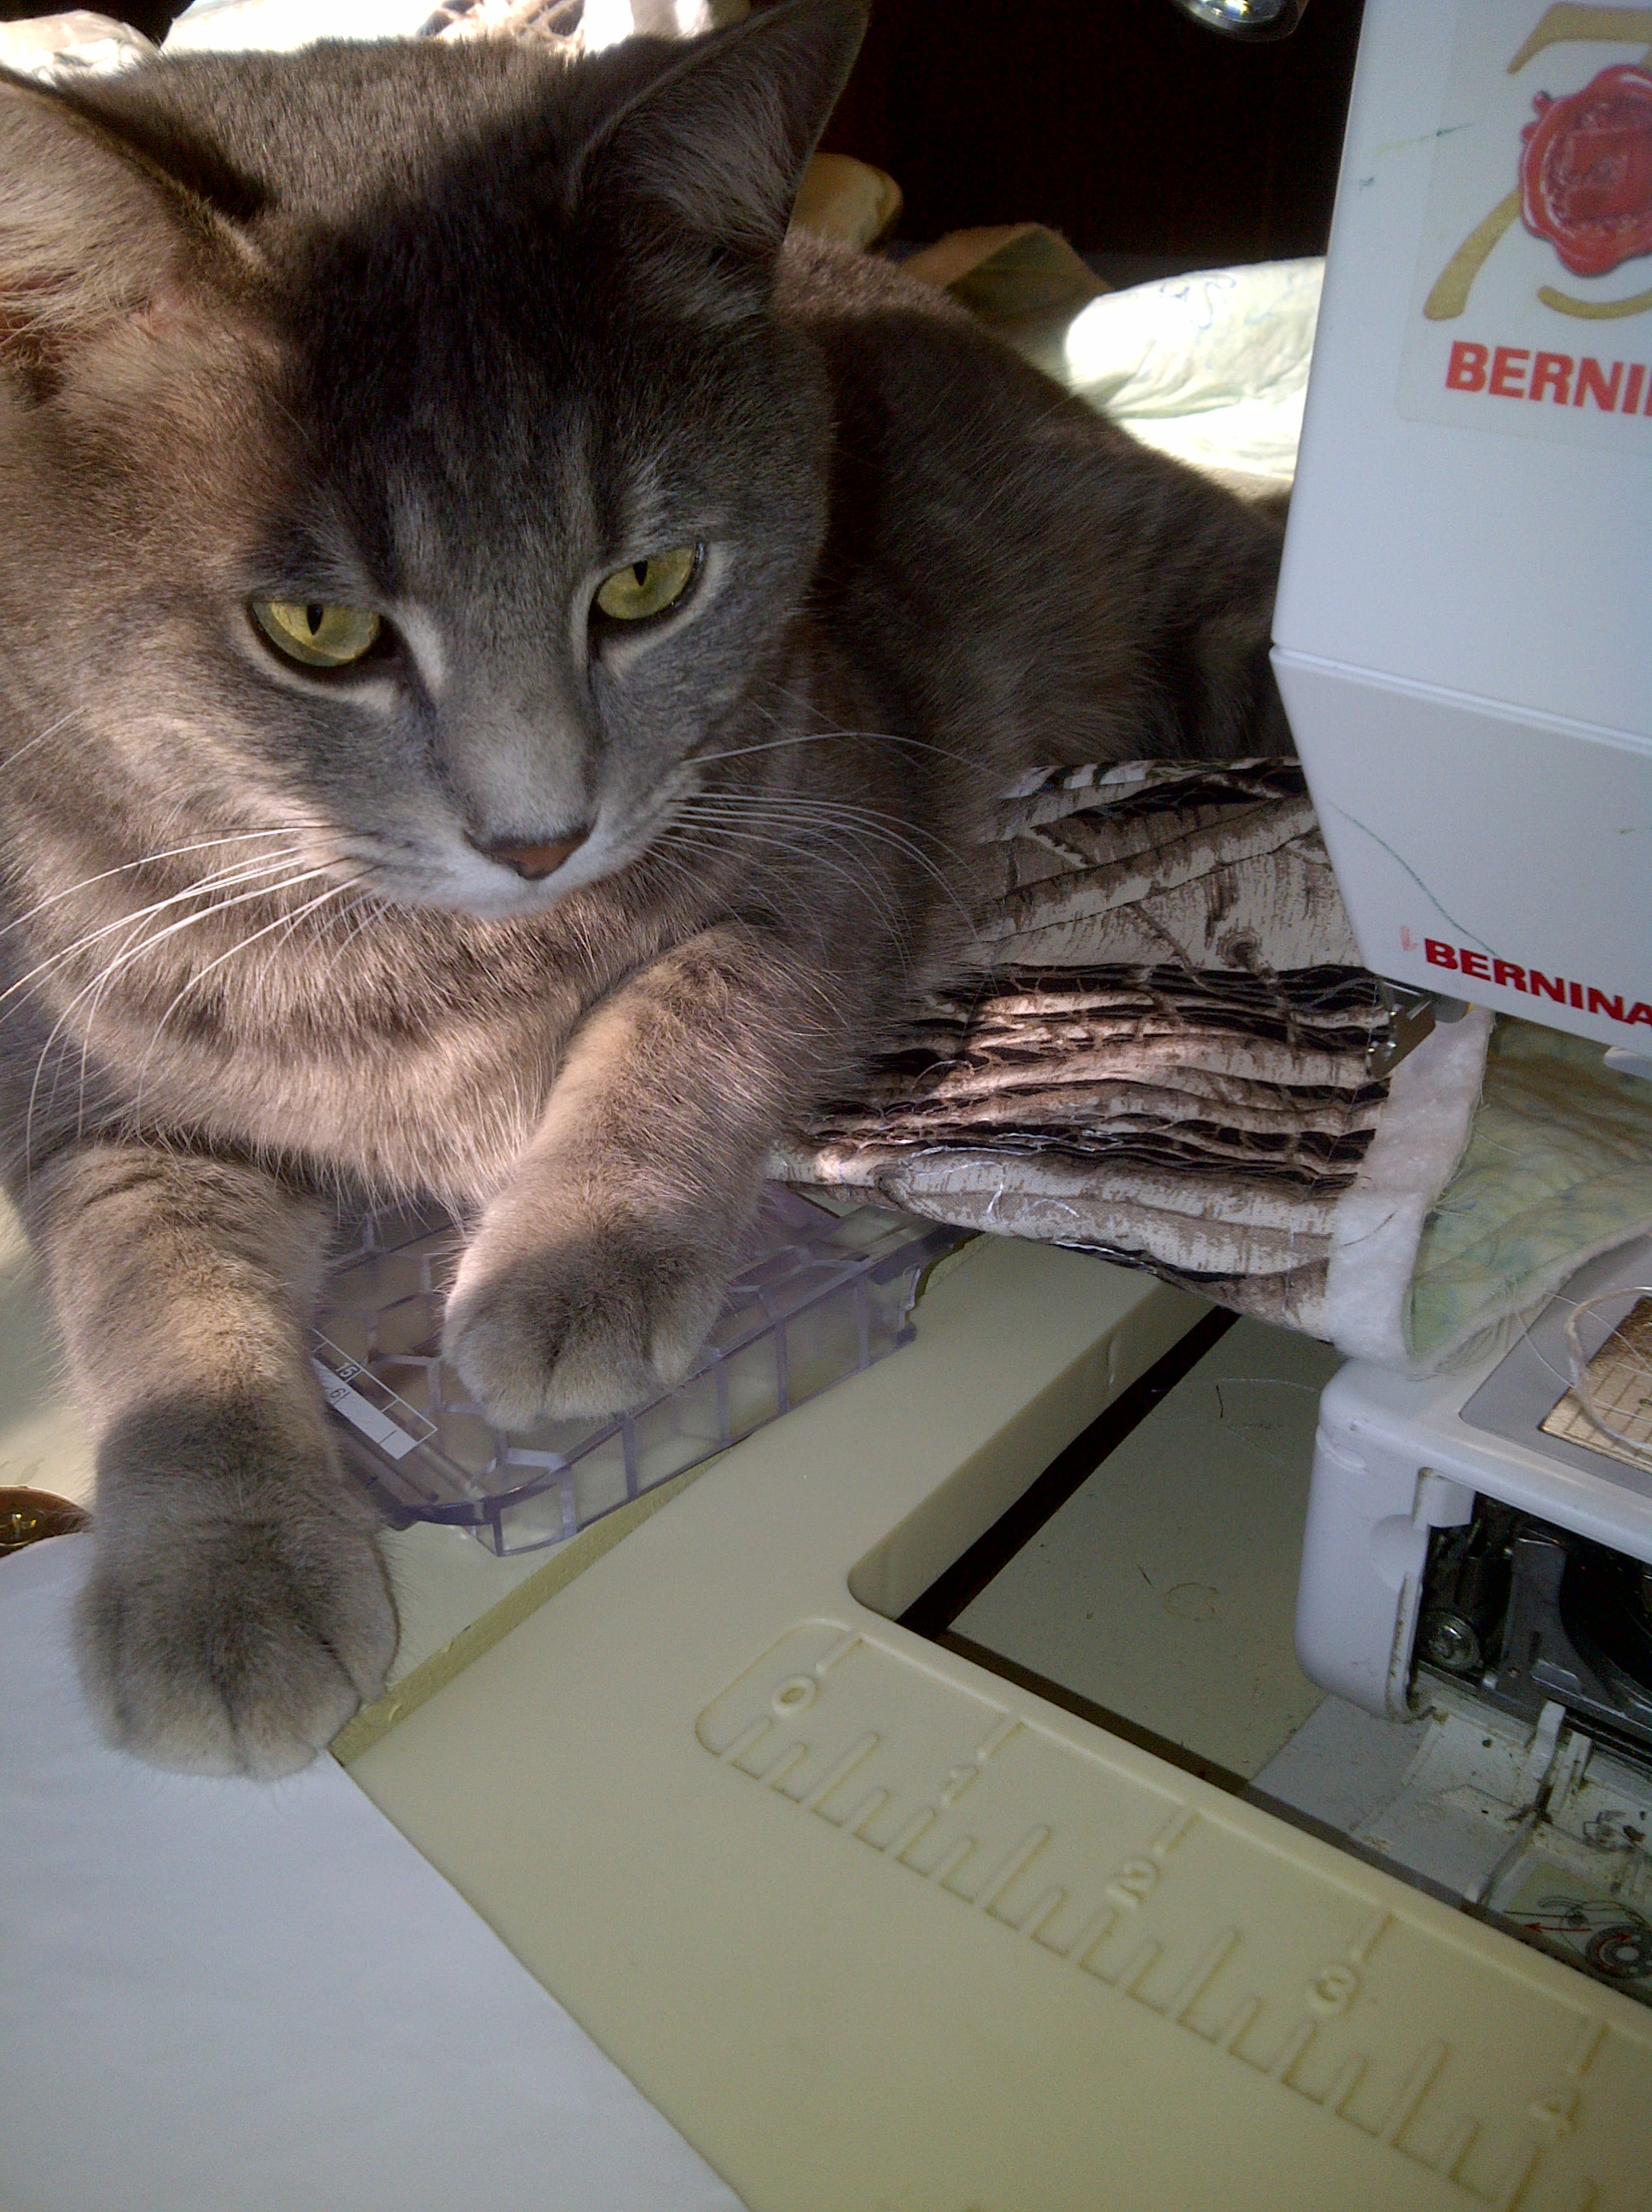
Then I set up my machine with something resembling a blanket stitch. You can use any decorative stitch. Test it out on a quilt sandwich scrap and adjust the width and length until you are happy. On my Bernina 440QE I used stitch 45. I flipped it to put the solid line of stitches on the quilt inside of the binding and to let the “rays” catch the blanket binding. I changed the stitch width to 5 and increased the length a little. I used a walking foot with good results, but I don’t think I always do, so experiment to see what you like.
I used 50 wt. thread in the same color as the binding so that it blends well. I backstitched each time I began and ended. I often use more decorative thread for this. If your thread is slippery/silky you may want to pull the ends through and knot them, as they can come undone otherwise.

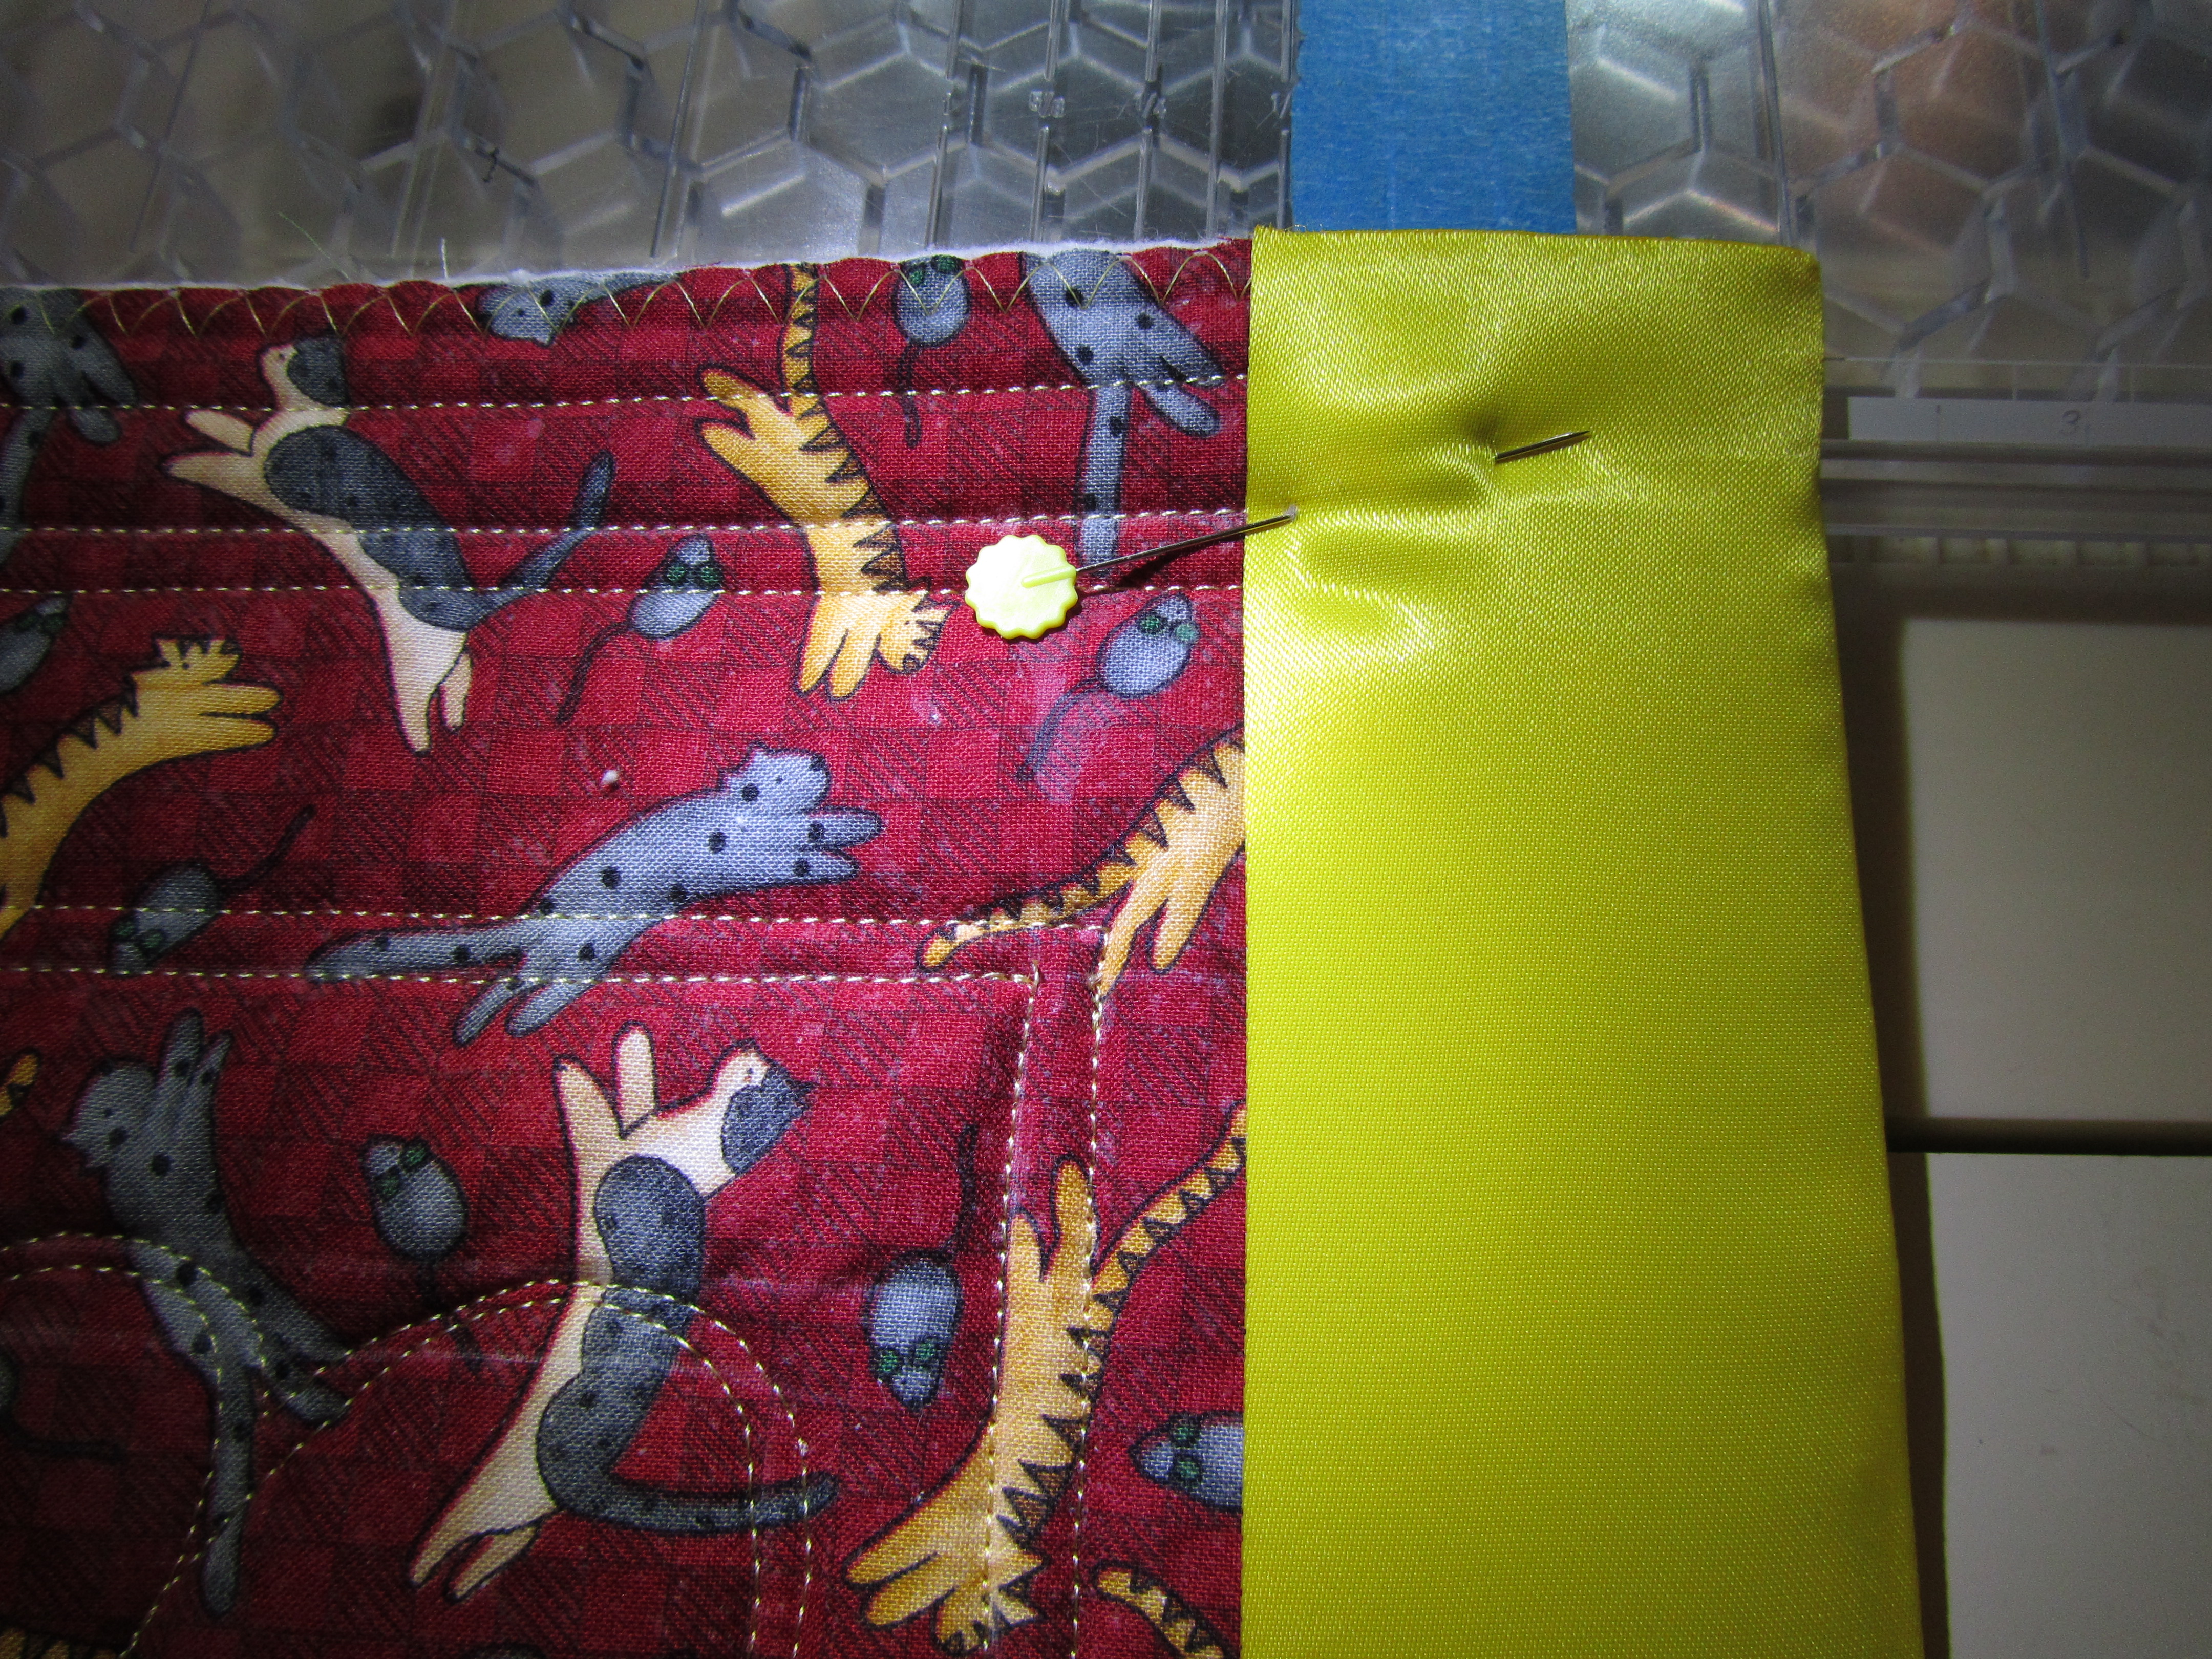
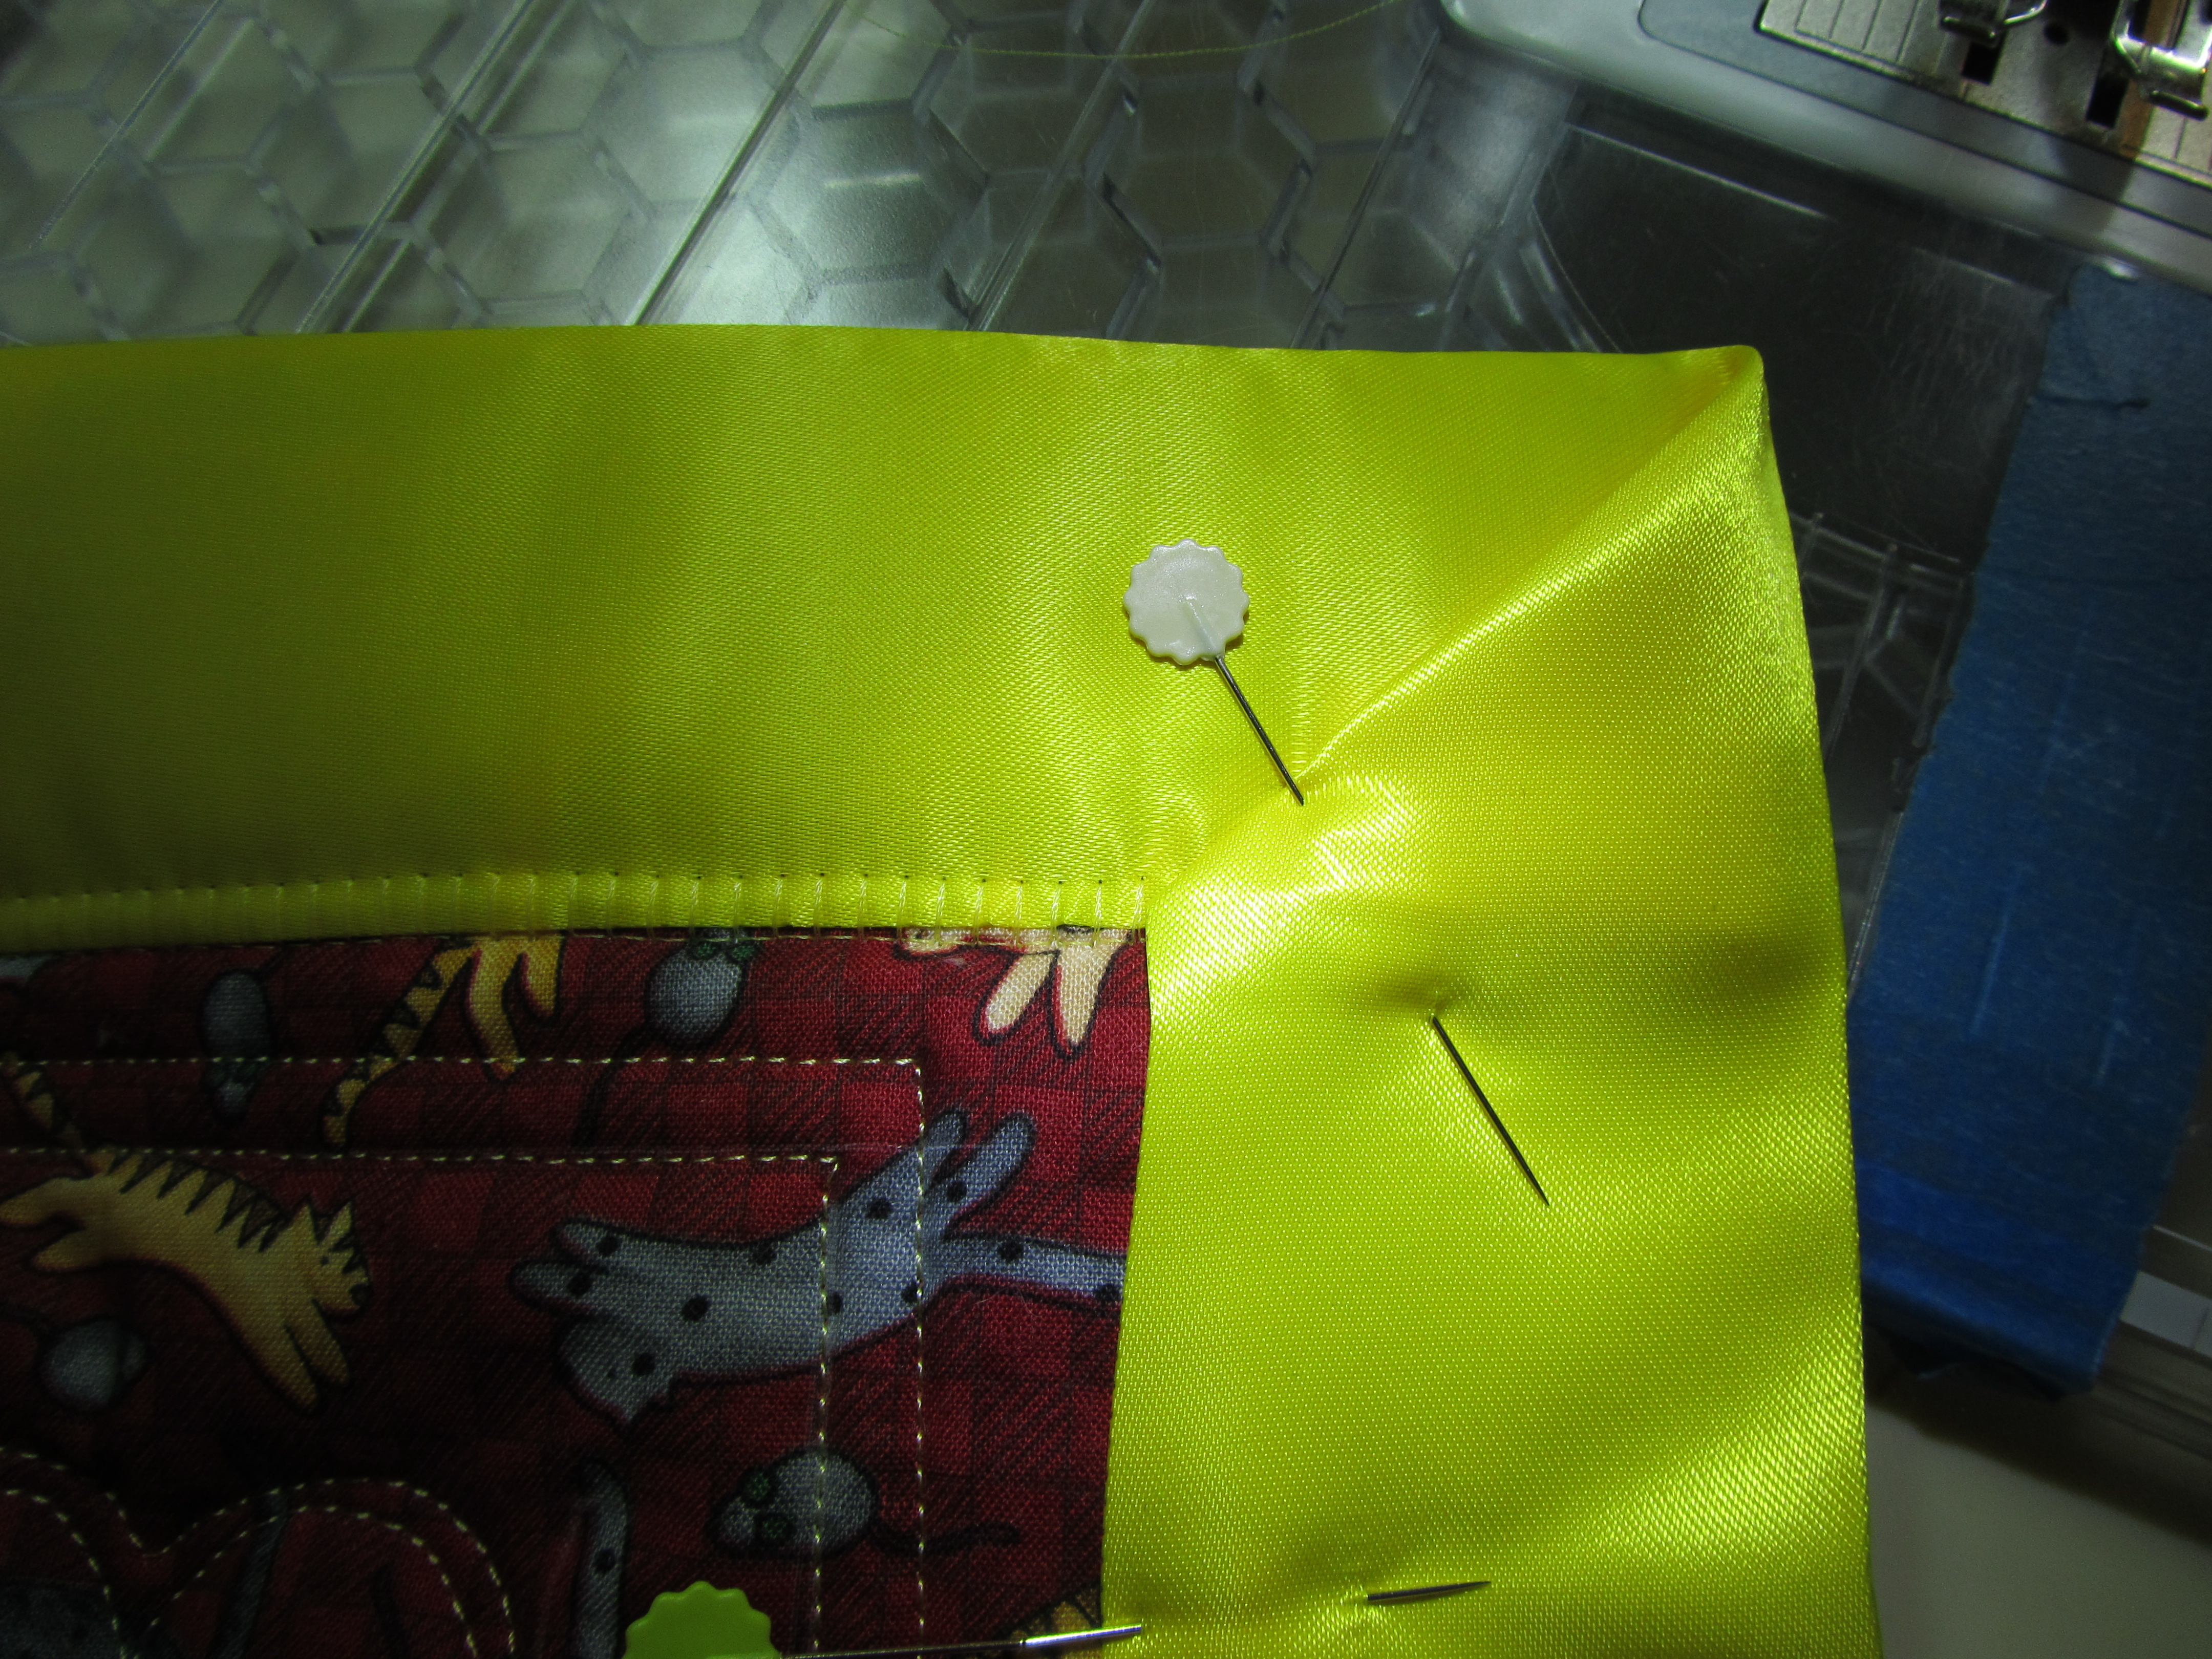
Open the package of binding, unroll it, and line it up even with the top of one edge of your quilt. You are placing the edge of the quilt between the two halves of the folded binding, sandwiching it. The binding is usually folded pretty evenly, but if there seems to be a little extra width on one side, place this side on the bottom of your quilt to be sure that your stitches catch it well. I am not a pinner, but you will want to use a least a few thin, sharp pins when you first do this. Make sure the quilt is pushed all the way into the binding, but just barely. Let it ride in there easily, not pulled tight or stretched to one side or the other.

Sew the binding on along the first edge of the quilt, sewing all the way to the bottom edge. Backstitch and clip your threads. Check the back- the bottom stitching should look nearly the same as the top.

Remove the quilt from the machine. Fold the binding to create a miter. Pin this on the front and back, making sure to form both miters neatly. Pin the binding along the new edge of the quilt.
Begin sewing the miter down from the top corner (backstitch). Pivot, and sew the next edge, all the way to the bottom of the quilt. Repeat for the last two edges, stopping a few inches away from the final corner.

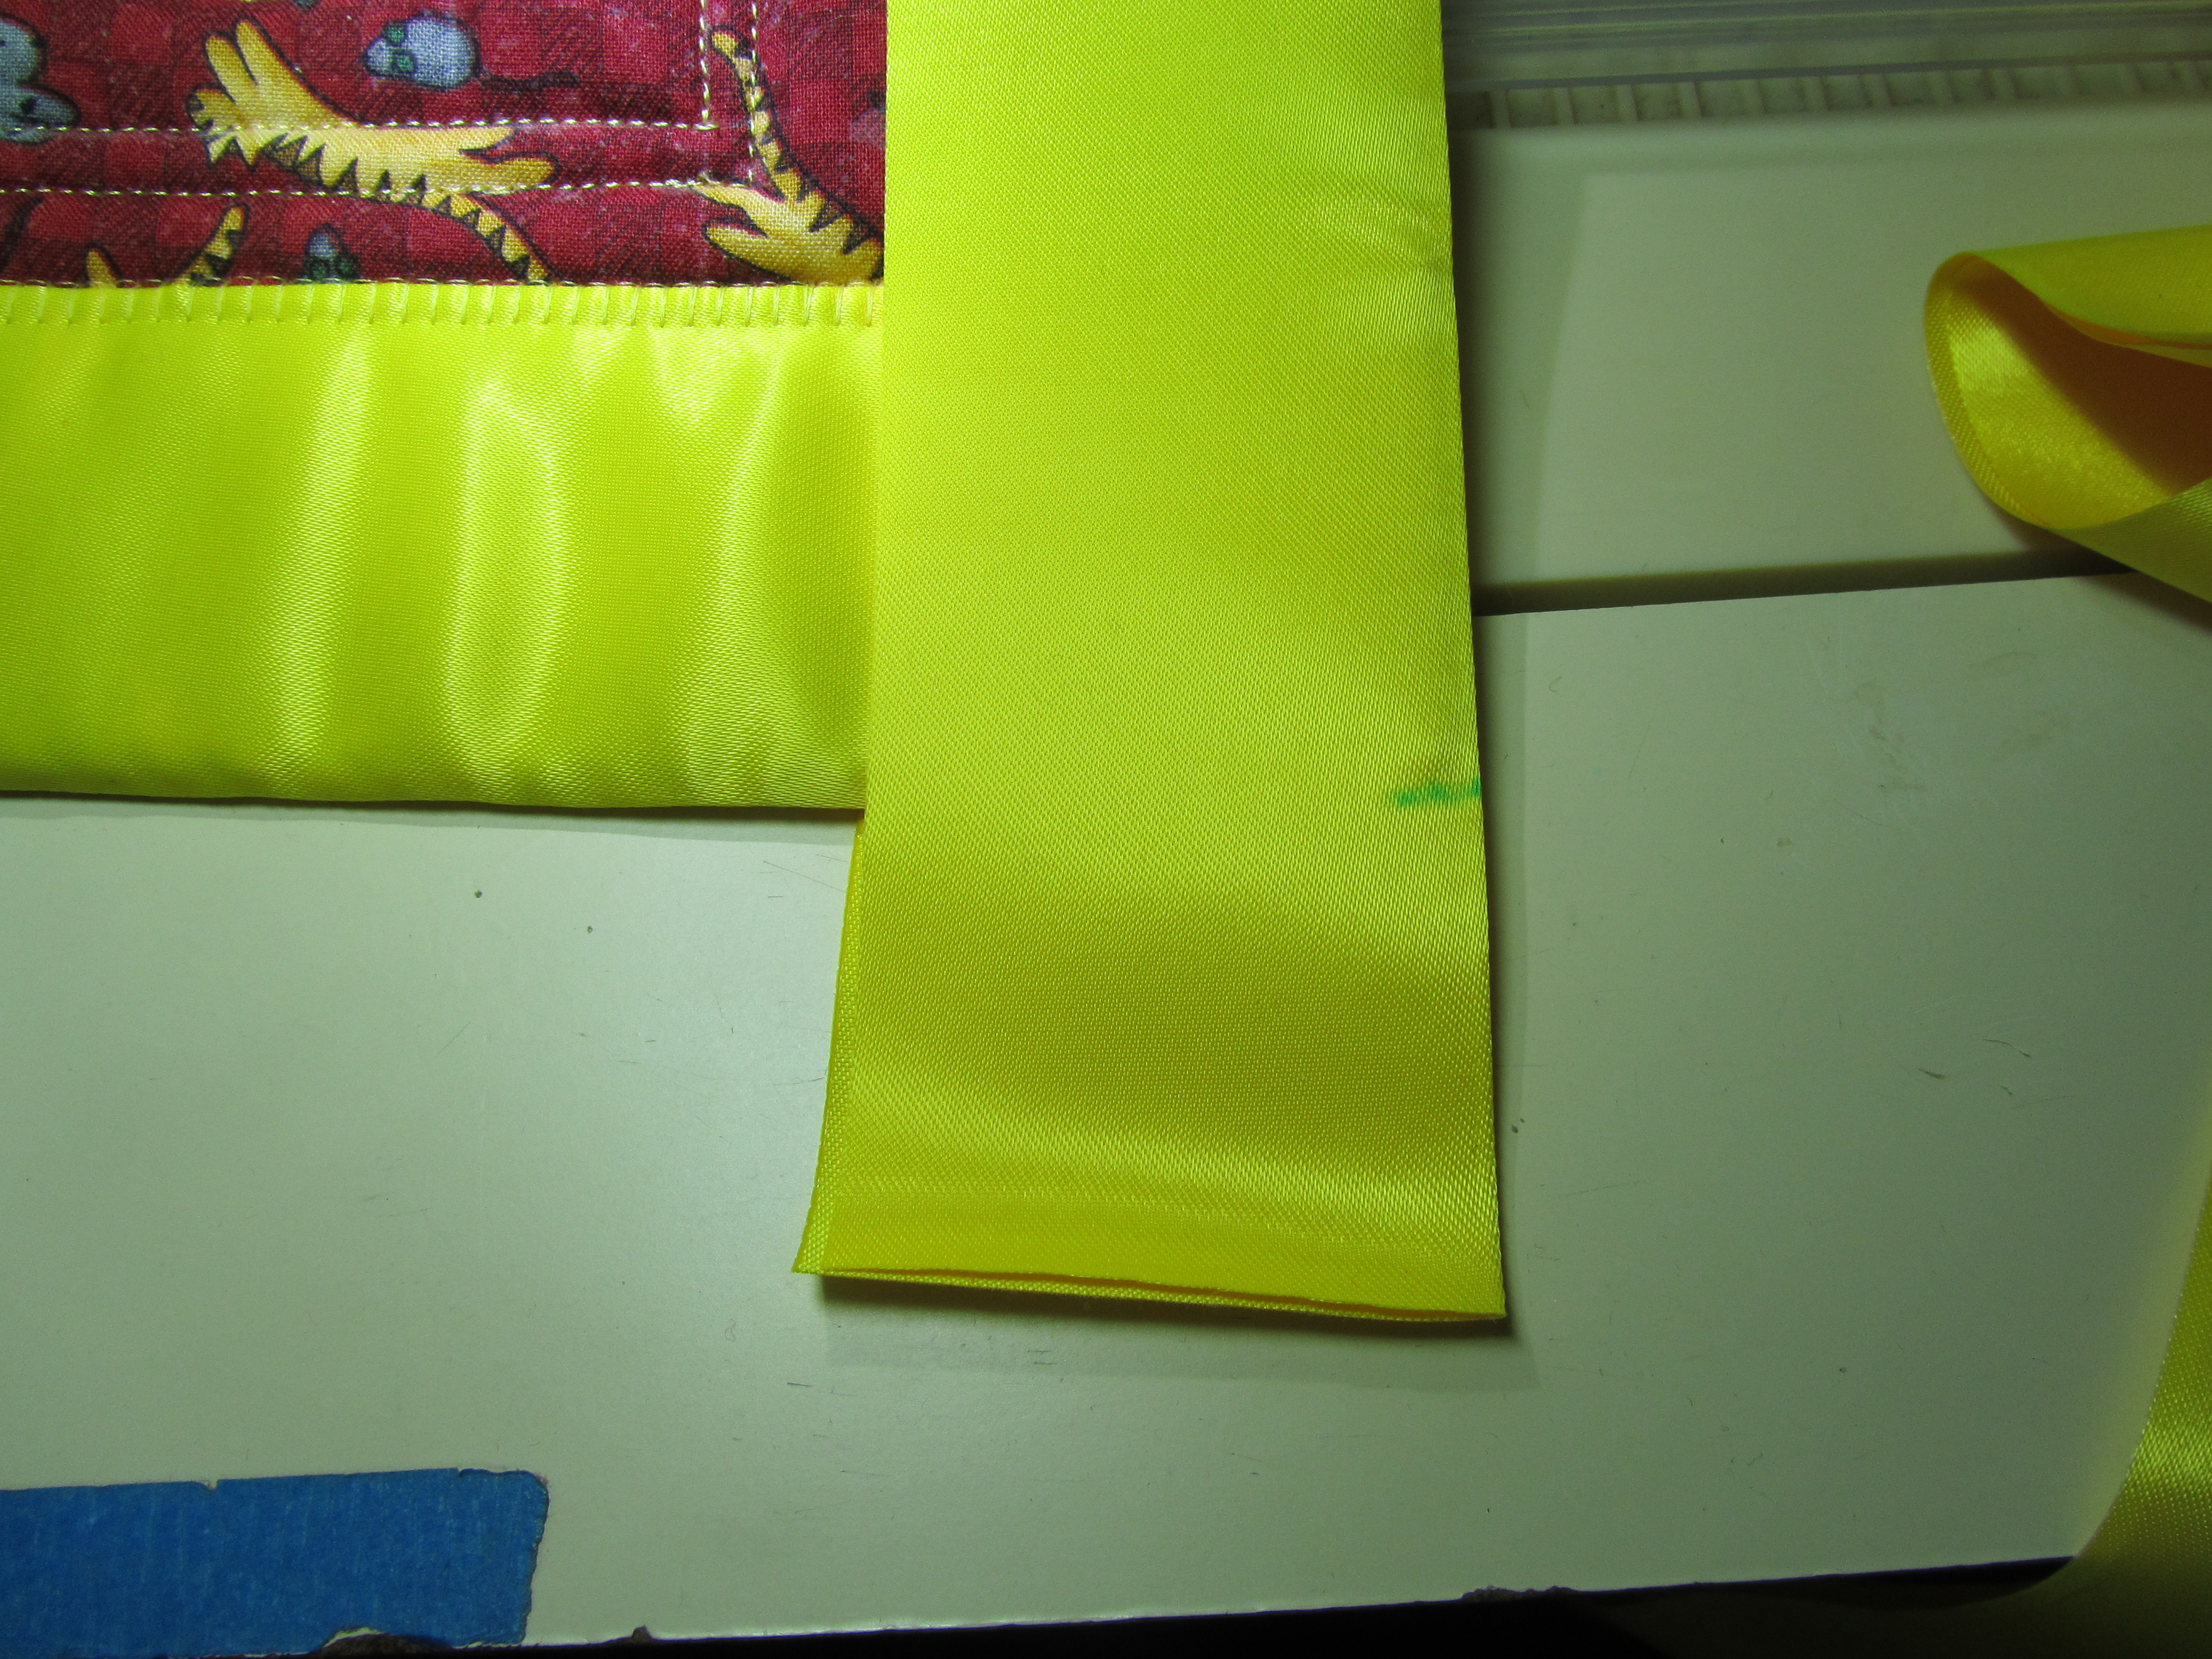
Mark the edge of the binding where the edge of the quilt hits it. Cut off the extra binding an inch or so below your mark.


Fold the binding straight across where you have marked it. It will fight you, so you may want to press it. Then fold the corners in to form a “miter” (half miter). This takes make a few minutes and a few tries to get right. You may want to press it. I used pins to secure it. Now put the binding into place on the quilt, overlapping the binding where you began. Make sure it comes all the way to the corner, covering any raw quilt edges. If necessary, adjust the folding until it fits well. Pin securely on both sides. (This is a little bulky. I keep thinking there is a clever way to clip the extra bulk, but I have’t found it. More important to keep those raw edges under wraps.)

Return the quilt to machine to finish sewing until you reach the miter. Pivot and sew along the miter out to the corner. Backstitch securely and admire your bound quilt!

Honestly, this binding is easy! Writing about it took much longer than doing it! This my first tutorial, so I have no idea if any of that made sense. Please let me know what you think, and ask questions about anything that wasn’t clear.
 I’m linking up with Tuesday Tutorials on The Kurtz Corner.