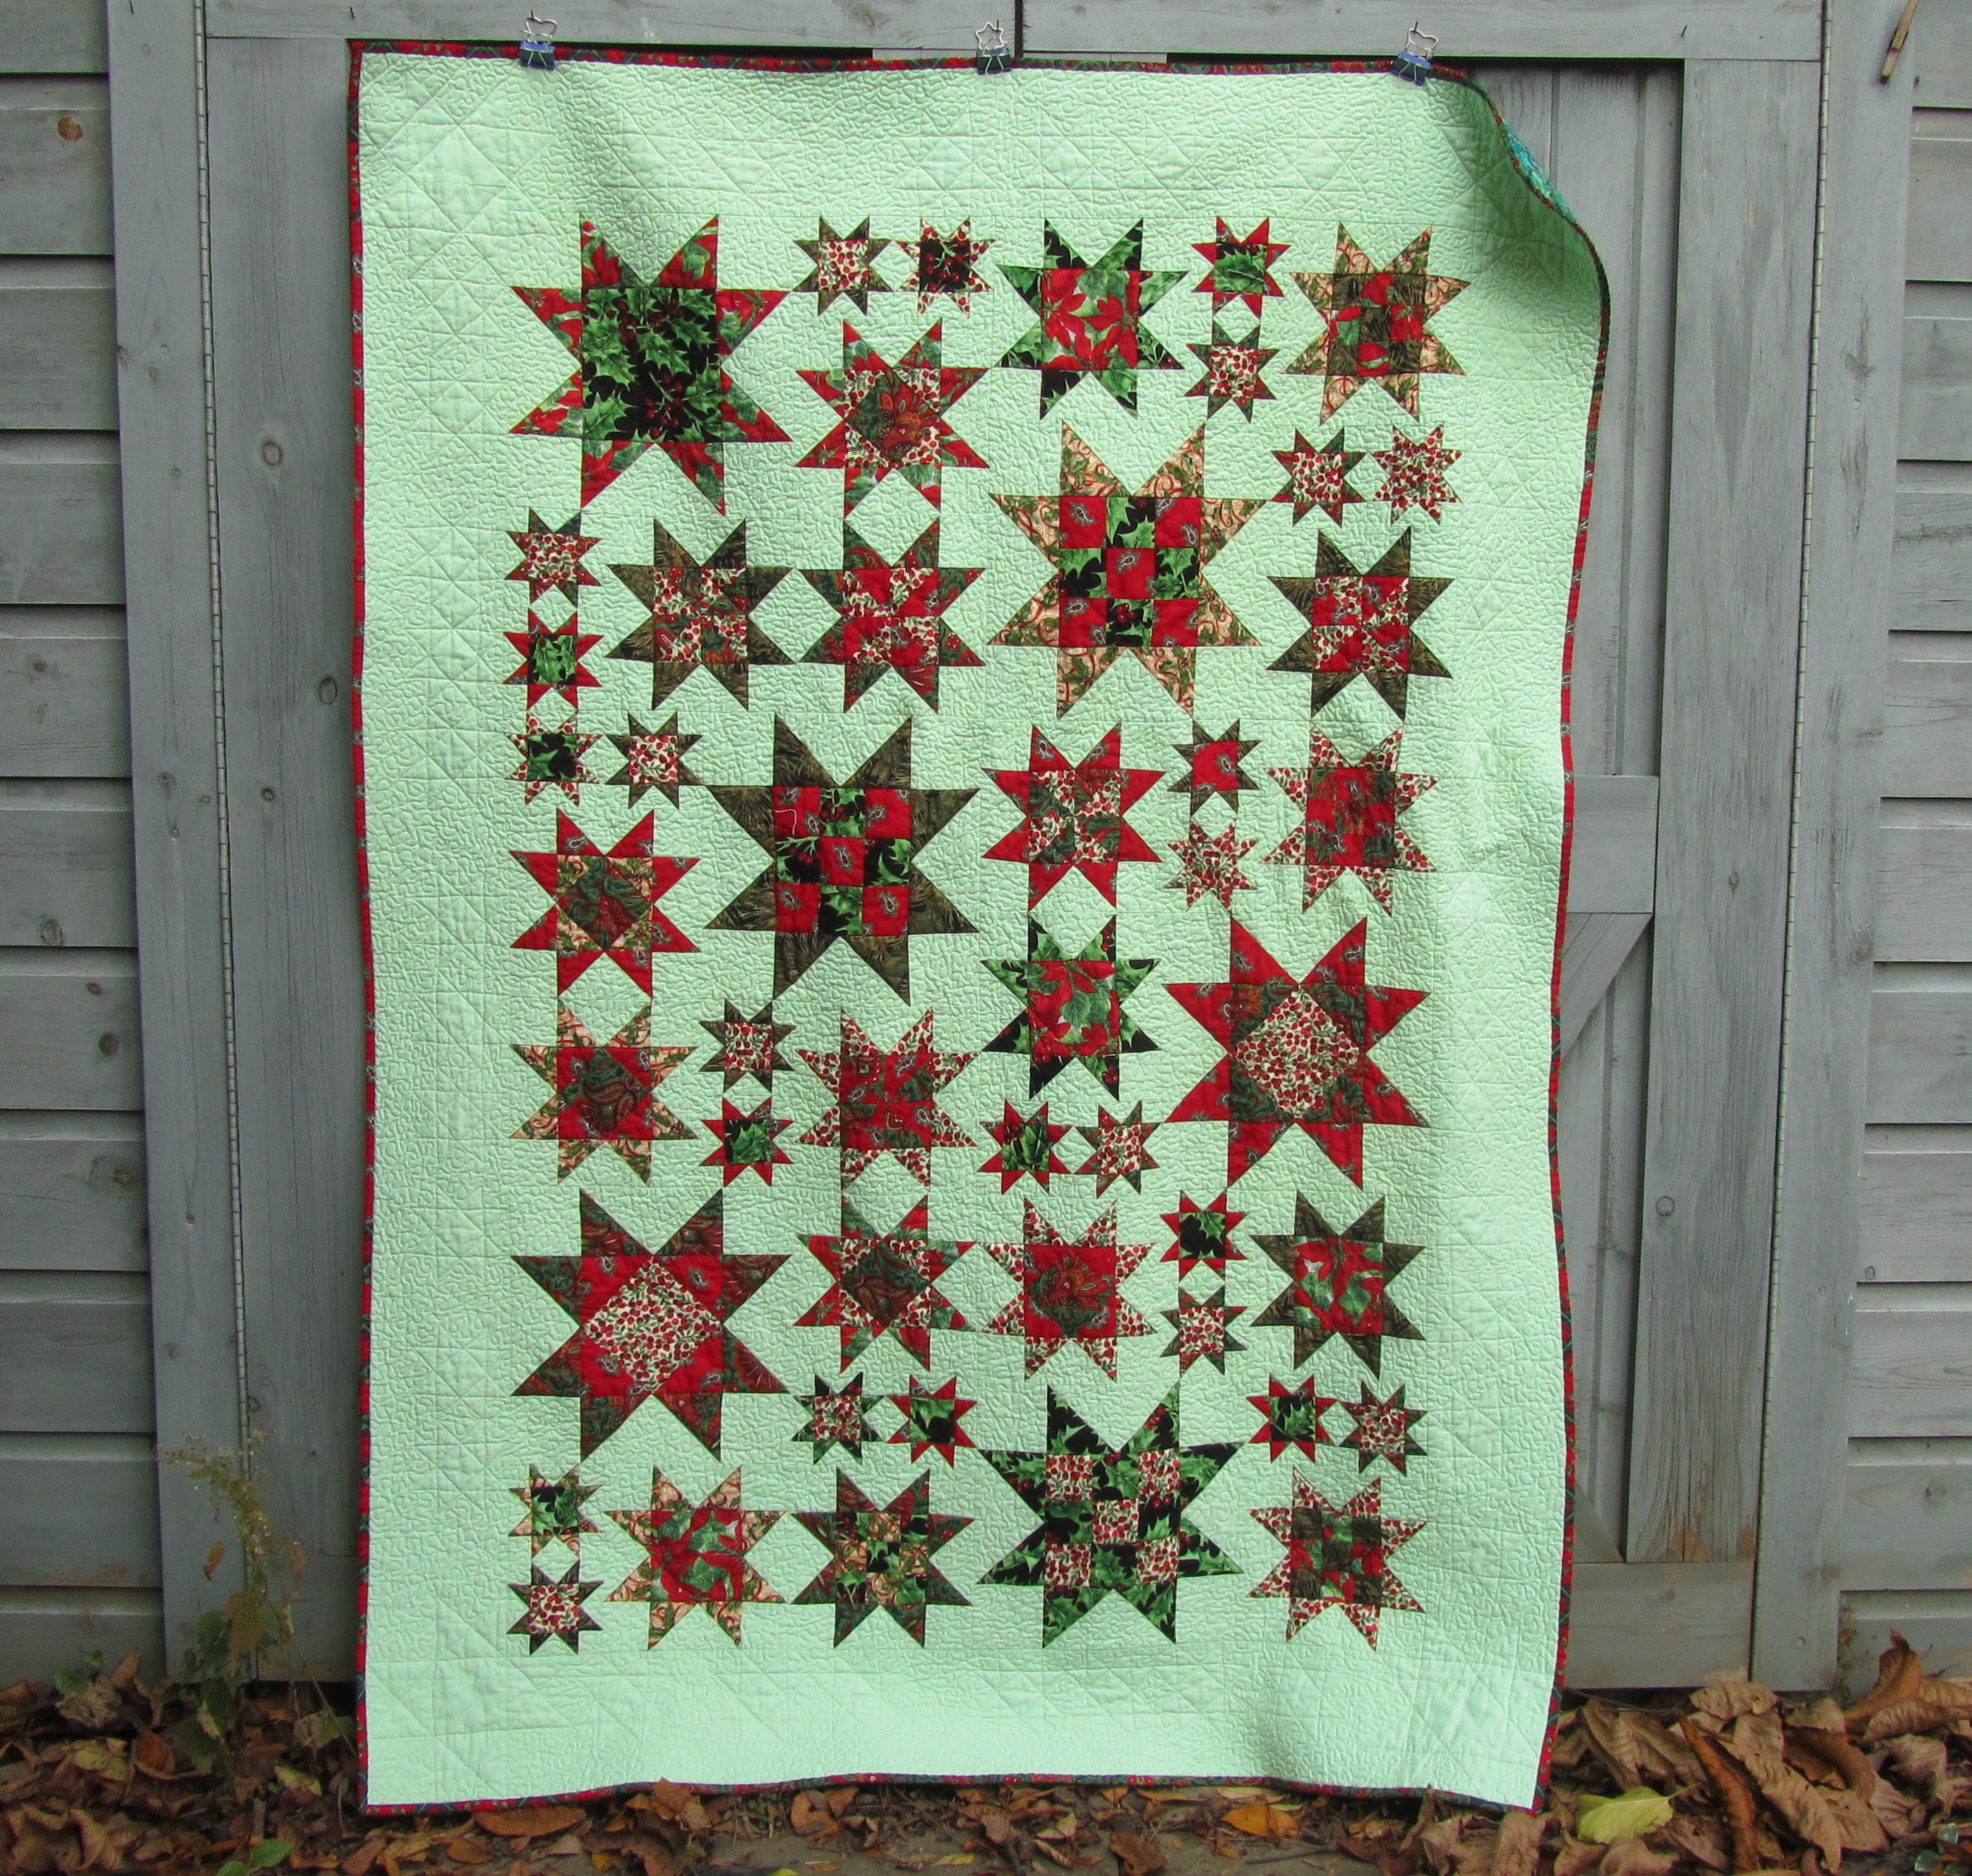
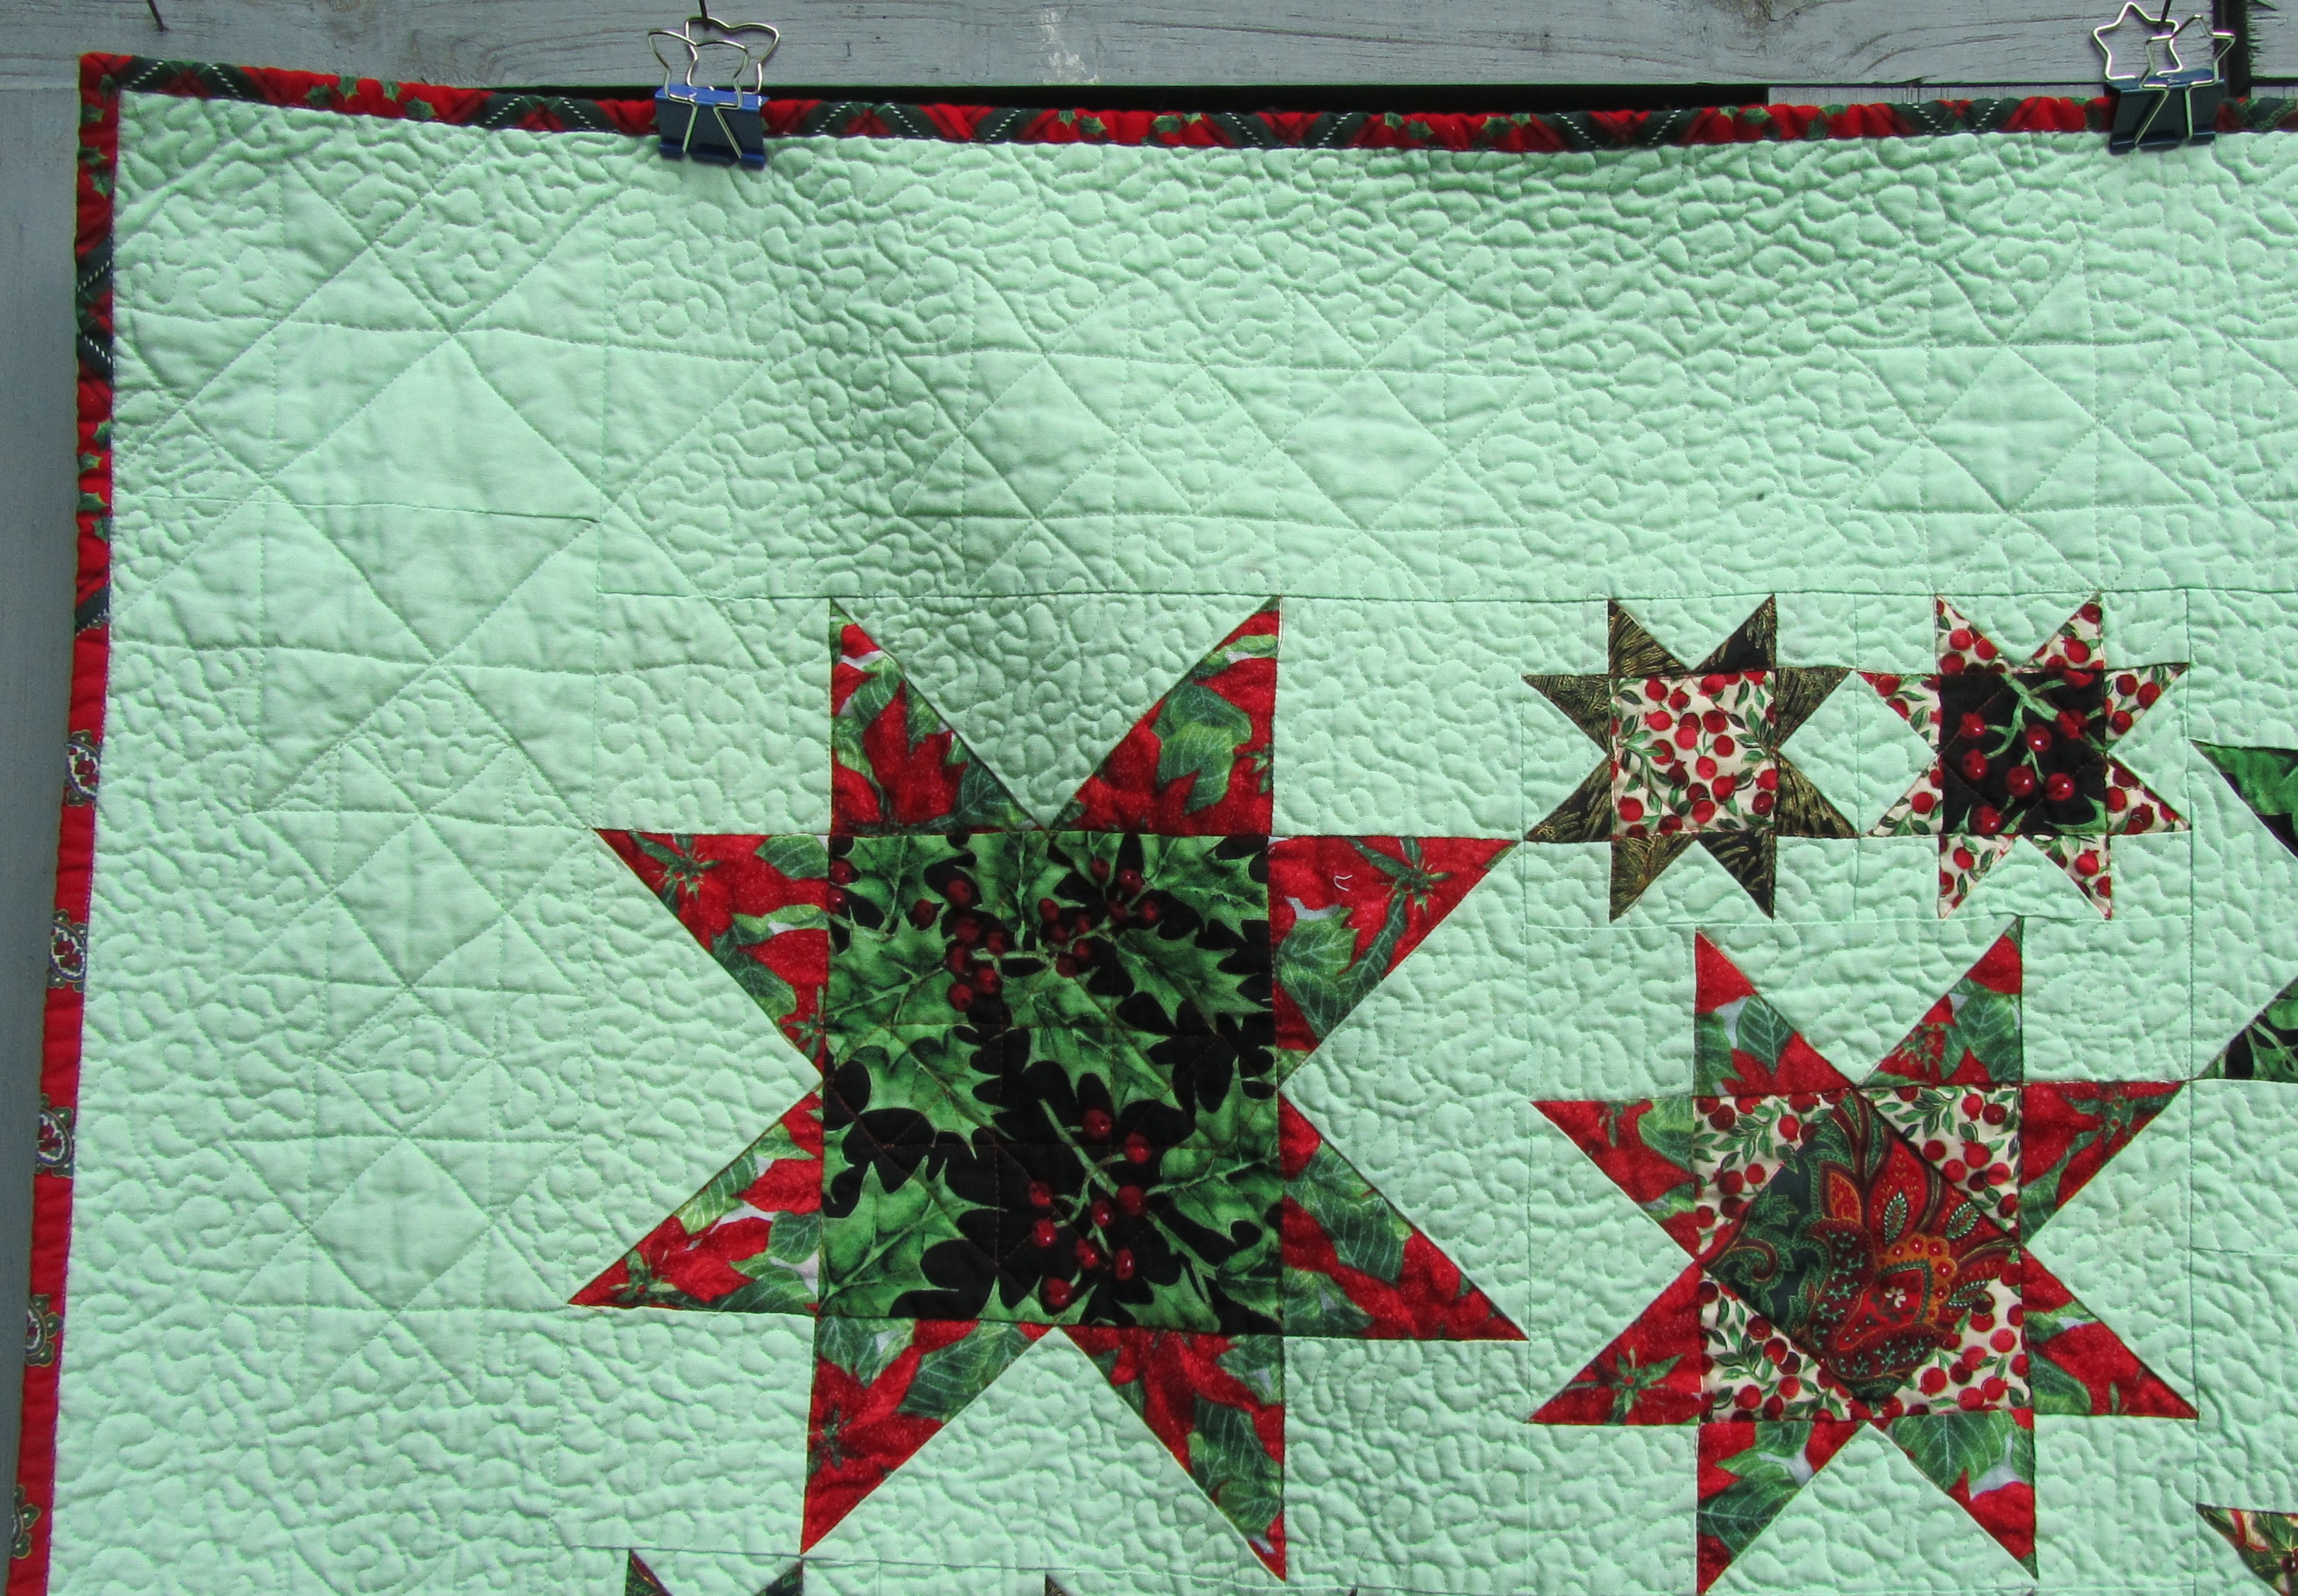
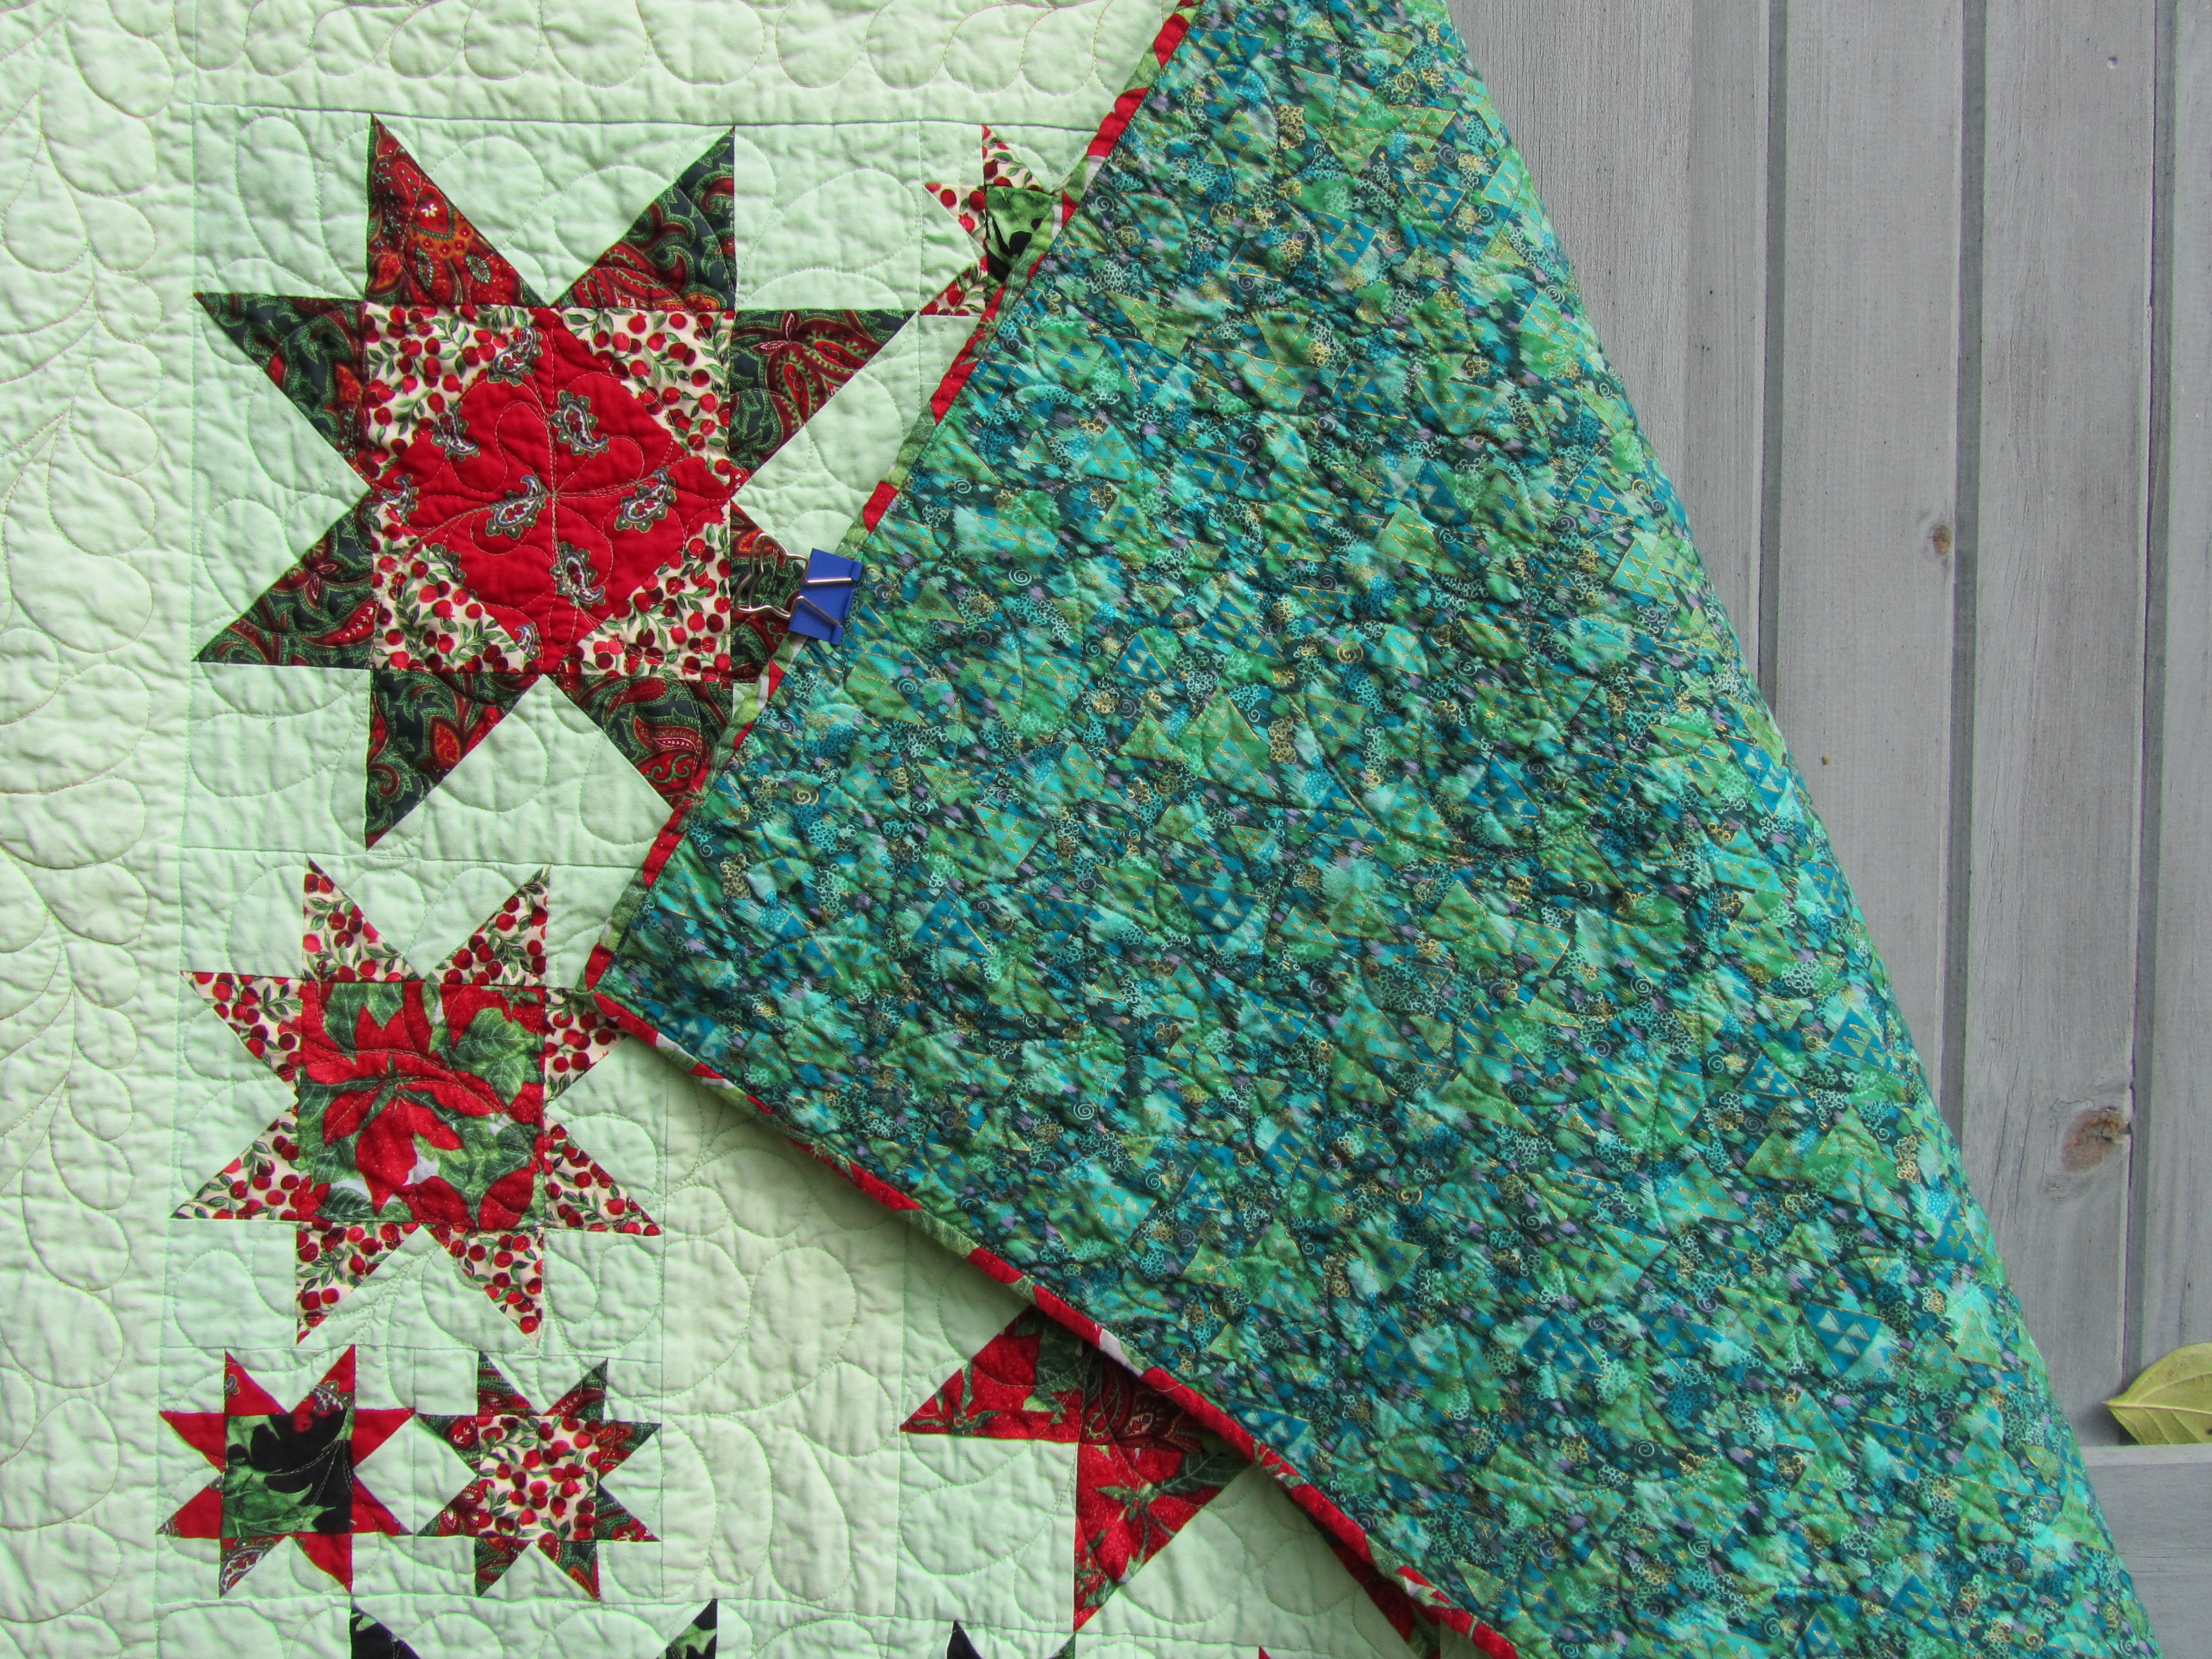
Here is the first of my two finishes from this project. I love the fabrics and the minty green background (Kona “Mint”!). This one has lots of crinkly texture from all the stippling. I don’t have too many UFOs, but this one has been nagging me, and I’m glad it’s finished, and in time for Christmas.

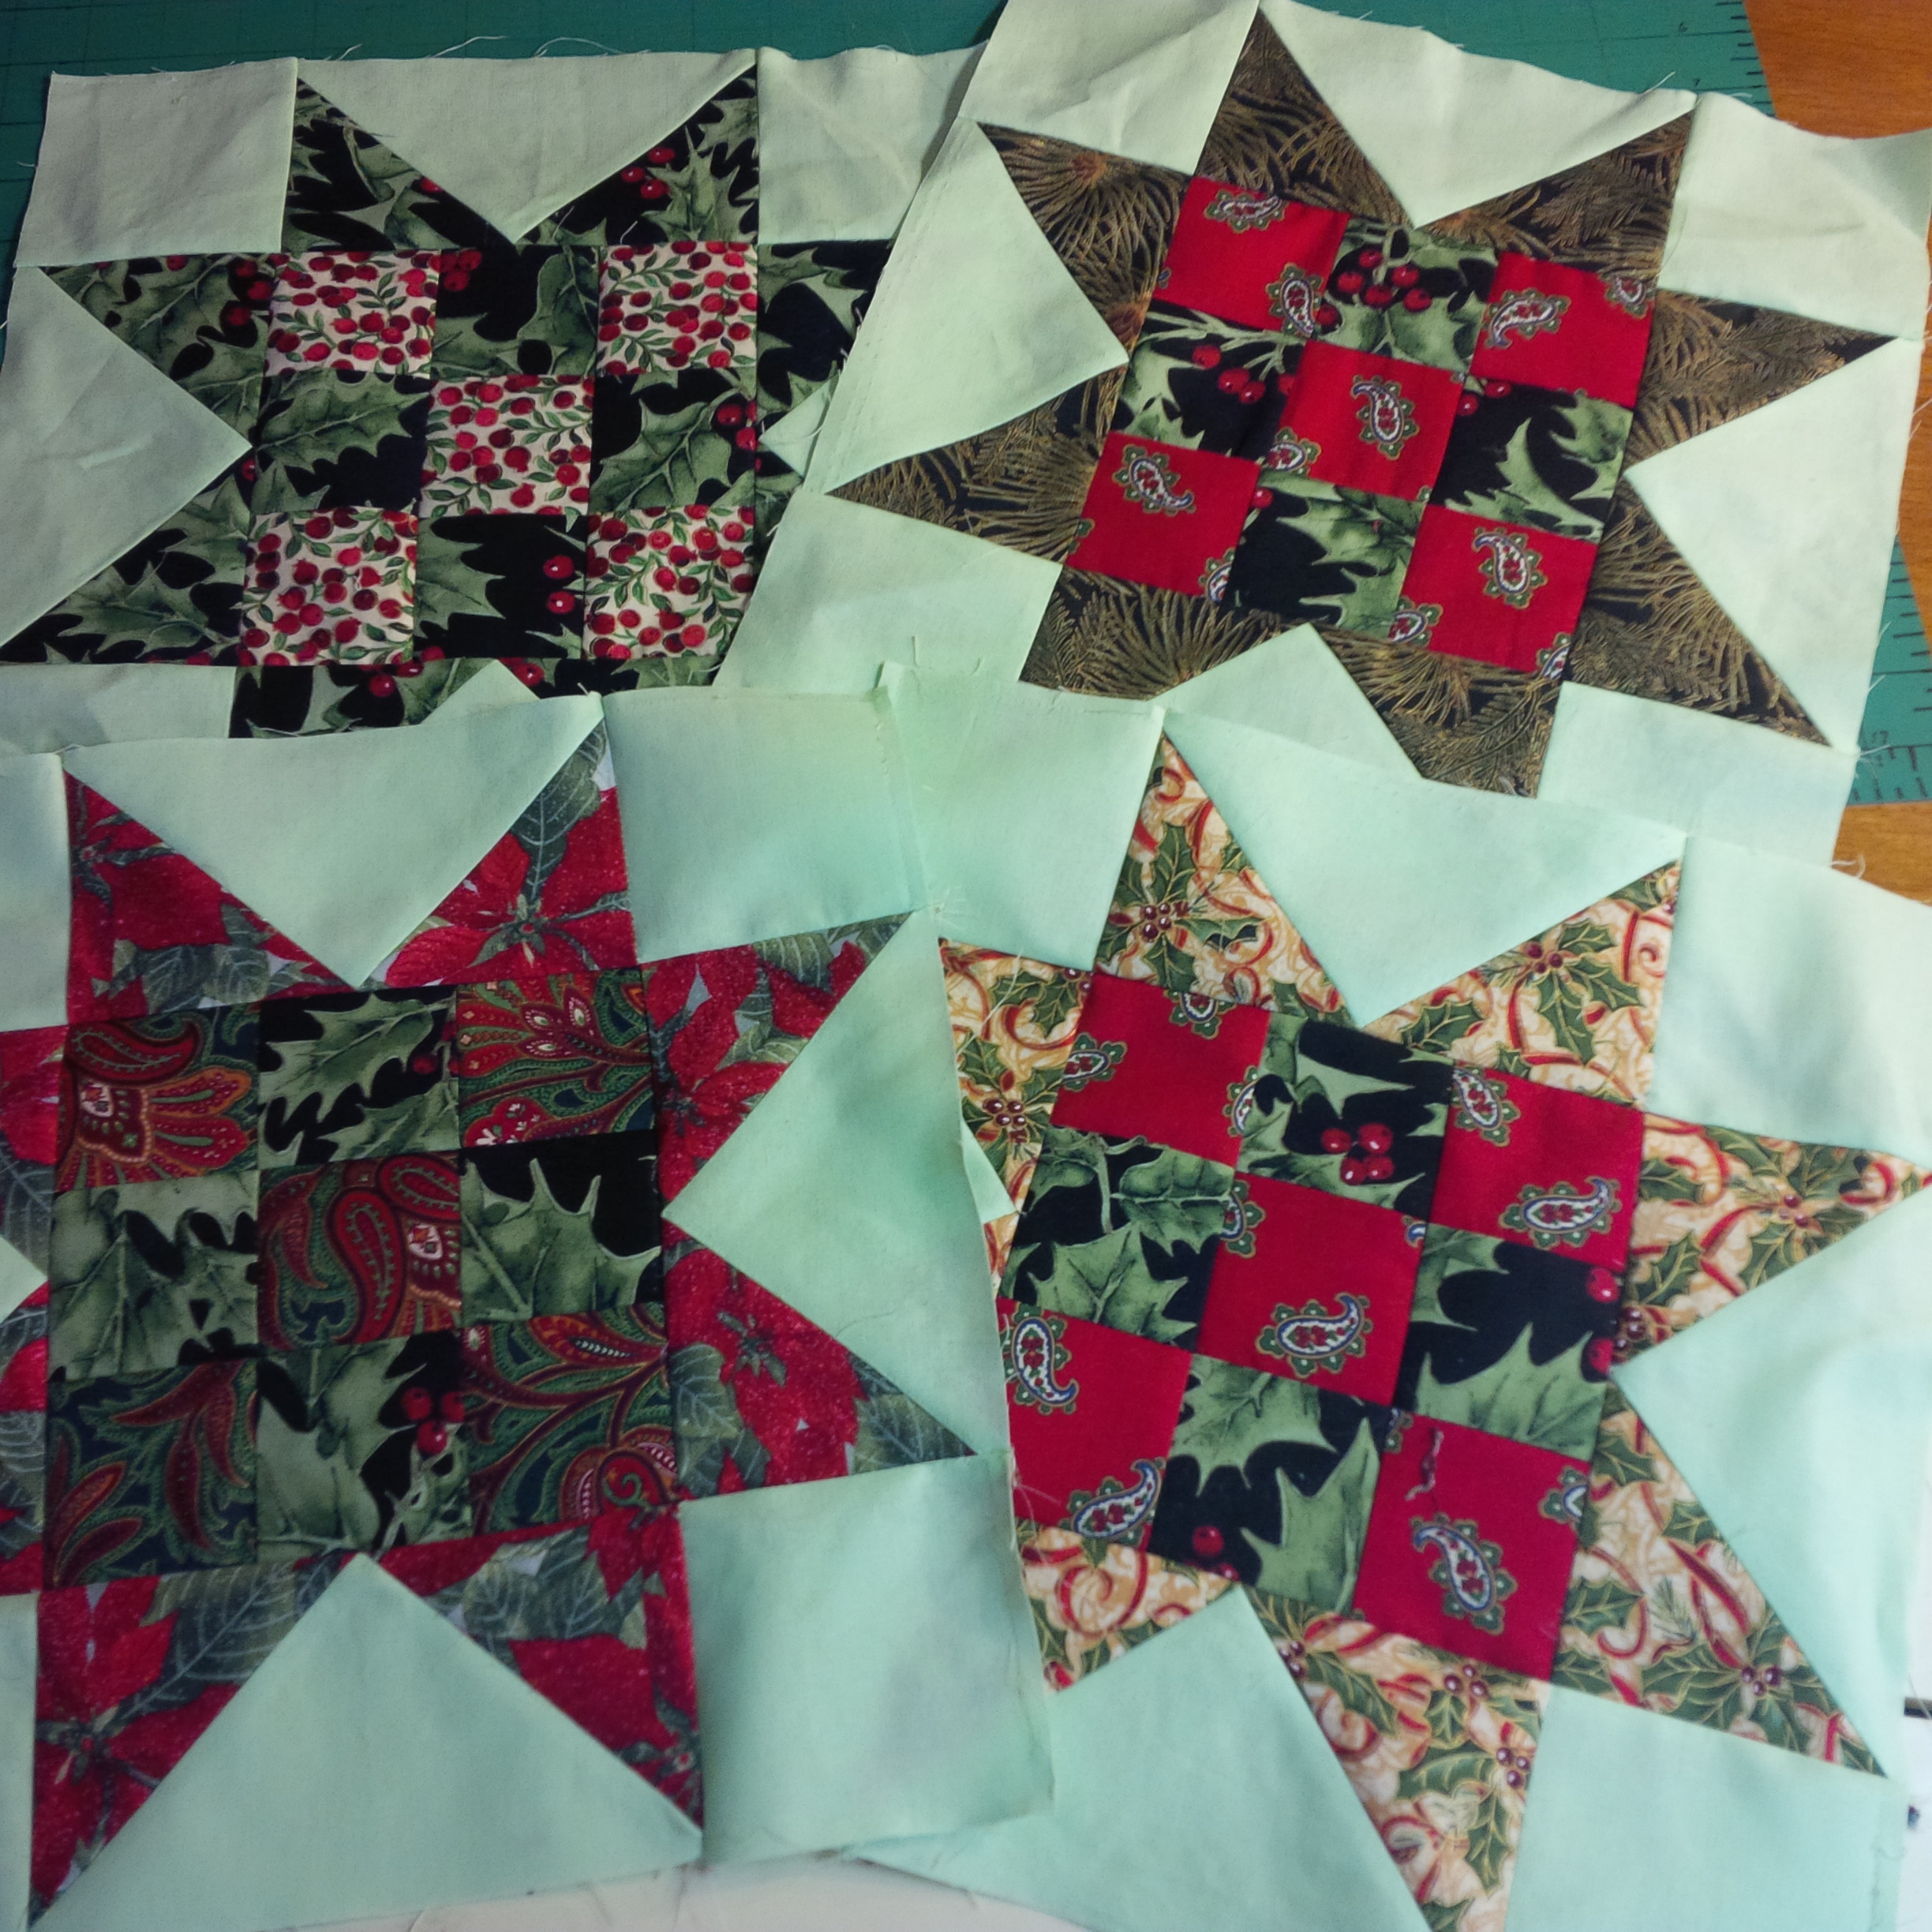
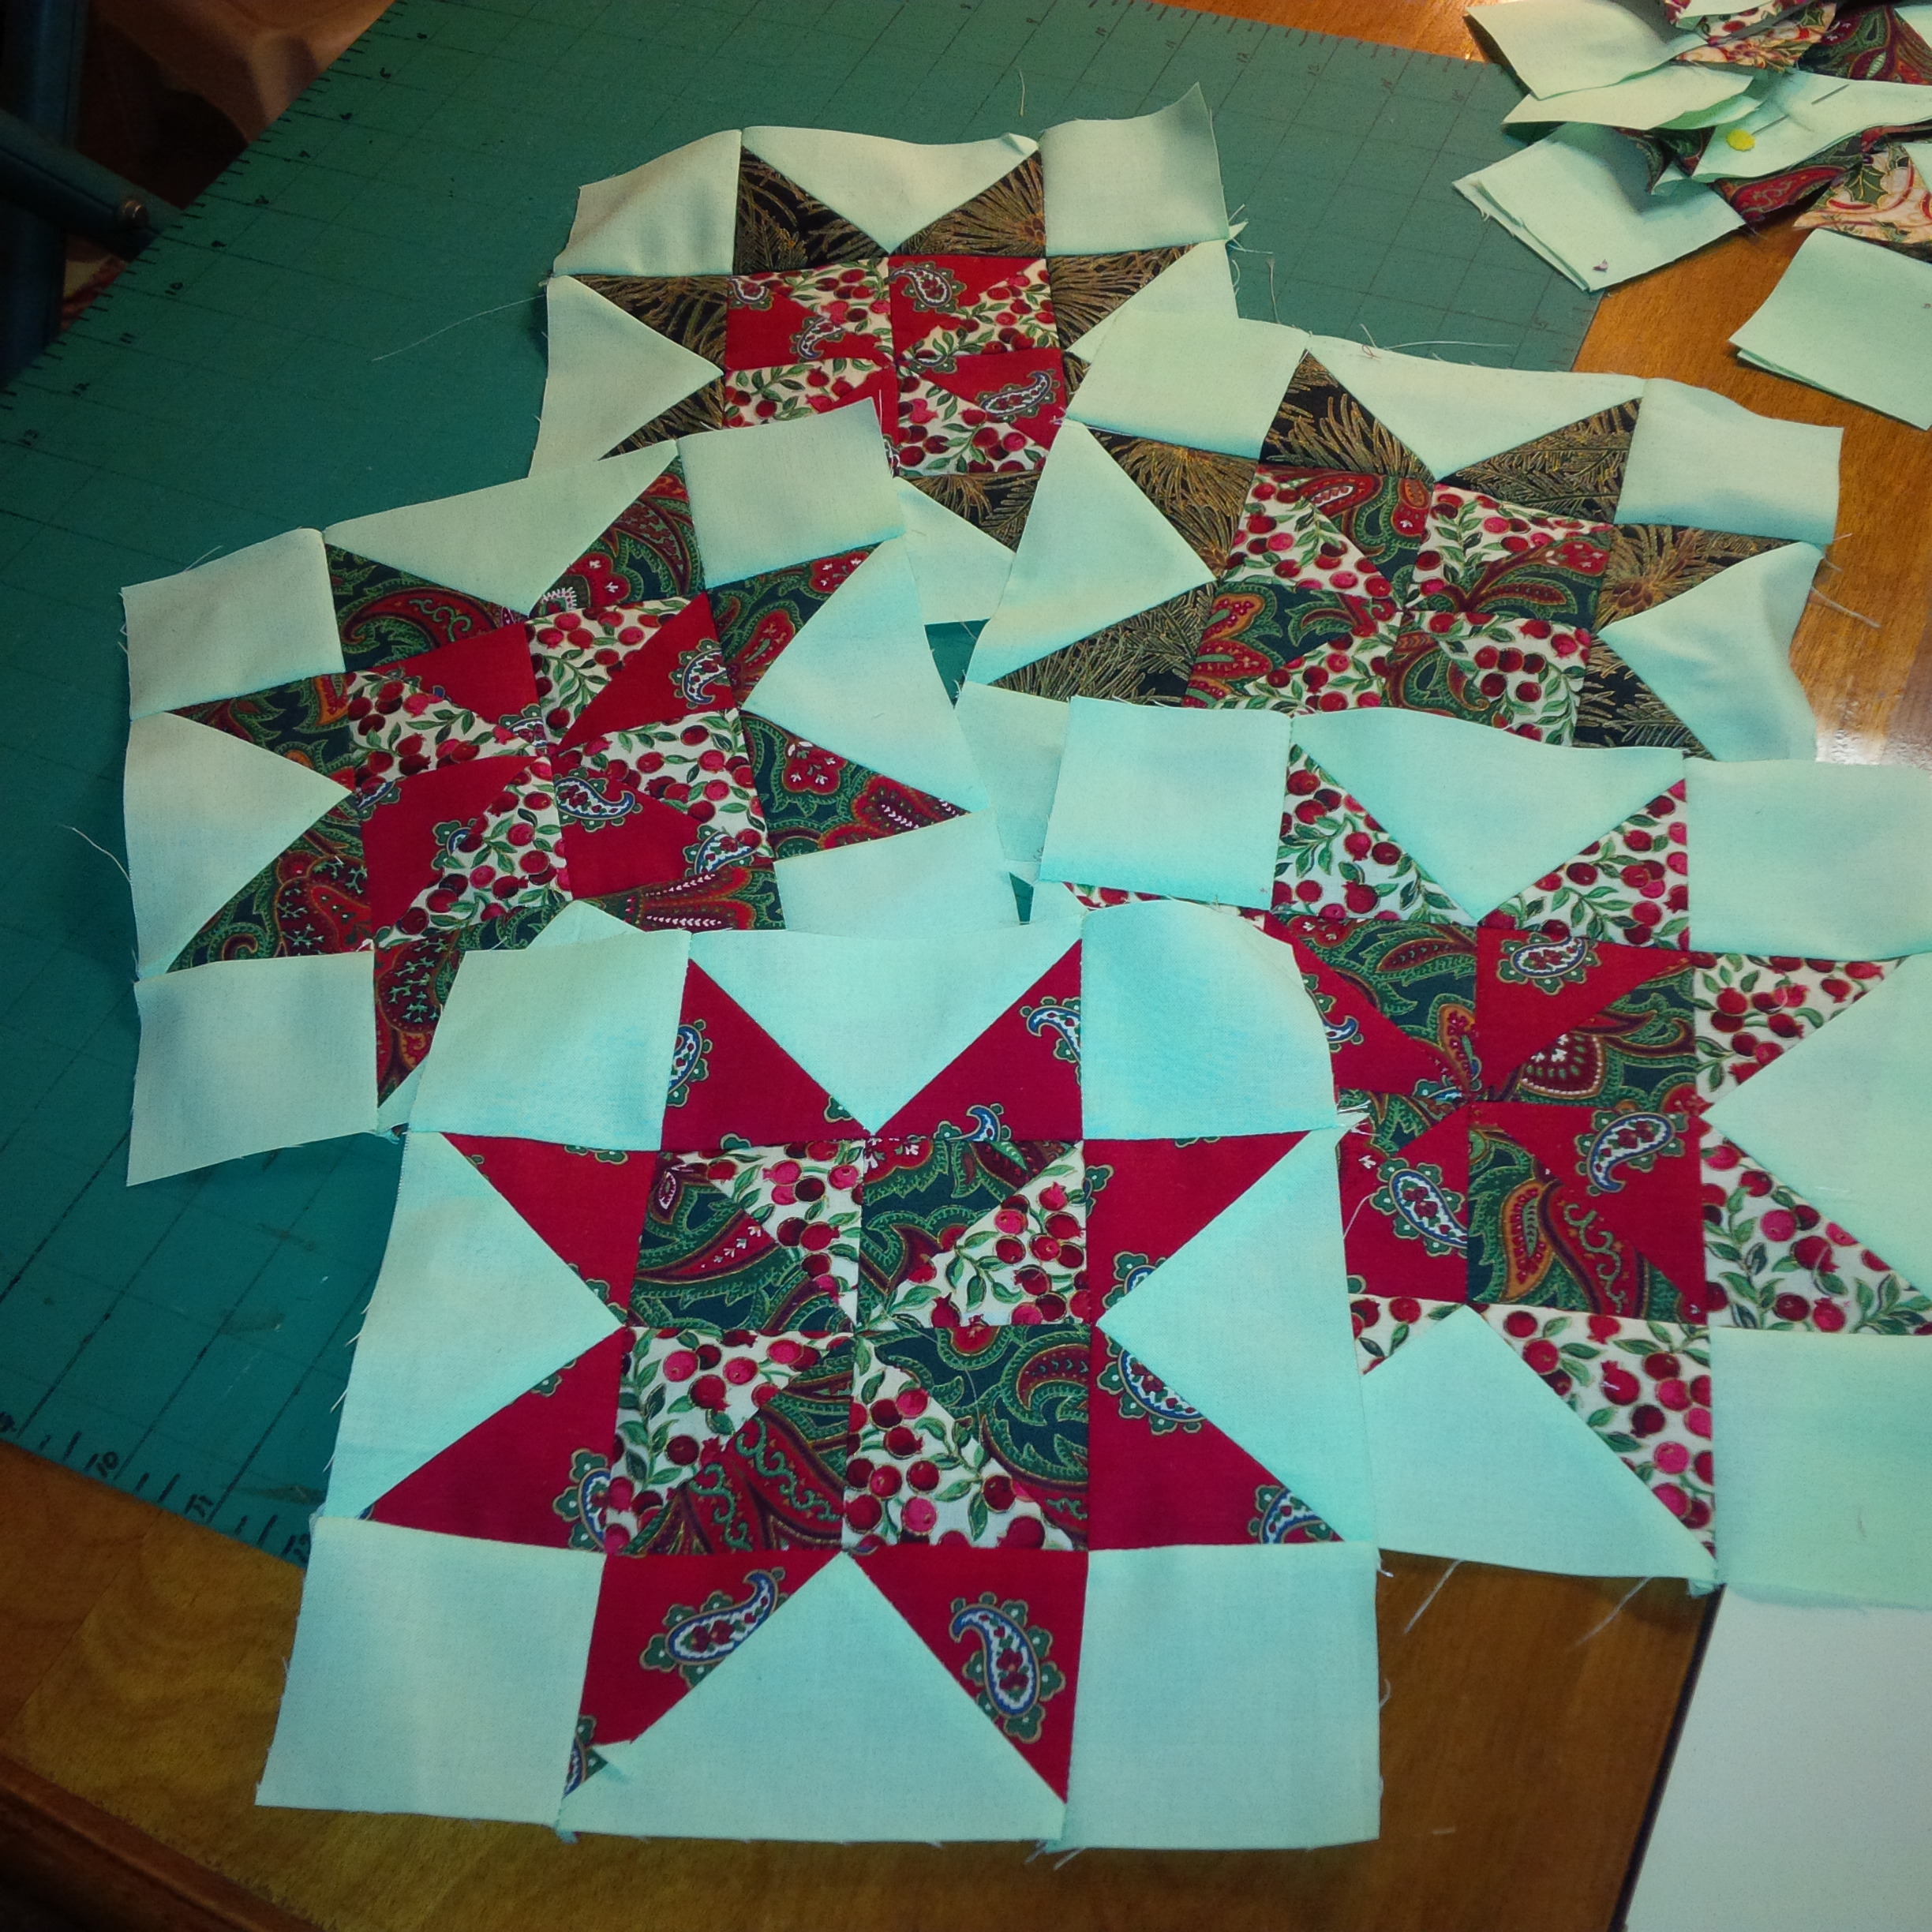
This project came from “Oh My Stars! ( a Quilt-Along)” by Sheila of Thought and Found. She organized this almost exactly two years ago, and she did a great job offering twelve different versions of Sawtooth Star. I never intended to make all the very detailed versions with my large-scale Christmas fabric. I stuck with four of the simplest, and I’m happy with the result. Some quilters did amazing things with this pattern, though. Check out the Flickr group to see some.

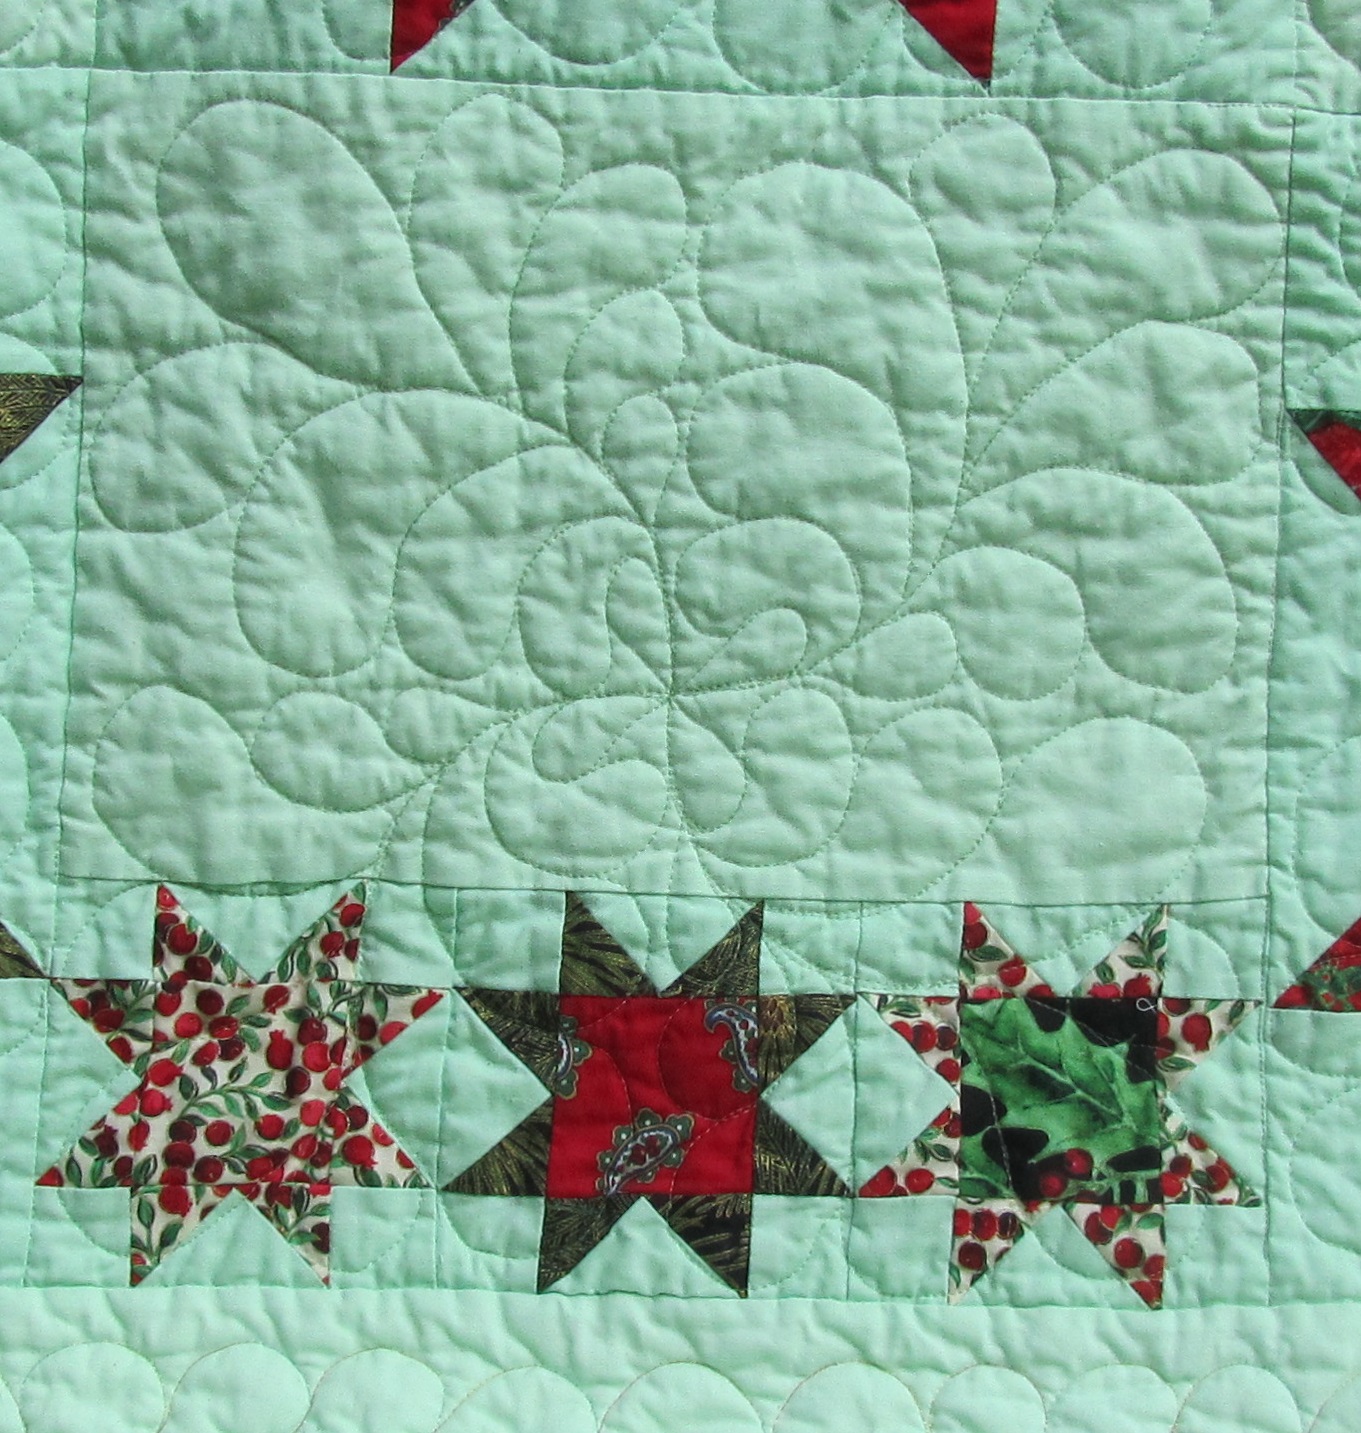
This first quilt measures 52″ x 72″. I quilted all the blocks in the ditch, and stitched the diamond design into the plain blocks. In the border, I quilted 8″ and 4″ Sawtooth Stars, and stippled everything else in the green background. That was a lot of stippling, and I was glad it was finished. The texture is great, but it’s not very original.

The backing for both quilts is a busy green print from my mom’s stash. I had in mind all this time that it had stylized Christmas trees on it, but they’re just triangles. Looks good, anyway.

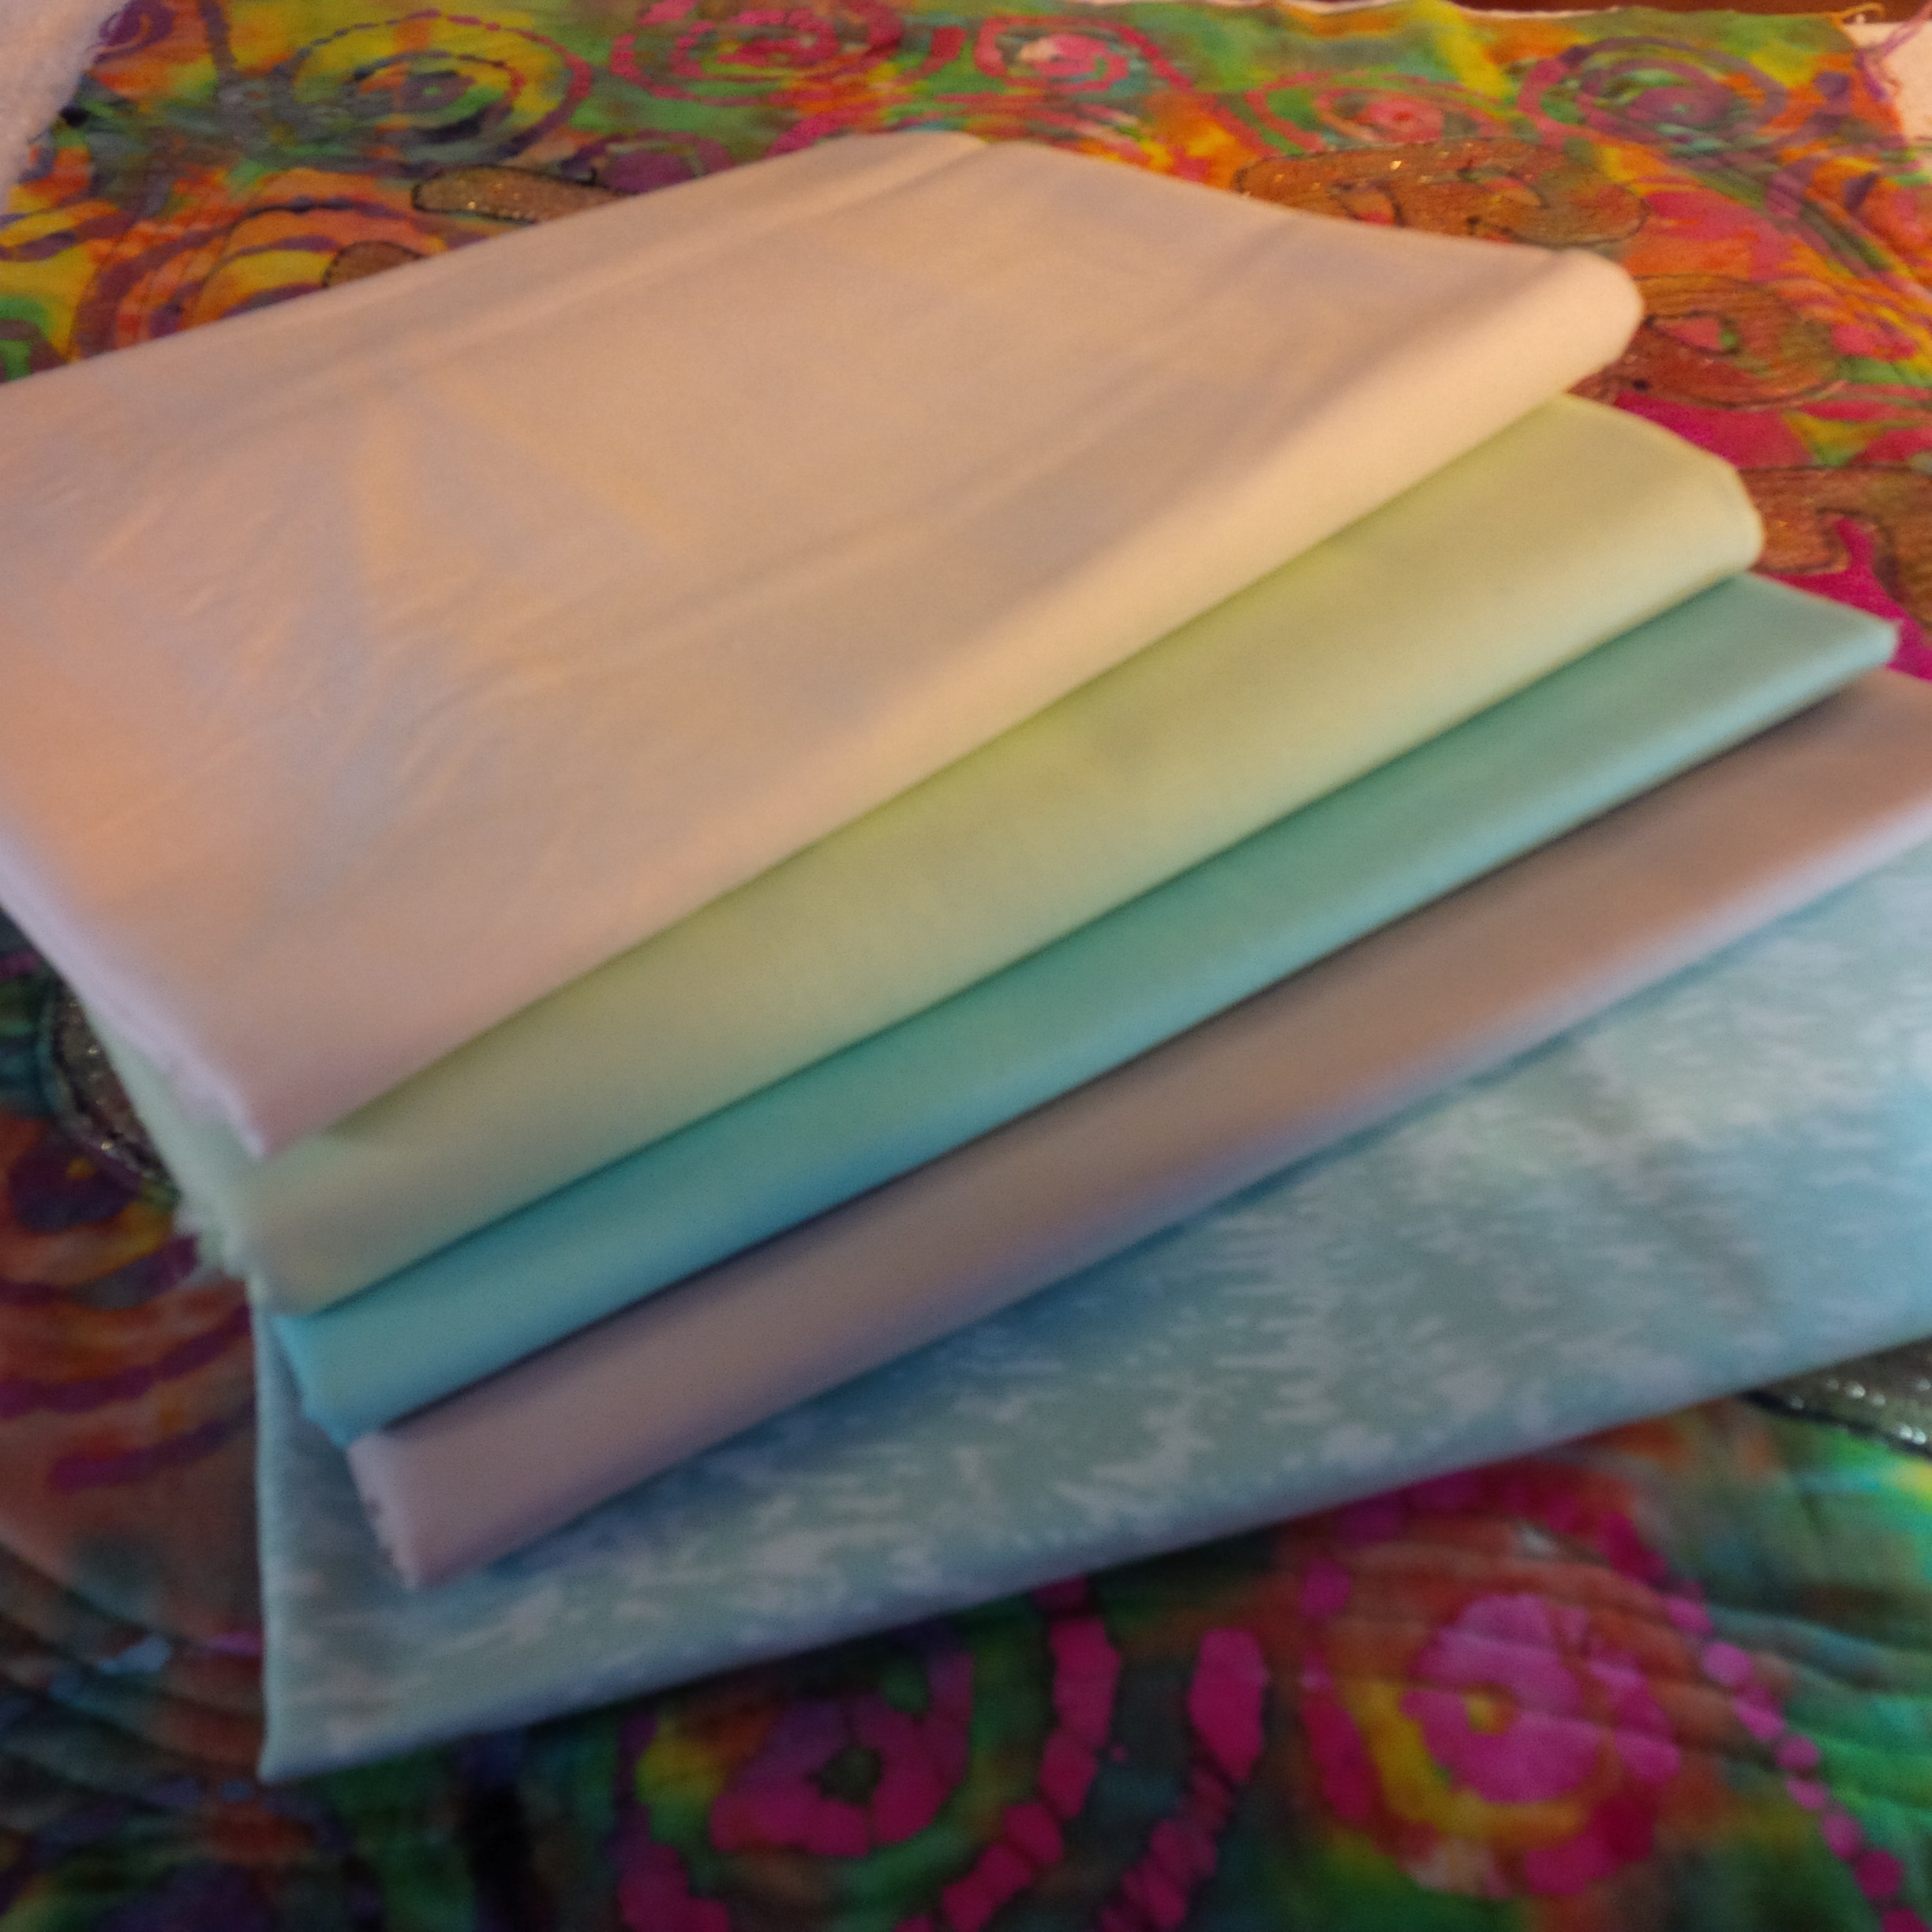
The second version had a few problems. I needed more Kona solid for the borders and to fill in the empty spaces. I like the effect of the extra space in the design. Unfortunately, when the Kona came, it was not the same color as the original. As a sometime knitter, I know all about buying enough of a dye lot for a project, but I hoped that Kaufmann had it down to a science. Also, it seemed a little thinner than the original. The difference doesn’t show much in these outdoor pictures, but under artificial light it’s pretty noticeable. Not awful. I did arrange it carefully, and hope it looks like a design decision.

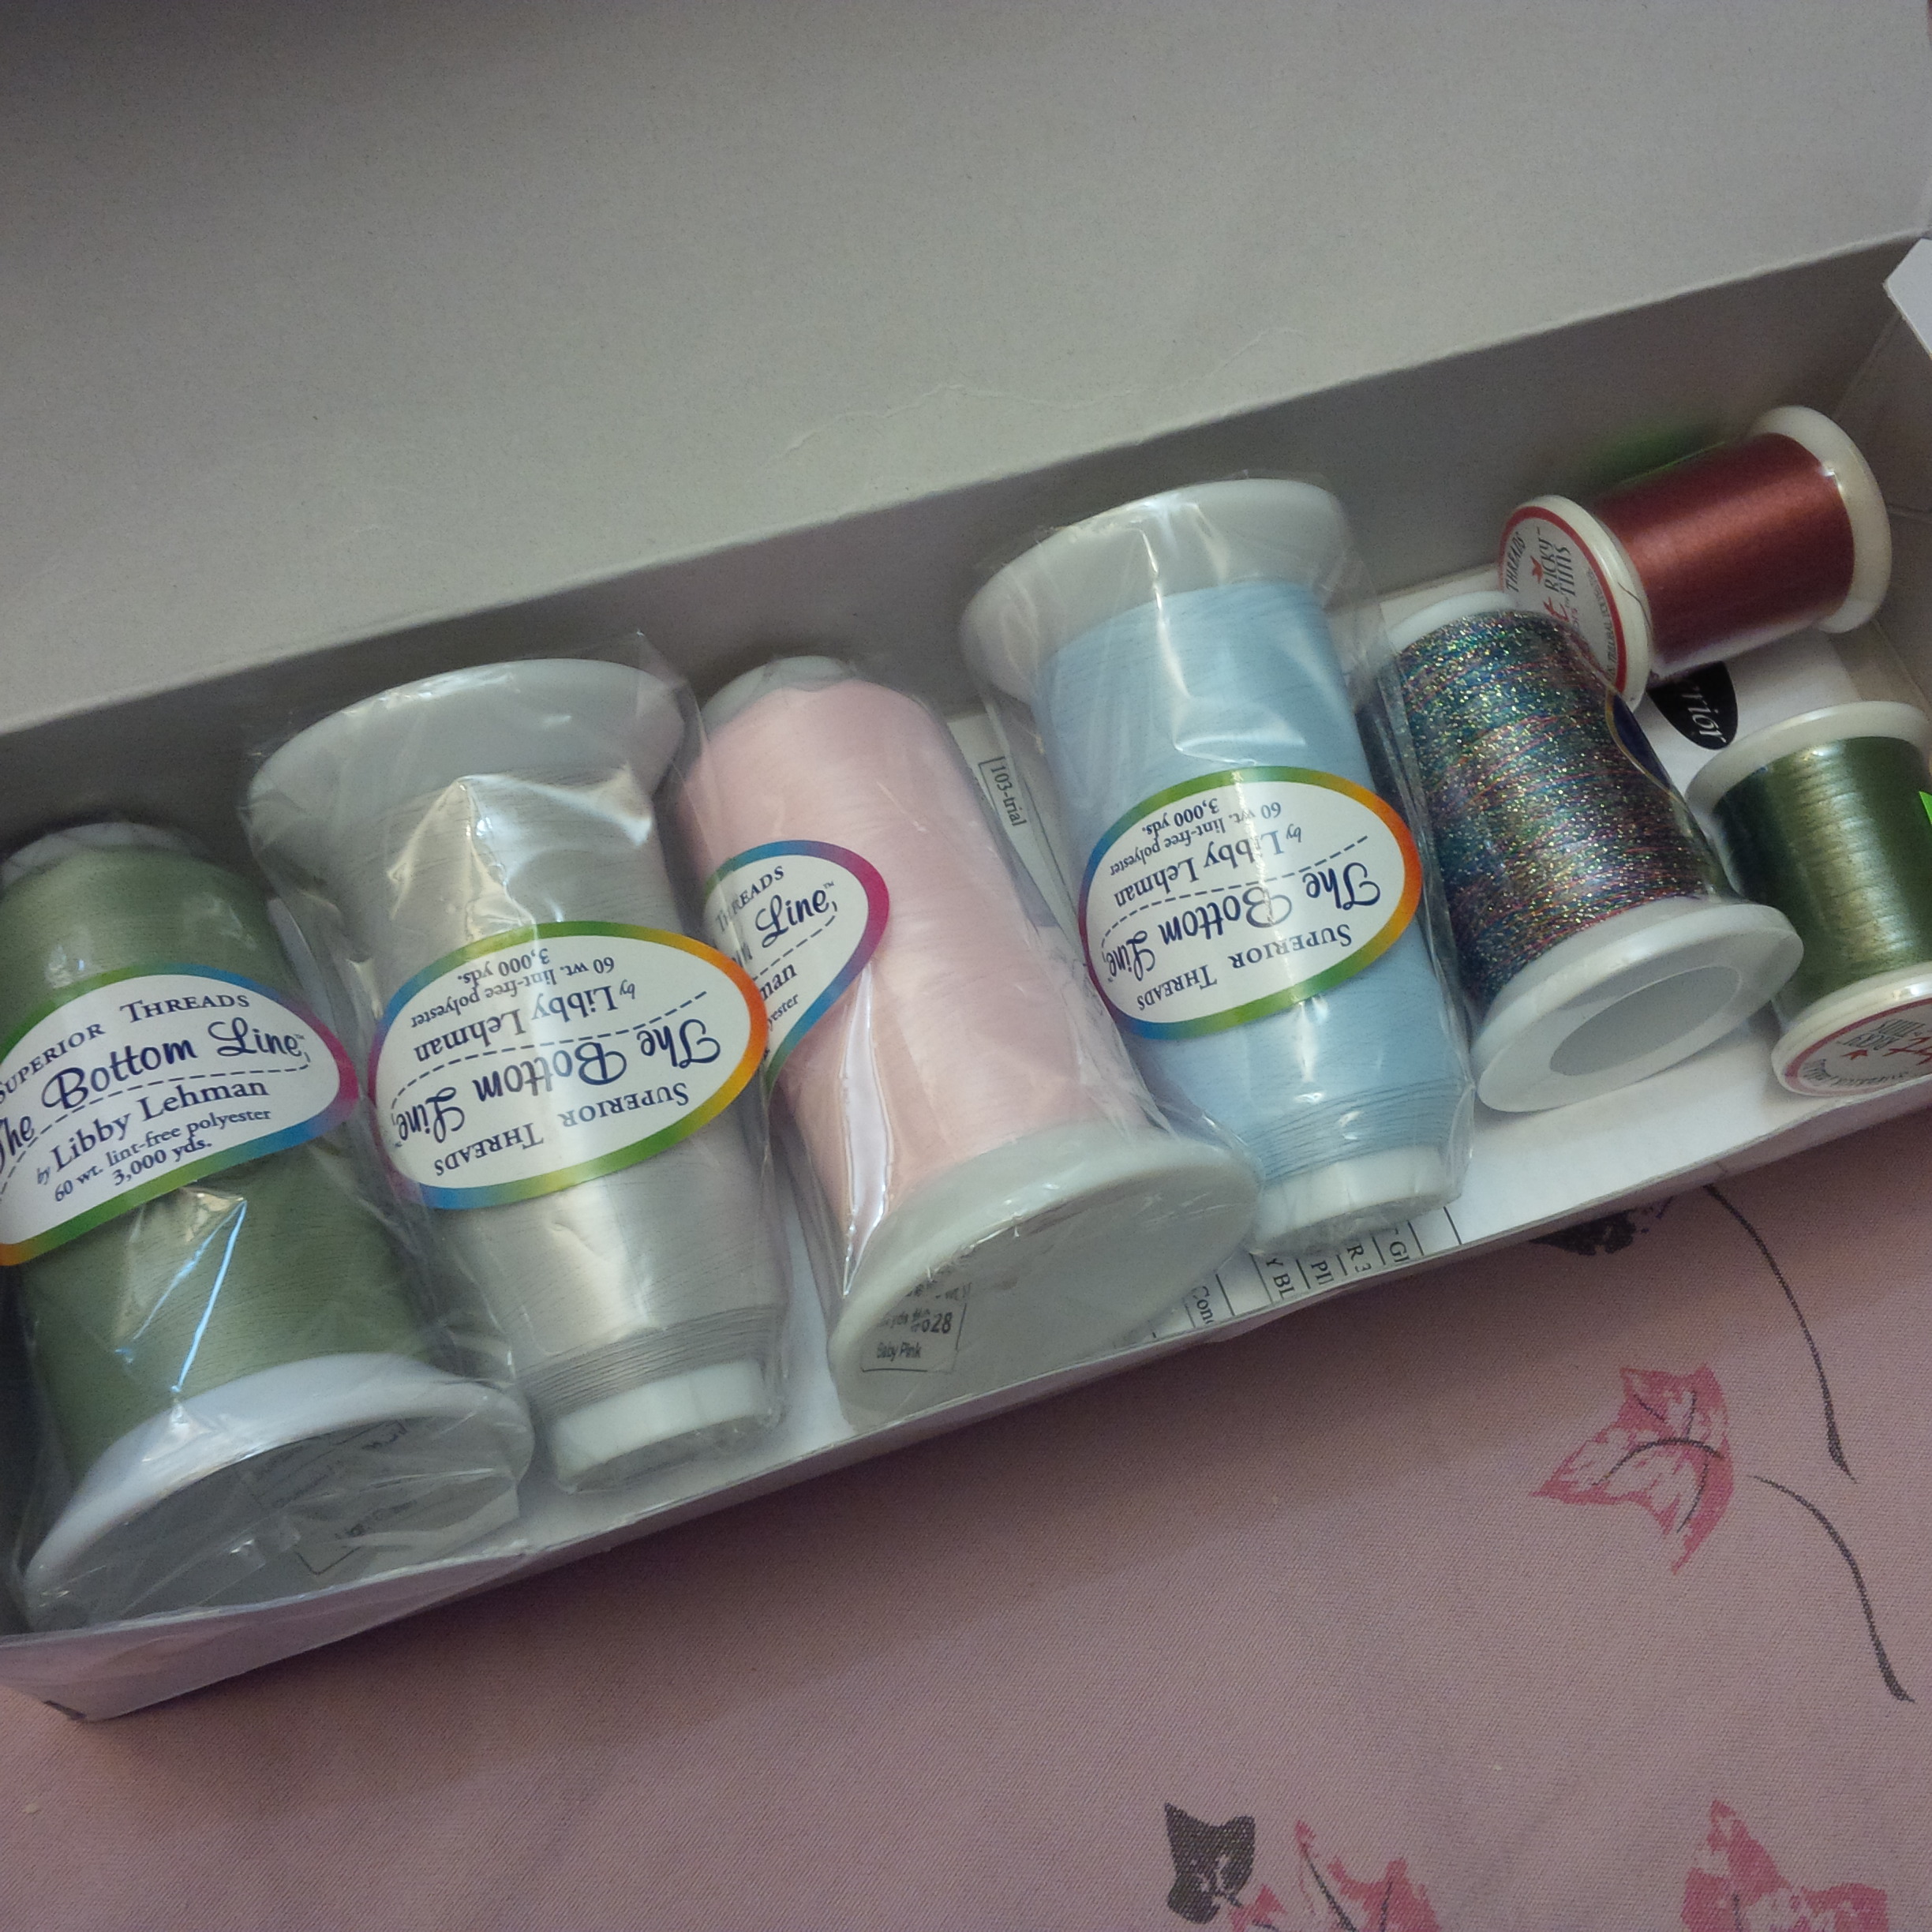
Then I made the decision to quilt the feather border using a red, green, gold metallic thread. I can’t blame Sulky for the problems I had with this. This thread is really old (and I still have a spool and a half!), and seems to have sort of formed to the spool. My machine does very well with all kinds of threads, and I did a test first and had no issues. The thread didn’t behave too badly for the spine and first side of the feather border. It seemed like the farther I got into the spool, the worse it got. It stuck to itself and seemed rough in the machine. I found that if I manually pulled off a few lengths of thread first, I could sew a few feathers, but there was still breakage.

That, and Yuri’s interest in this process, didn’t make for very smooth feathers. I thought this might be a job for Sewer’s Aid lubricant, but my JoAnn had never heard of it. In desperation, I took the spool to the garage and gave it a good spray with a can of silicone showing pictures of cars and boats. Wha la! Magic! Sewed like a dream. Wish I had done it when it first started acting up.

Anyway, this one is quilted all over (in Bottom Line – no problems there!) in a four-sided feather design on every twelve inch block or group of blocks.

It shows better in the empty spaces. I really think this is a much more interesting effect, and the border turned out okay after all the drama. This is my favorite of the two (also voted on Twitter!), and it’s staying home to be my sofa quilt this Christmas. It’s 48″ x 72″. Krissi really liked the first one, but I don’t think she’ll notice.

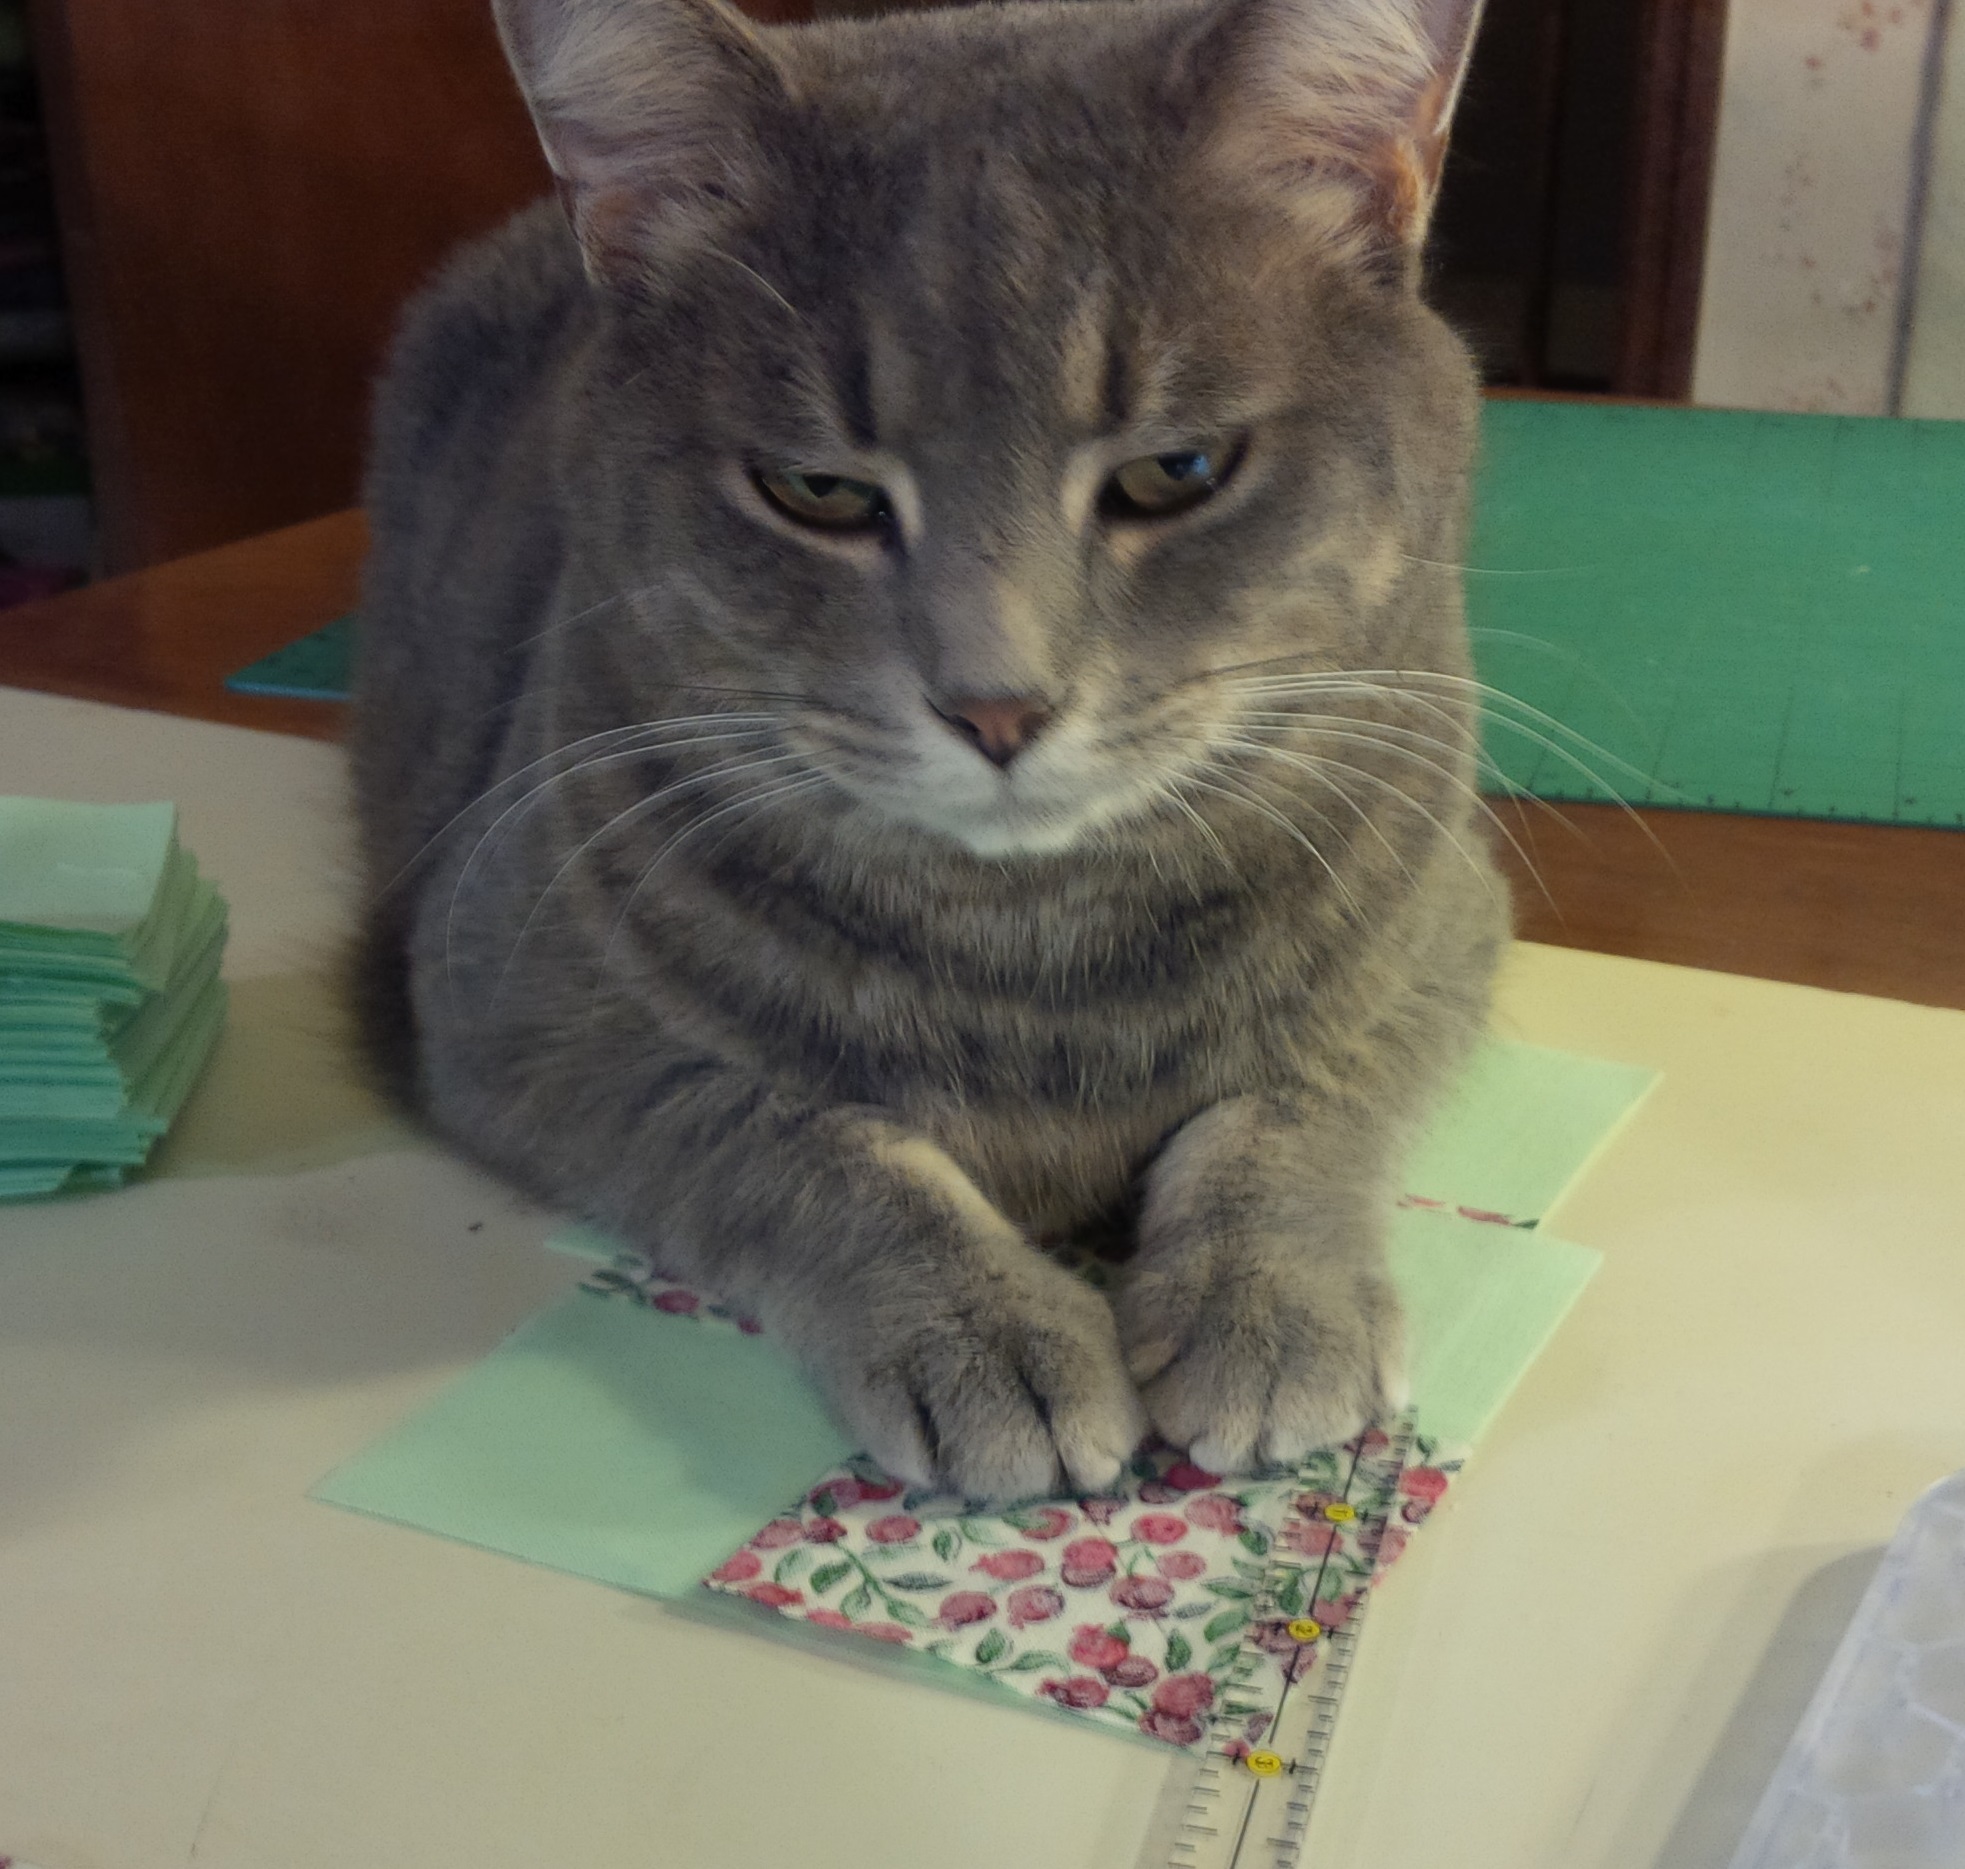
These two jokers were lots of help. Kind of takes the “free motion” out of free motion quilting!
I’m sighing with satisfaction and linking up to Finish it up Friday at Crazy Mom Quilts and Can I get a Whoop Whoop? at Confessions of a Fabric Addict.