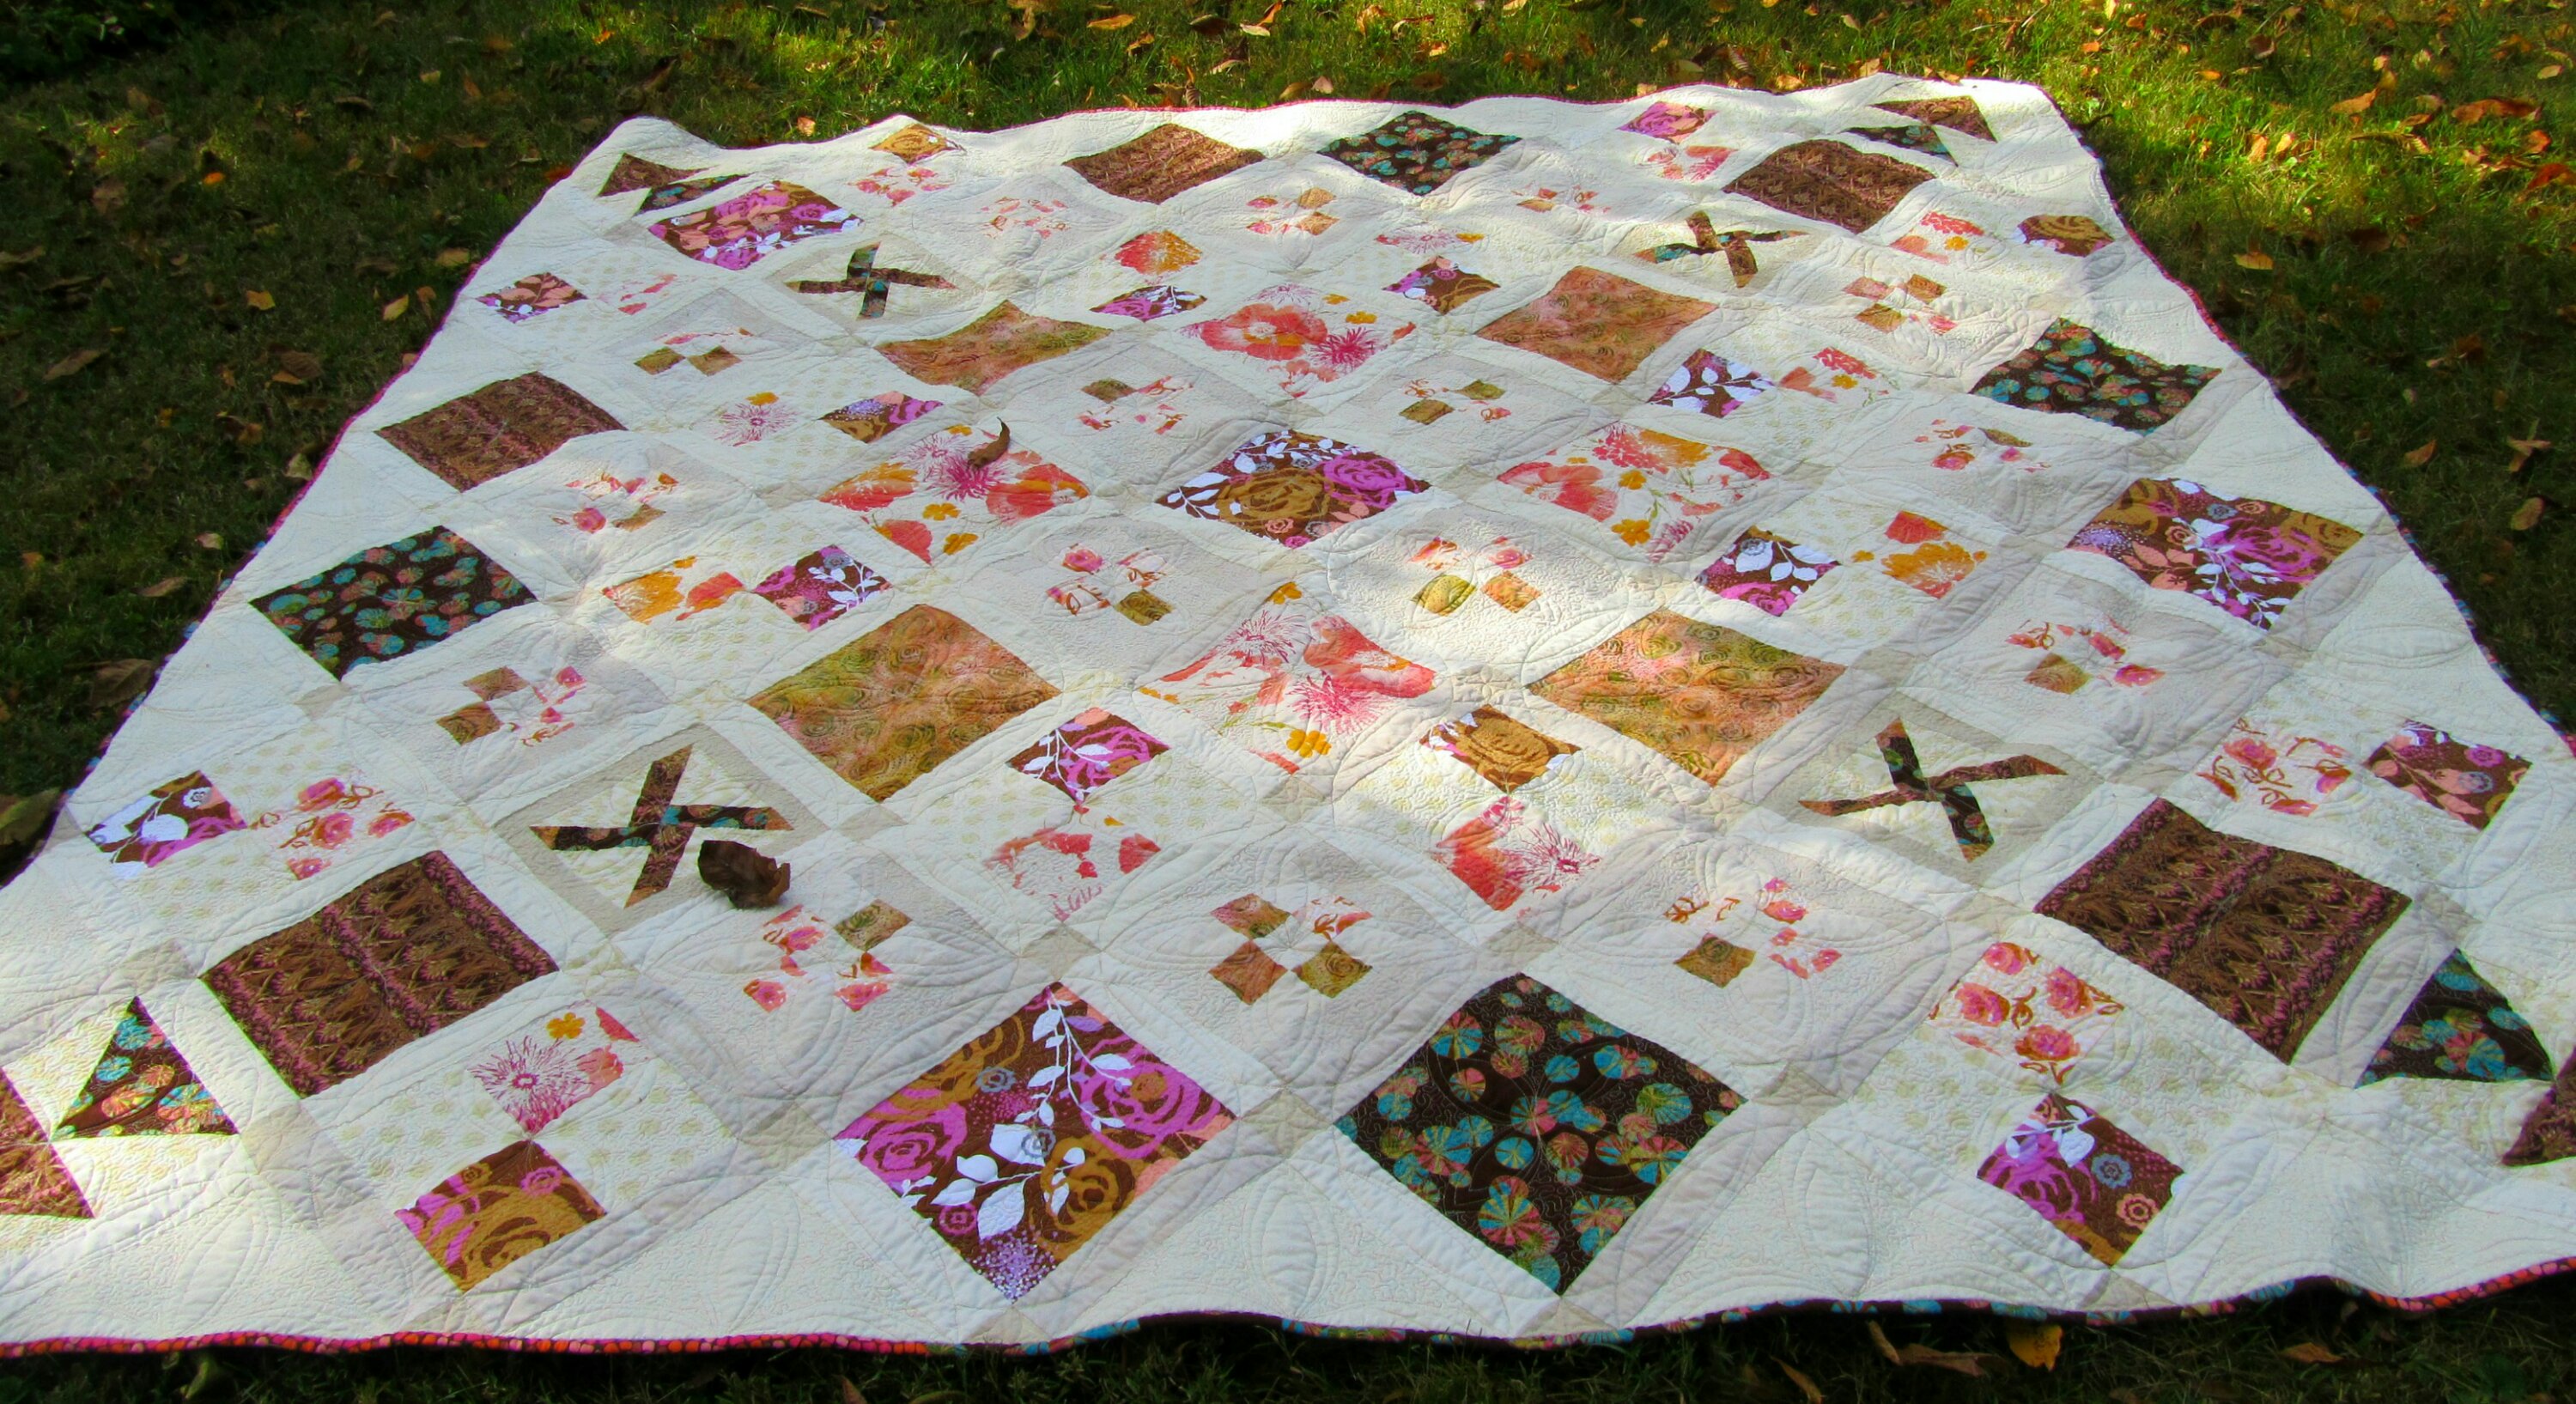
I’m happy to show you this finished quilt! Layer Cake Explosion was the Twilter! quilt-along. The design is by Angela Gross, and you can find it on Craftsy.
Because I used wider sashing, my quilt measured a whopping 93″ square, which was tough to cram under the machine. In a moment of particular lunacy, I thought how nice it would look with a double batting…but I quickly regained my sense, and went with just one layer (Pellon’s Nature’s Touch 80/20). This is a new batting to me, and it was fine, but didn’t seem a lot different from the Warm cotton I usually use. I did like the careful way it was folded in the package, which made it very easy to trim and position the large batting. Yes, it would have looked wonderful with double or extra puffy batting, but it’s just fine this way. Yuri checked.
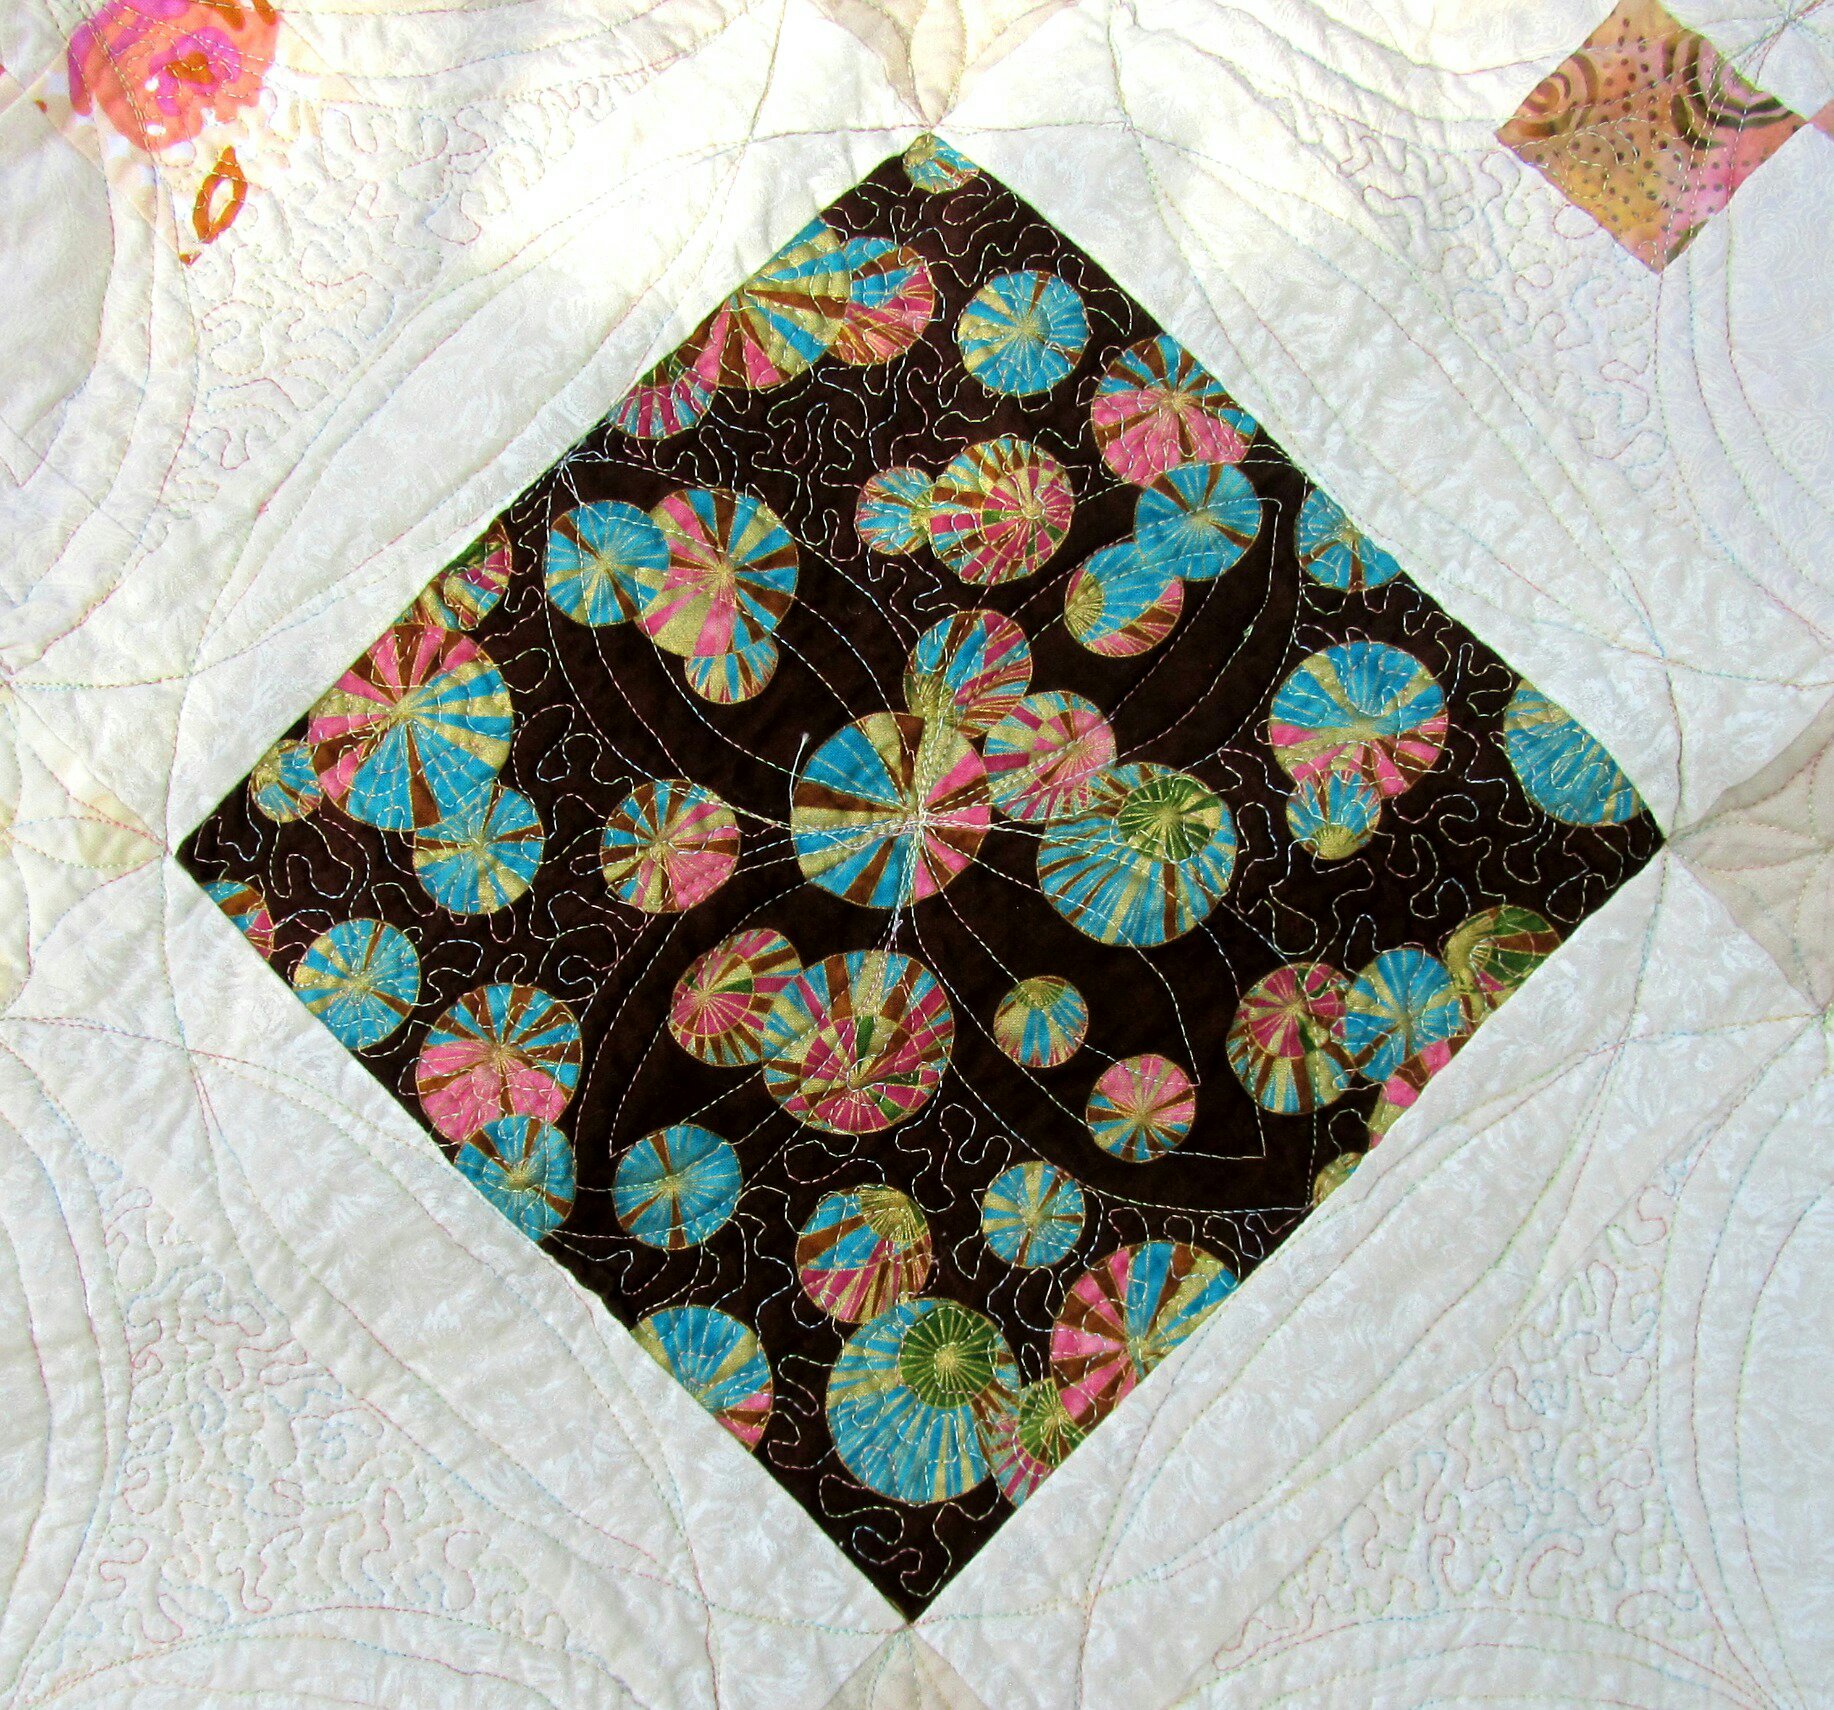
For once I feel like I did a good job designing the quilting. I was influenced by Wild Quilting by Christina Cameli, which I watched on the free Craftsy day. No, I didn’t do improv quilting like she did, but I got her message of echoing things to give them depth. So where I would usually have made one Orange Peel motif in a block, I echoed each twice. I also added a line to each of the border circles. All the quilting on the top is Superior Rainbows 9808, Opal) and the bottom is pink Bottom Line.
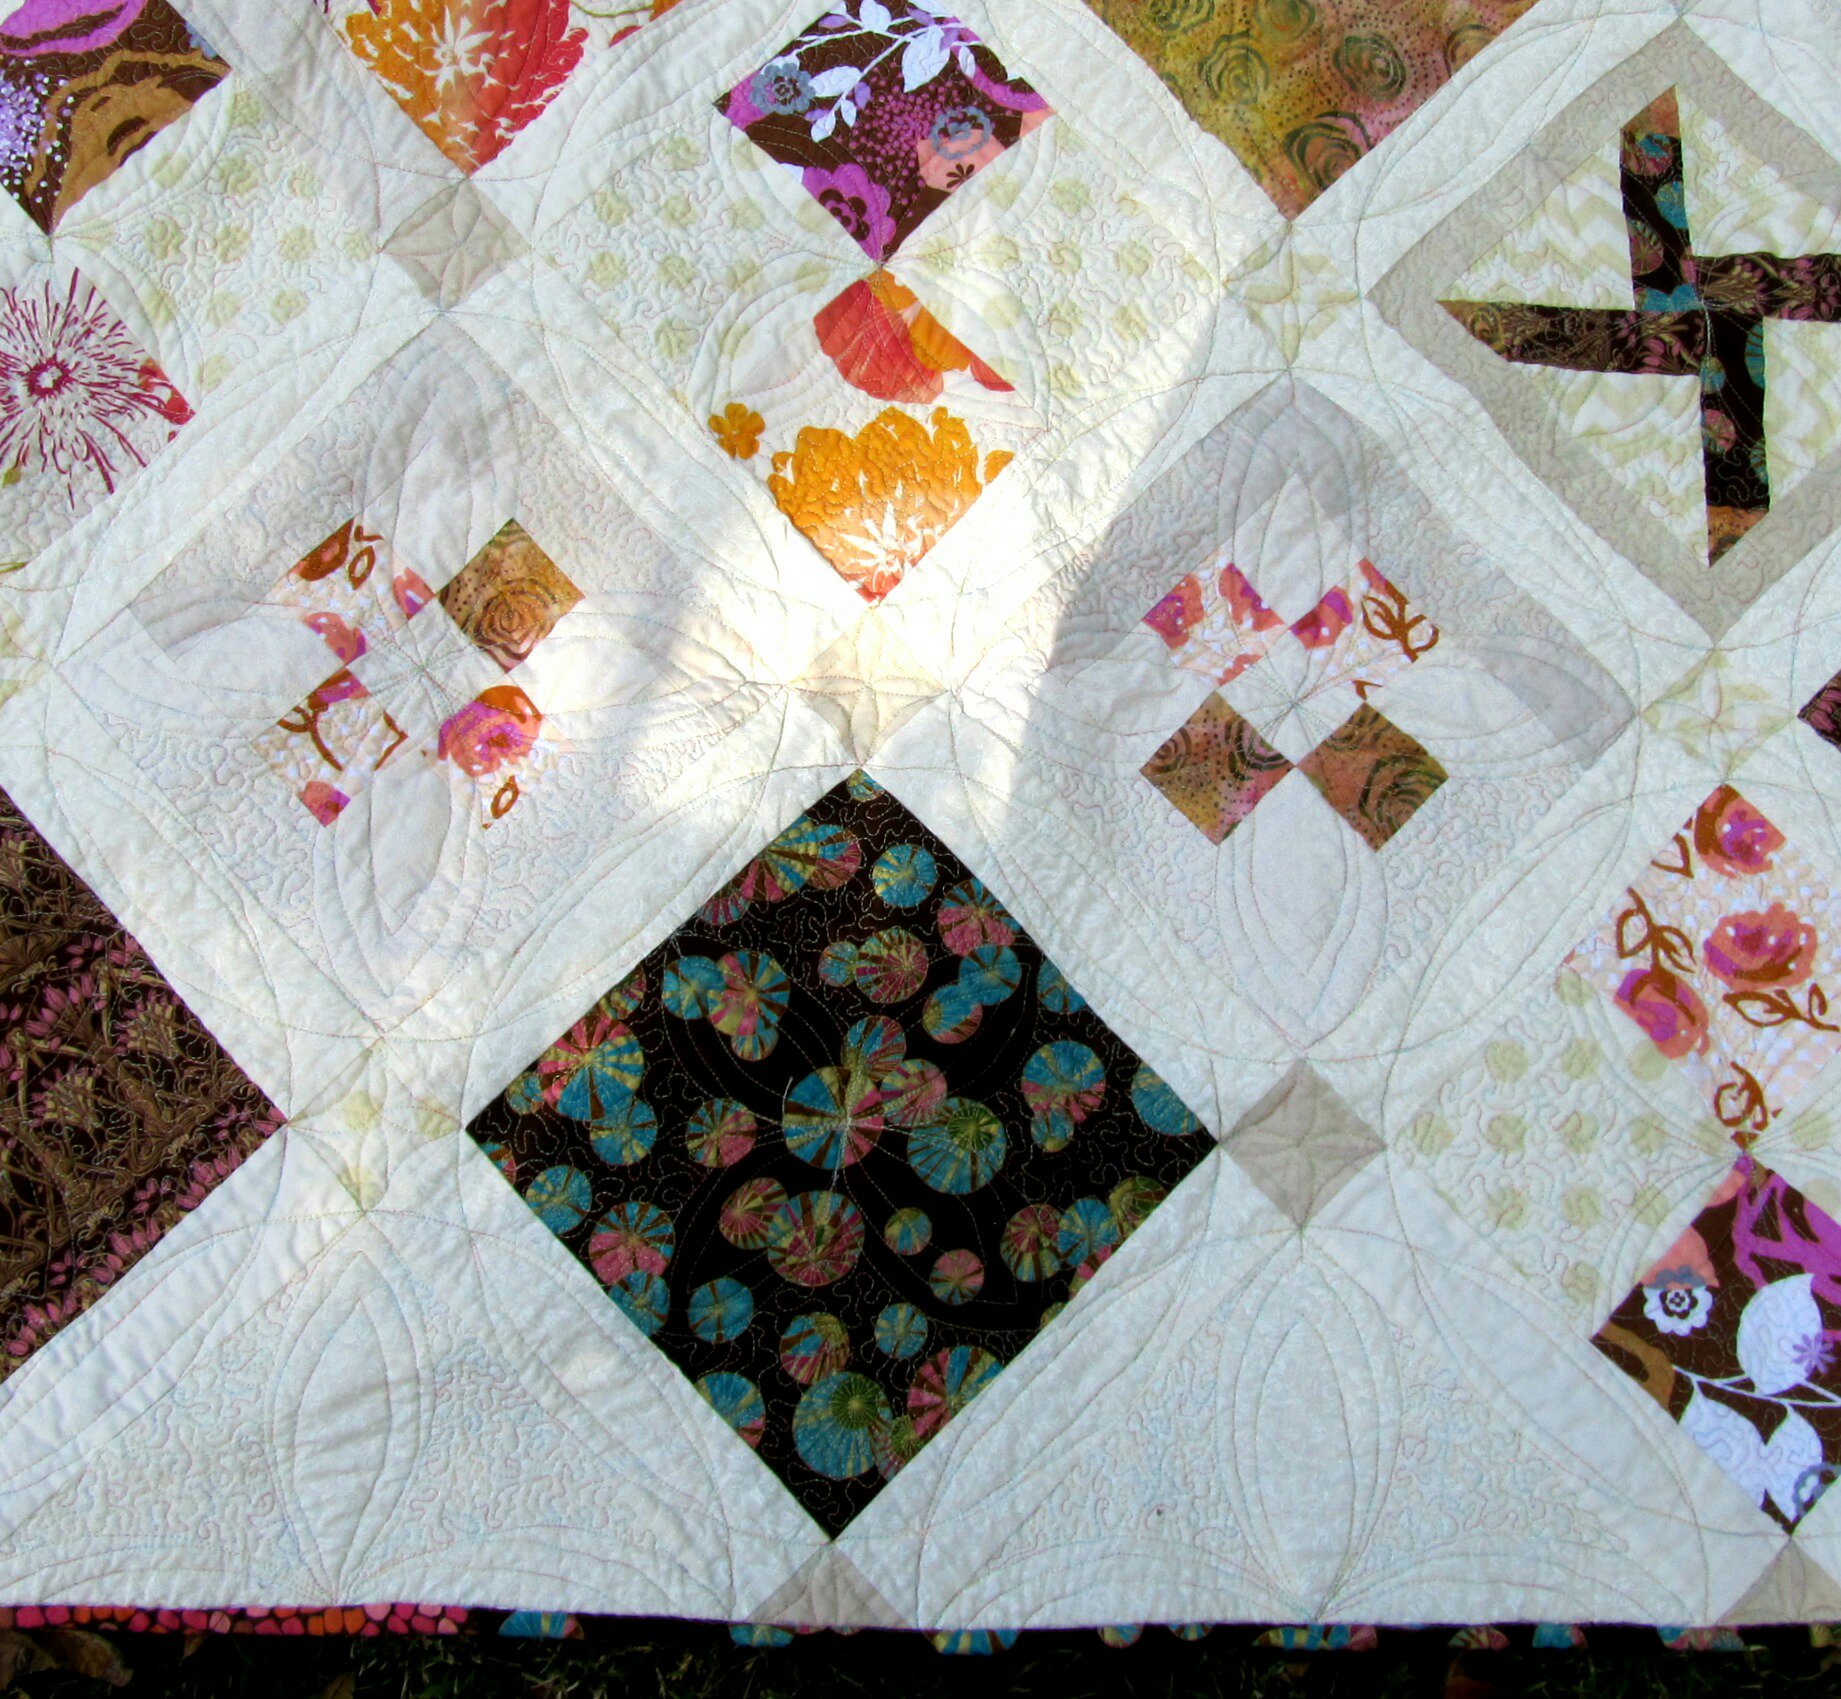
By including the sashing with each block, I was trying to quilt 11″ circles, just impossible to control on this bulky quilt. I knew that, but I wanted to try and I’m glad I did. Some of it is imperfect, especially near the center, but I still like the interlocking circles.
The quilting improved greatly when I finally put on my quilting gloves. I hate them, they’re hot and itchy, but they really worked in this situation.

Allison at Cluck Cluck Sew posted just last week about quilting large quilts. I agree with almost everything she says (especially about quilting-by-checkbook!), except for spray basting. It really doesn’t take much to hold the quilt. You know that I usually use just a little, just barely wafting the spray over the layers. This time I was concerned about holding this large thing together, so I gave it an extra waft. (Still using that can I started in January.) I used my Ping Pong table, basting the center first, then moving it to baste each side. I couldn’t be more pleased with the way it held. I had no shifting and not a pleat or wrinkle on the back! I used twelve bobbins of thread to quilt this.
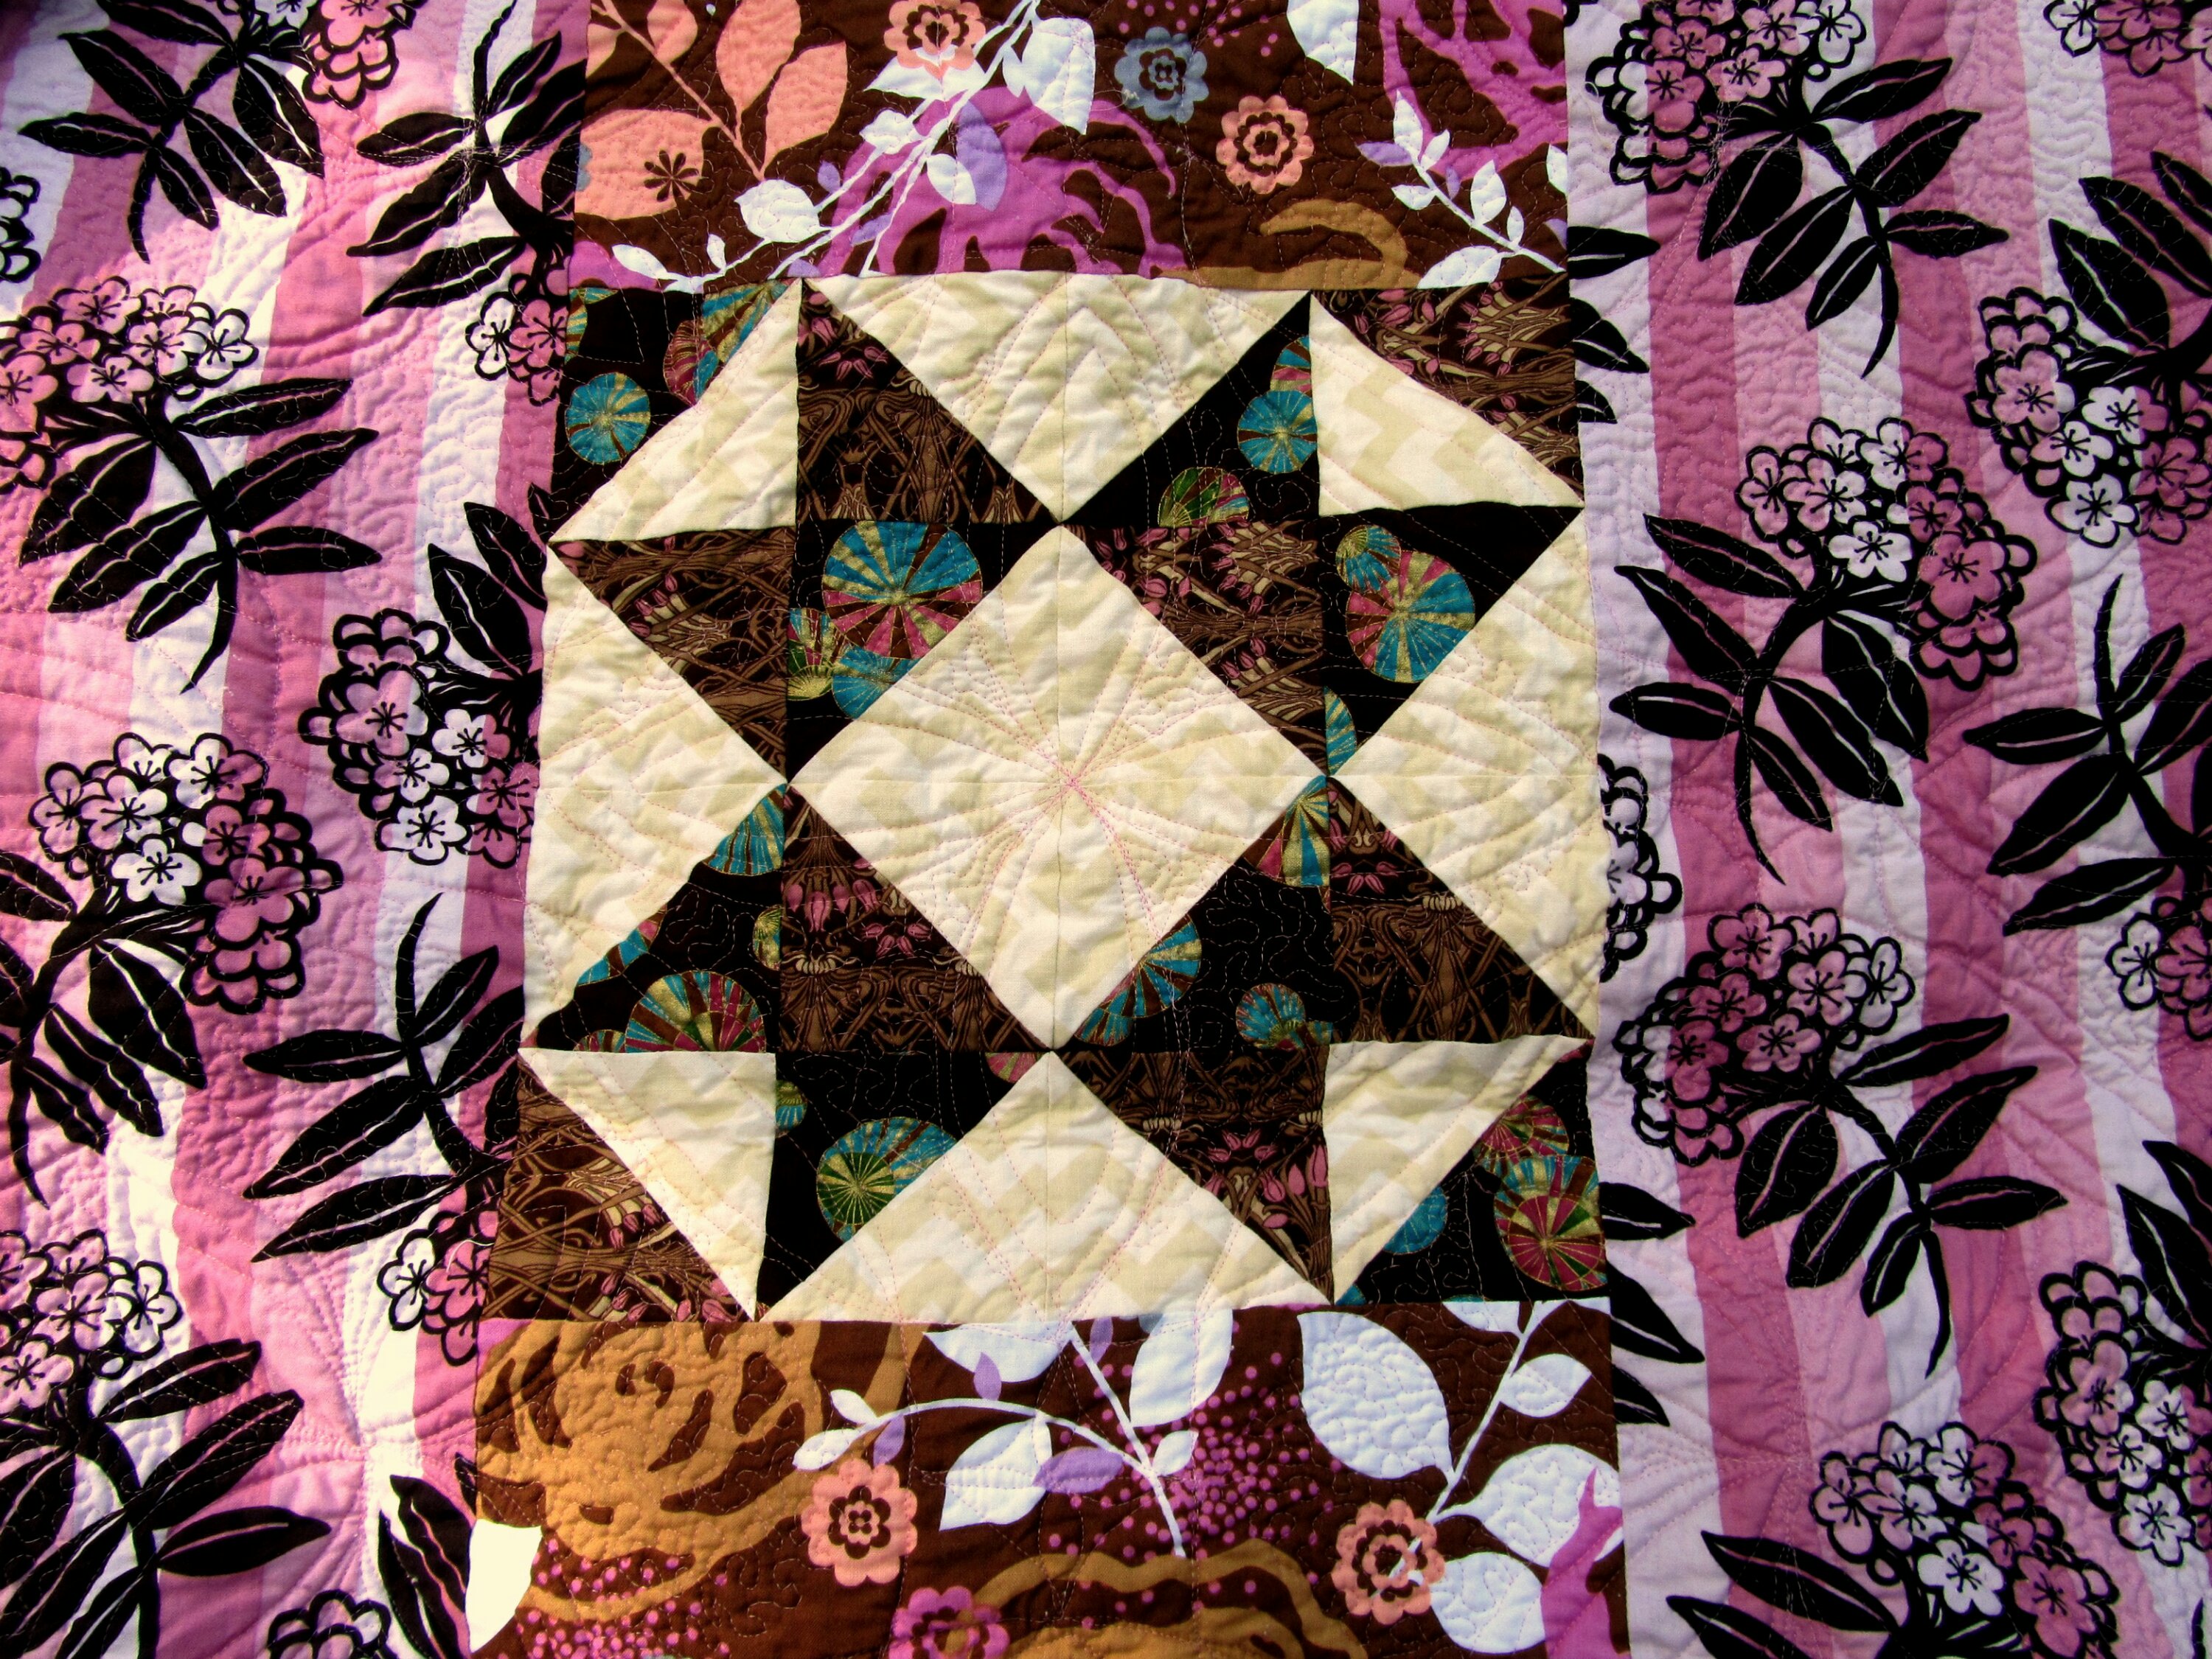
Speaking of the back, somehow this star landed perfectly in the center. Notice the quilting from the block on the other side. Could never do that again!

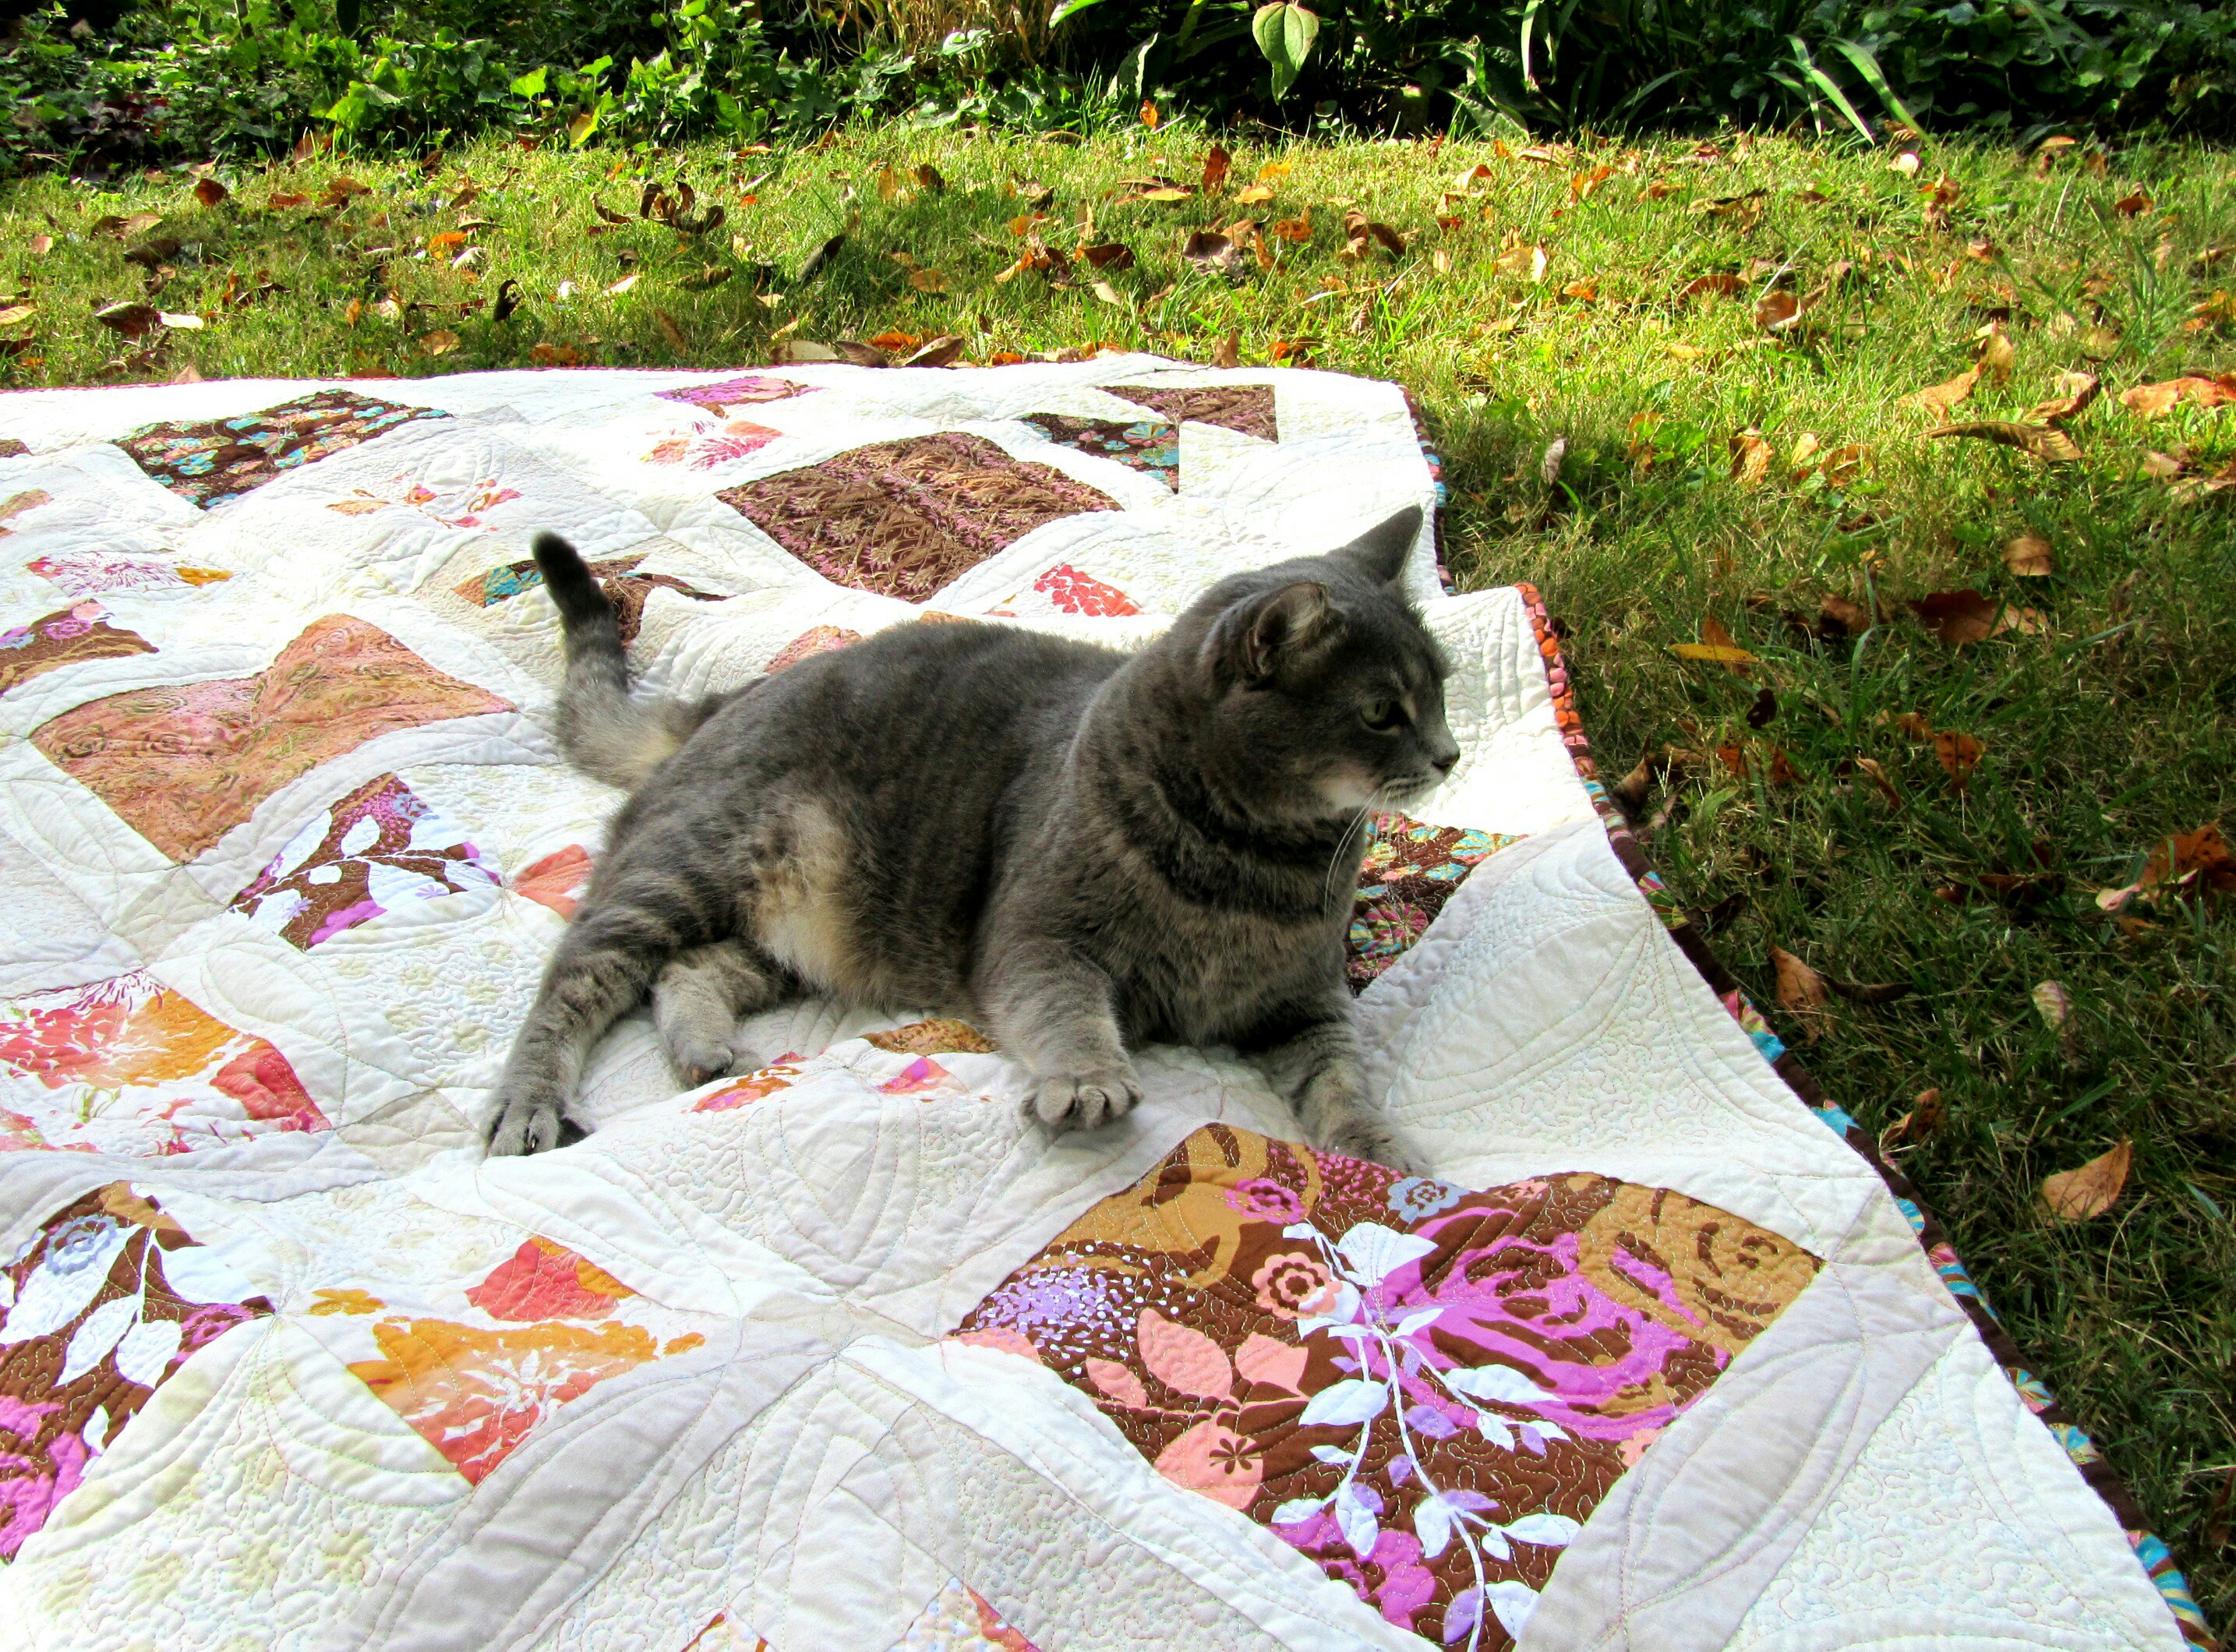
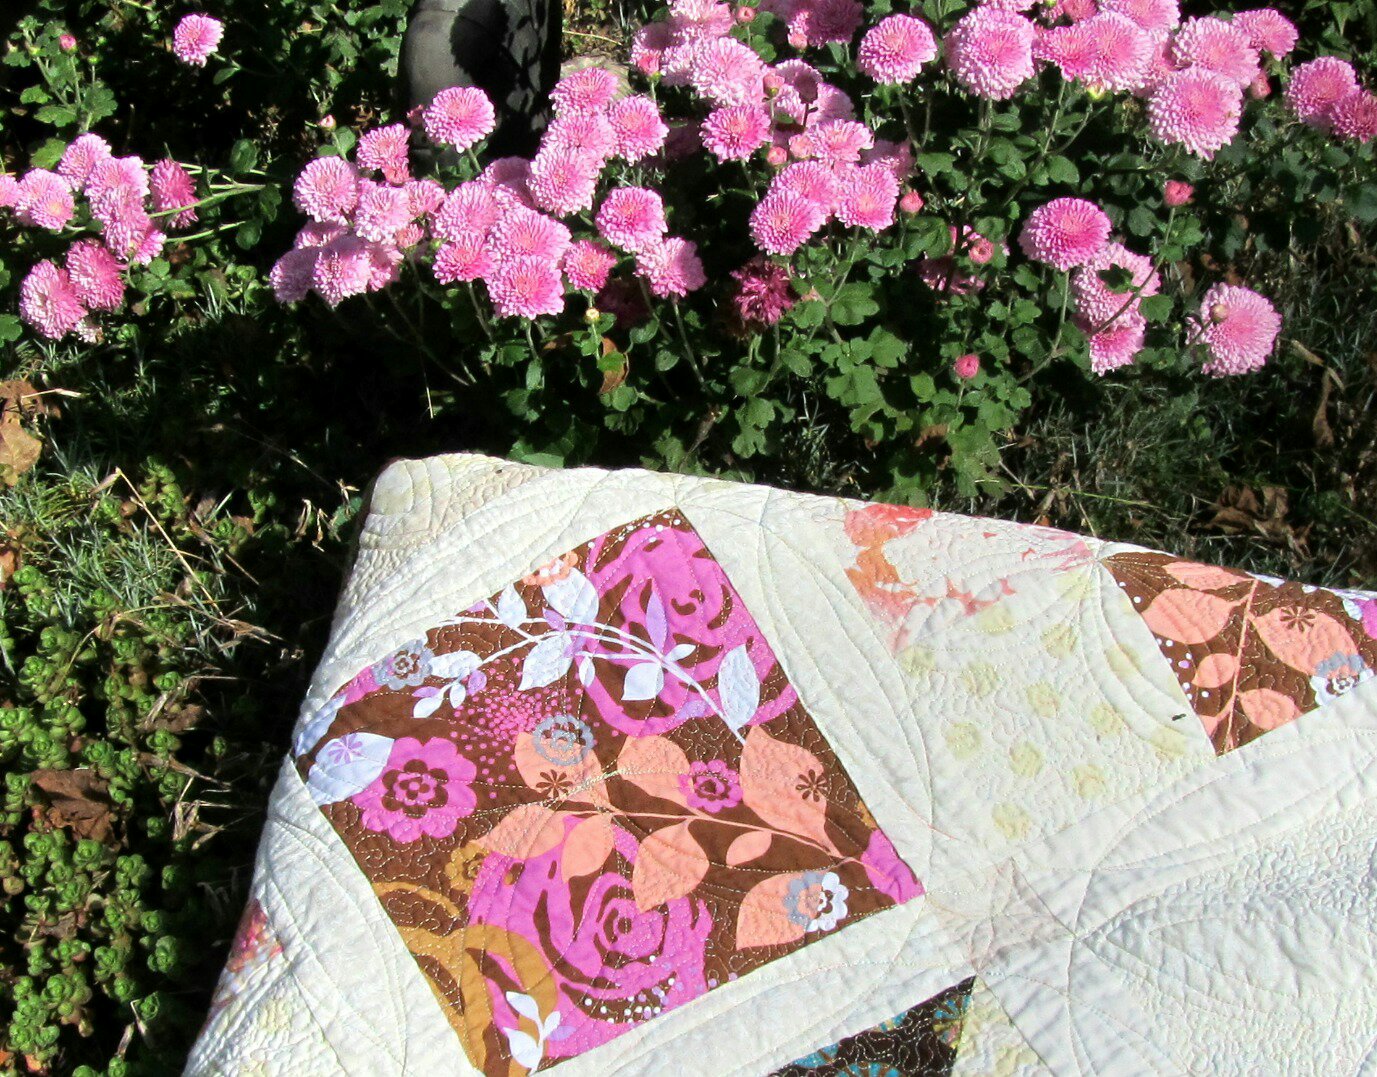
It’s important to have a quilt photography assistant who can climb trees.

Thank you, Daisy for leading this project, and Angela for sharing your pattern.
I’ll be linking up to Finish it up Friday at Crazy Mom Quilts, and Whoop Whoop Friday at Confessions of a Fabric Addict.
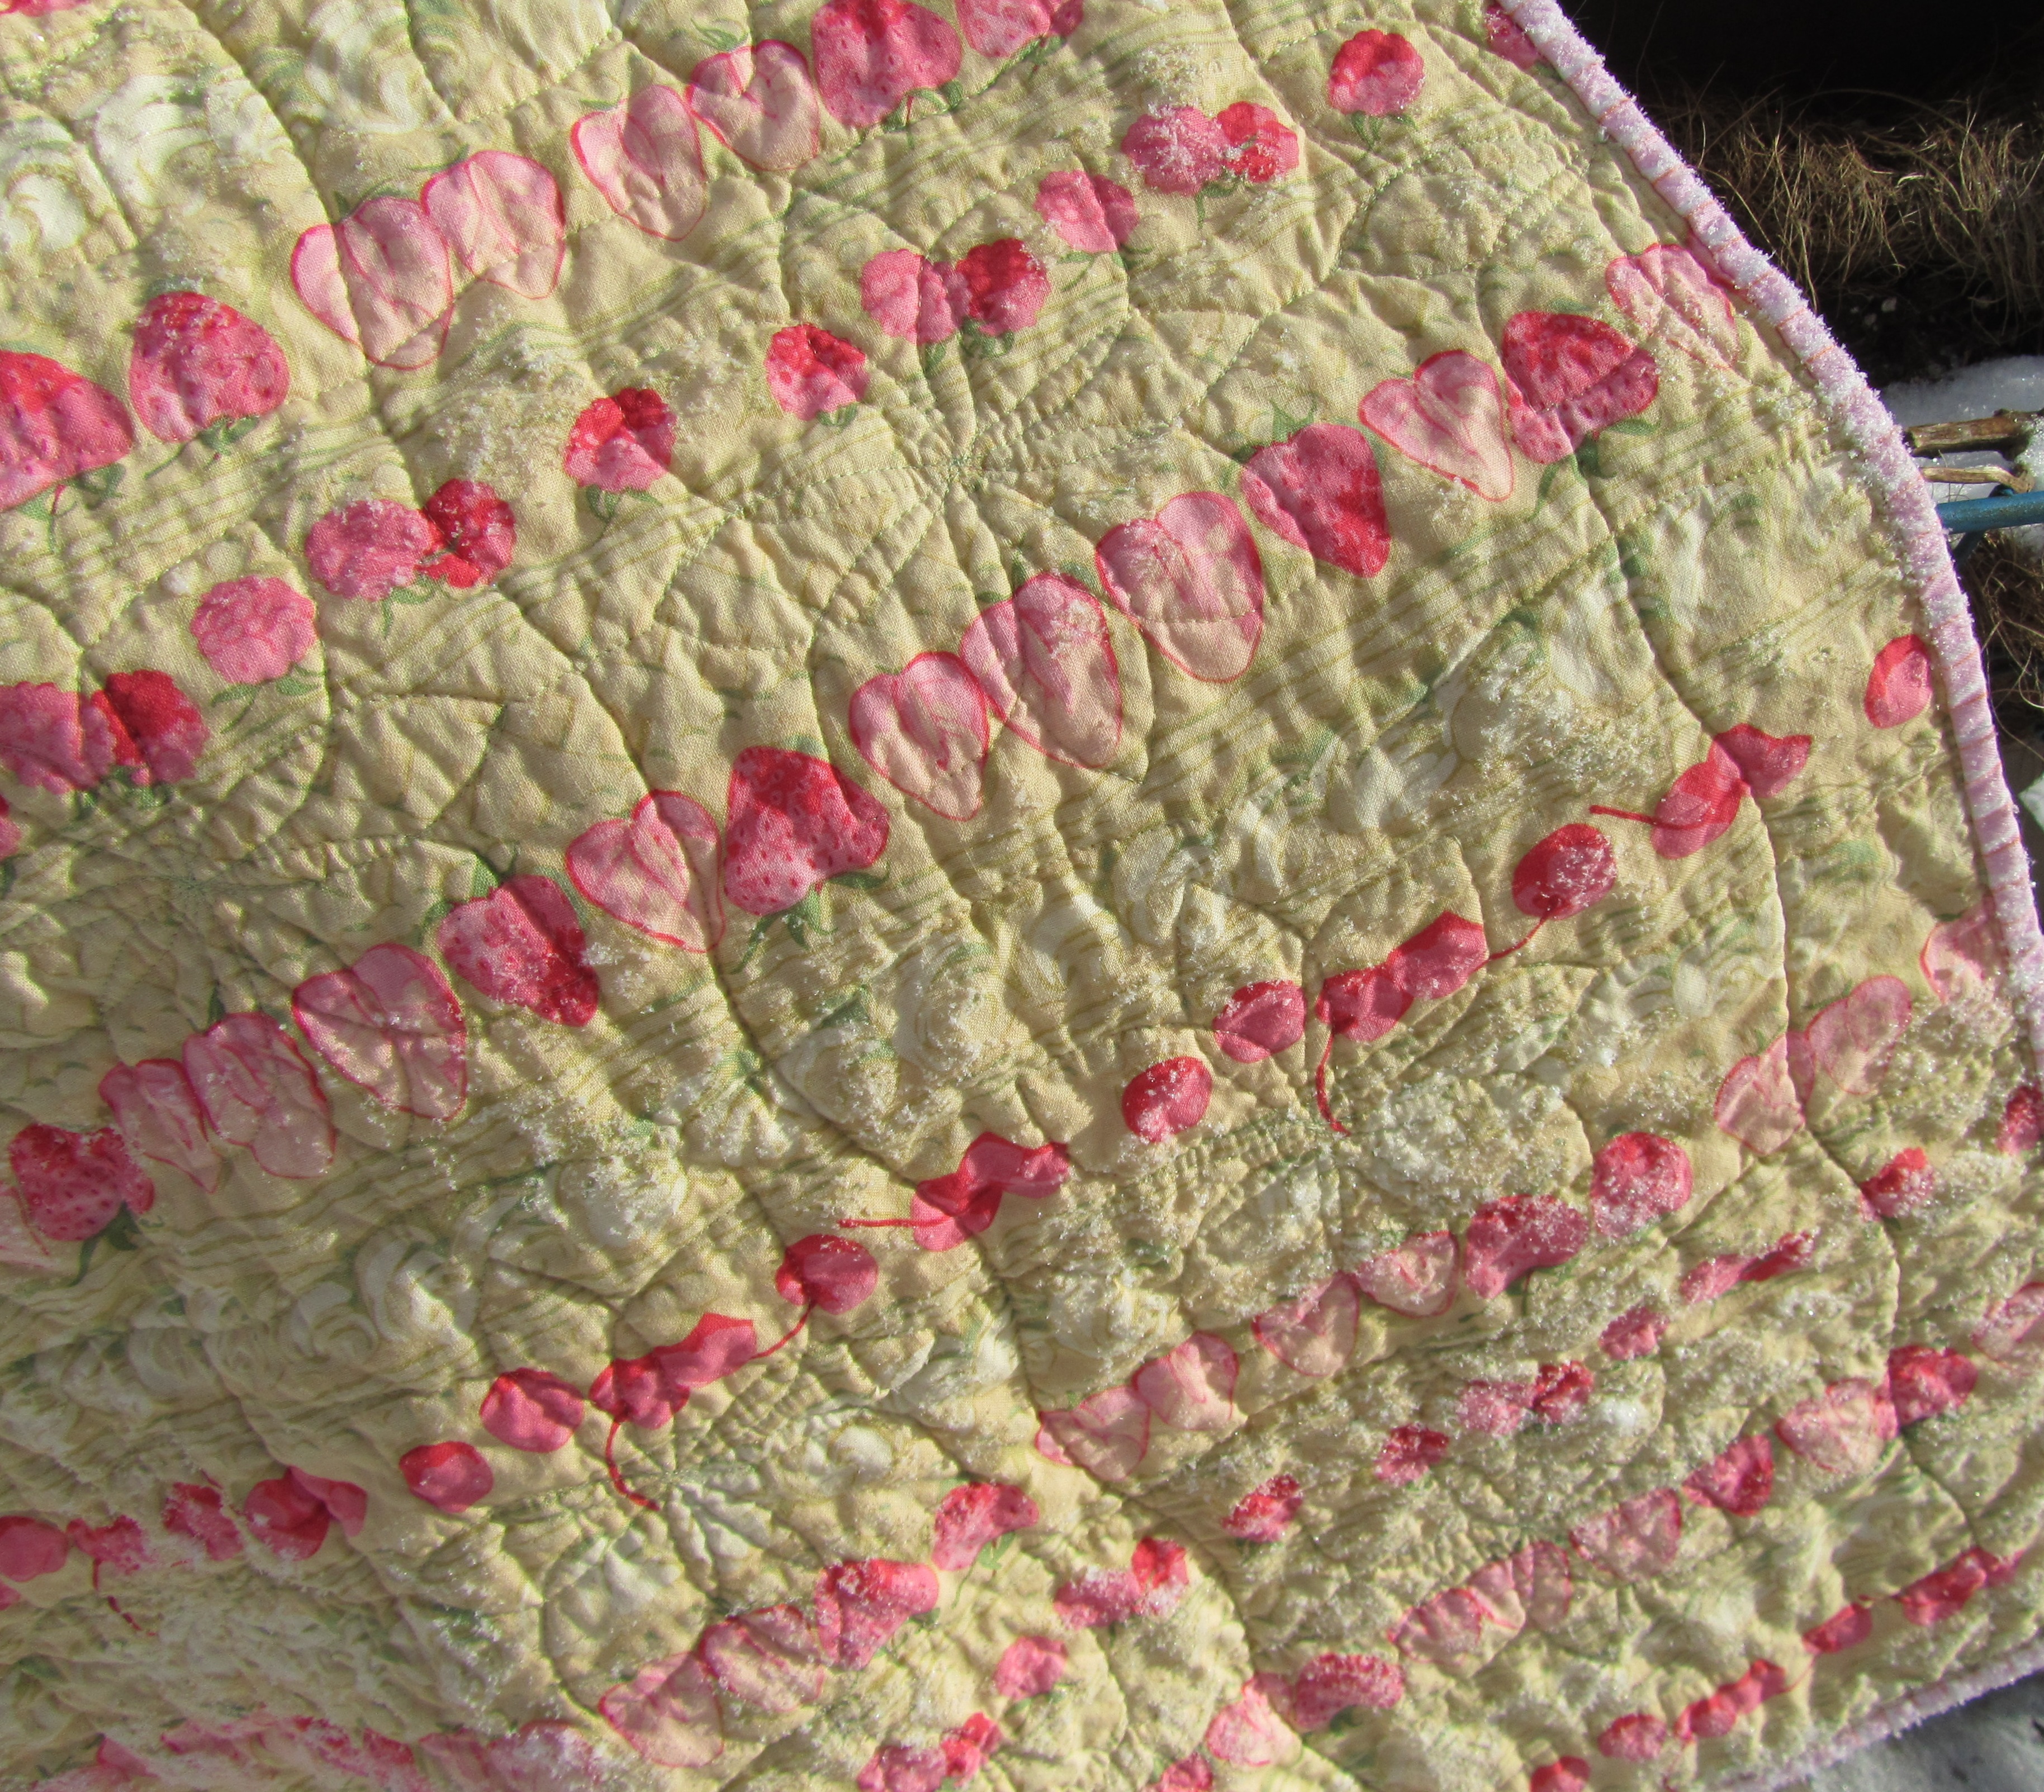
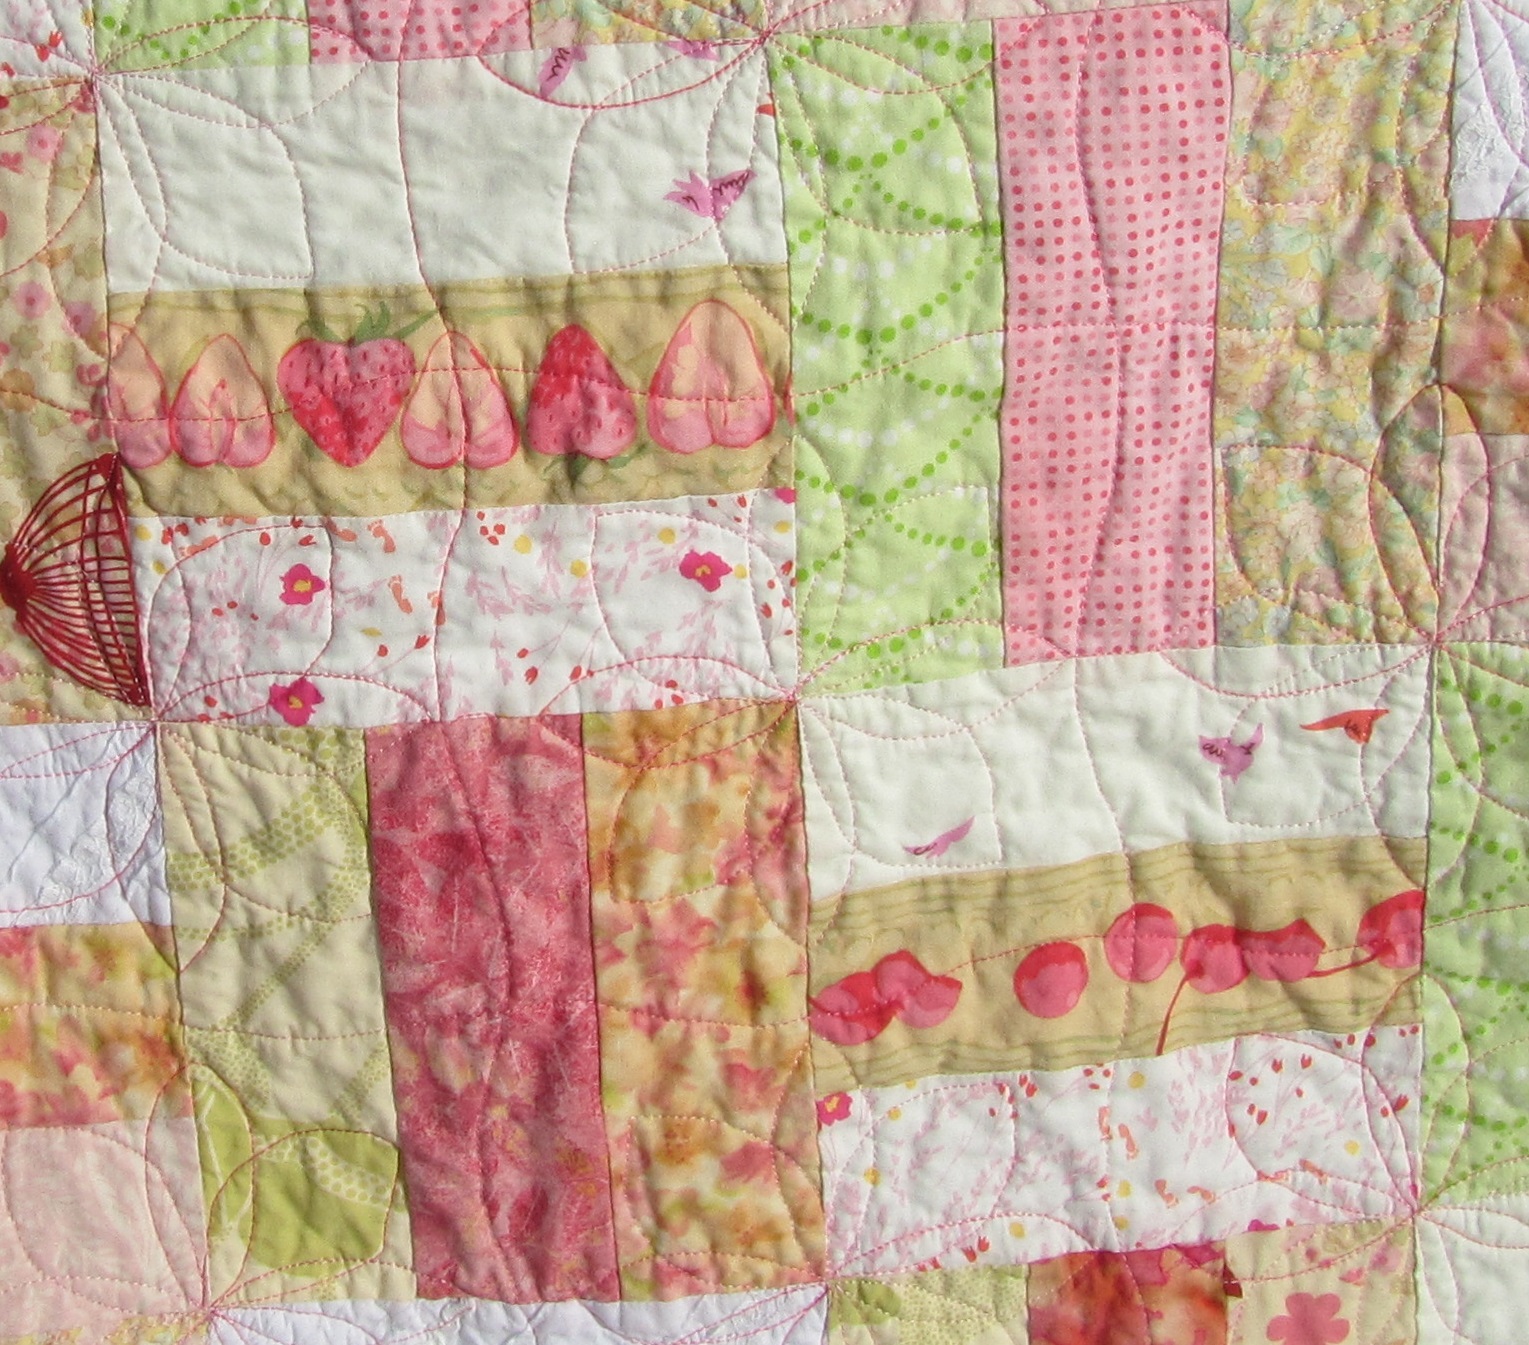
 These aren’t traditional log cabin blocks. The centers are large, and there are only two “logs” on each side. They are only 7.5 inches square, and there are fifty-four of them. The quilt came out 42″ by 63″, but that was before it was washed. I didn’t piece these to a foundation, just started adding to the center squares. That made it much easier to chain piece them.
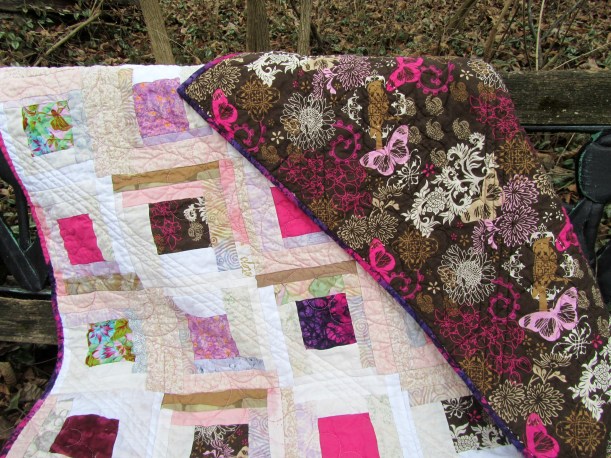 The colors are inspired by both Spring, and the backing fabric.
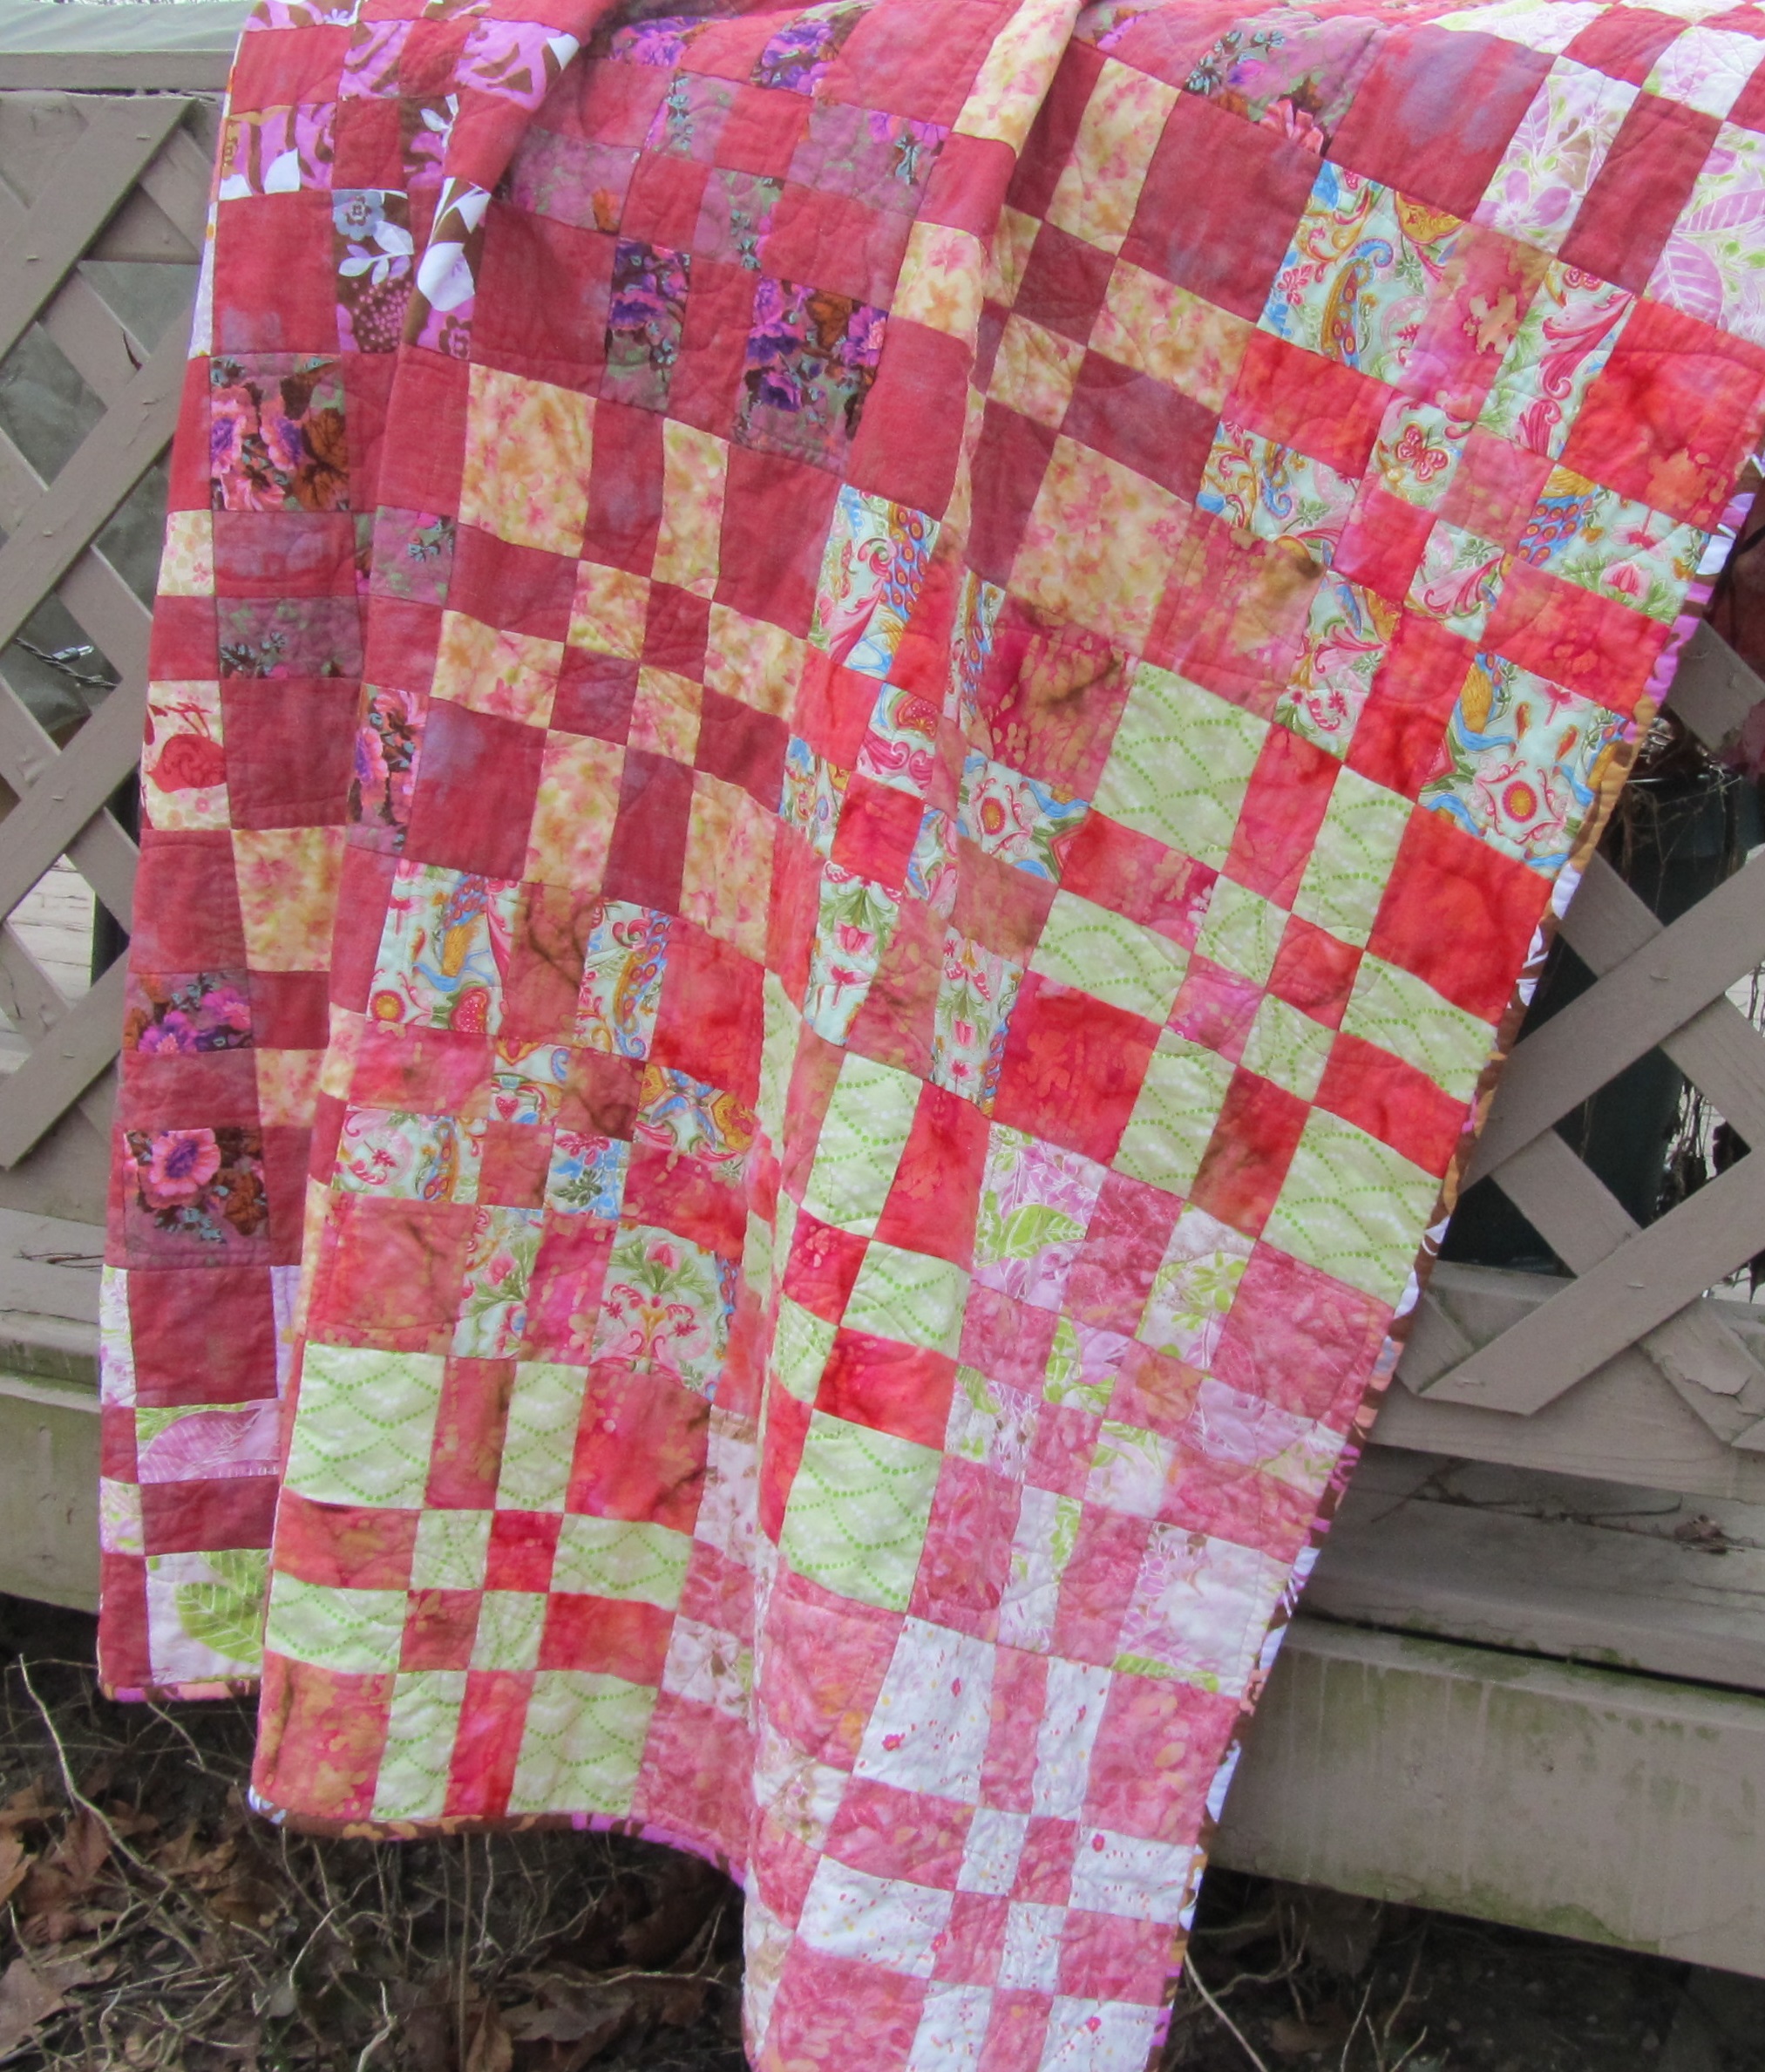
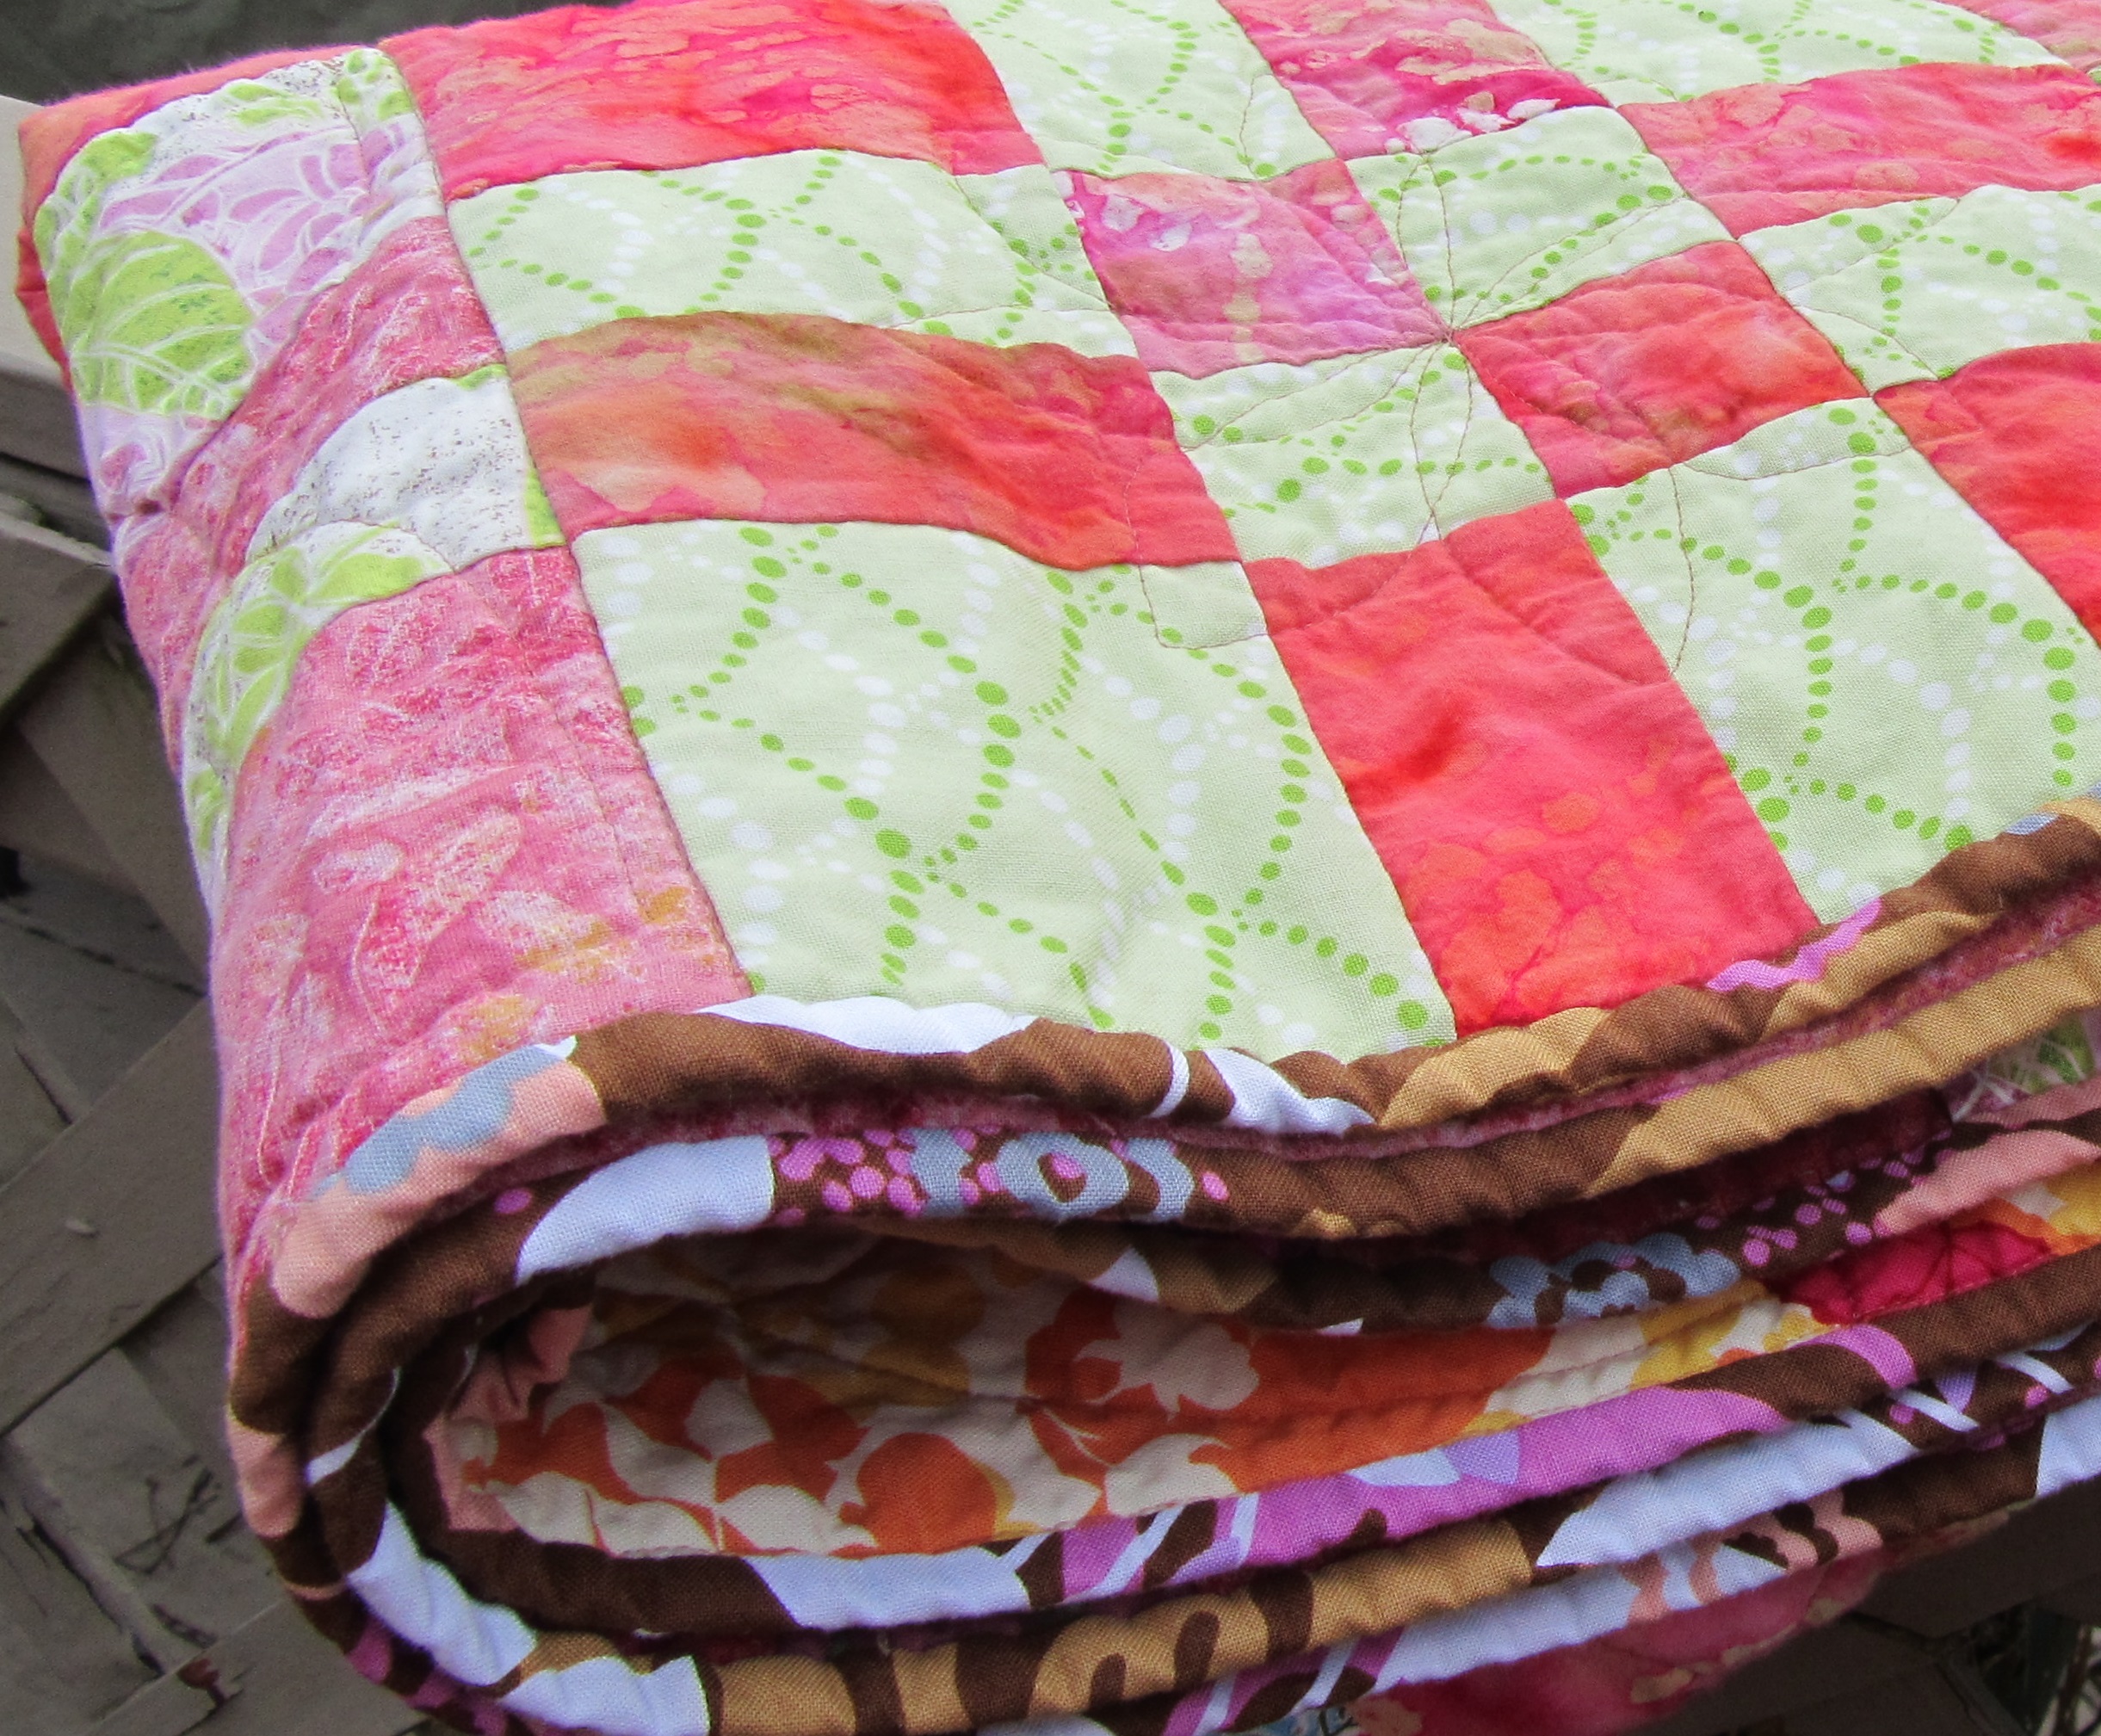
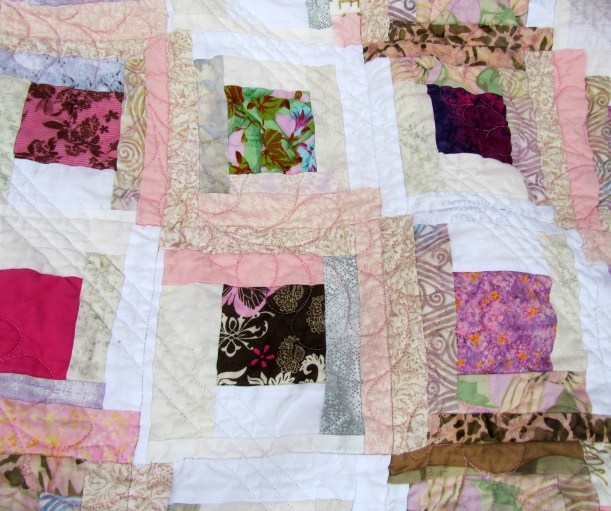 I quilted this with Sulky white and Superior Living Colors pink thread. The bottom thread is Bottom Line. The batting is Warm and Plush.
 This is going to Margaret’s Hope Chest for a program called
  Today I finished the little Star Wars quilt I worked on this week. It evolved a lot since my first concept, but I like the way it turned out. And I have a lot of left over fabric that I cut along the way, so there will be a sequel. I wrote a
  The back is a blue geometric, a band of of orange Fairy Frost, and a section of gray moonscape.
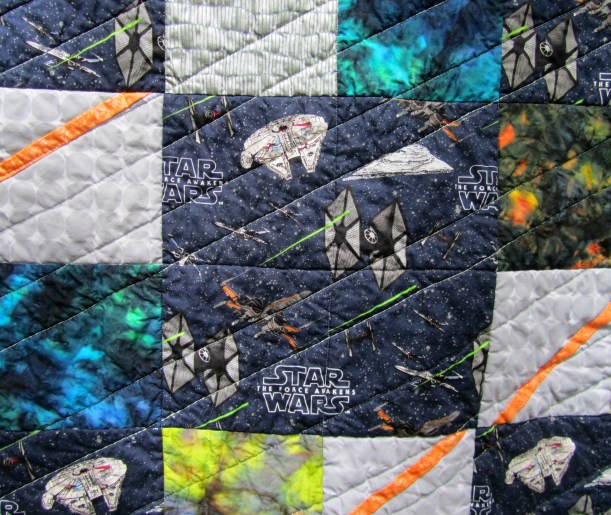 I quilted it in a six” grid with gray Bottom Line. Then I used NiteLite Extra Glow thread (Superior) to quilt diagonal lines in the direction of the green streaks in the fabric. I did both a long straight stitch, and #44, a “hand quilting” stitch. This would take some tweaking to really look like hand quilting, but the forward and back stitching put down lots of thread to enhance the glowing effect. I used this is a quilt I made my son long ago, so I know it last through years of use and washing.