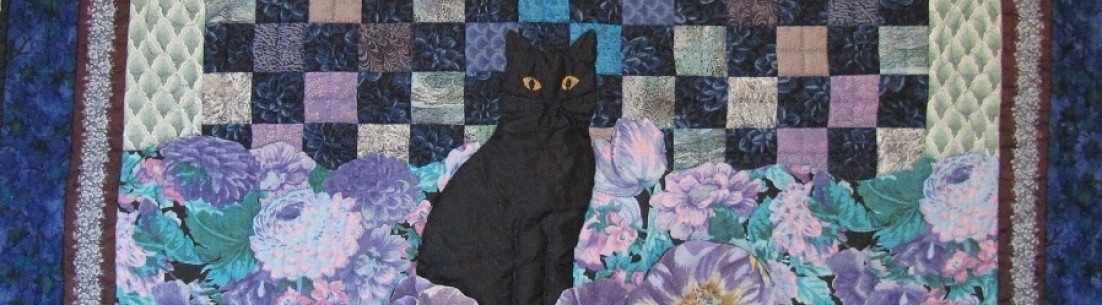

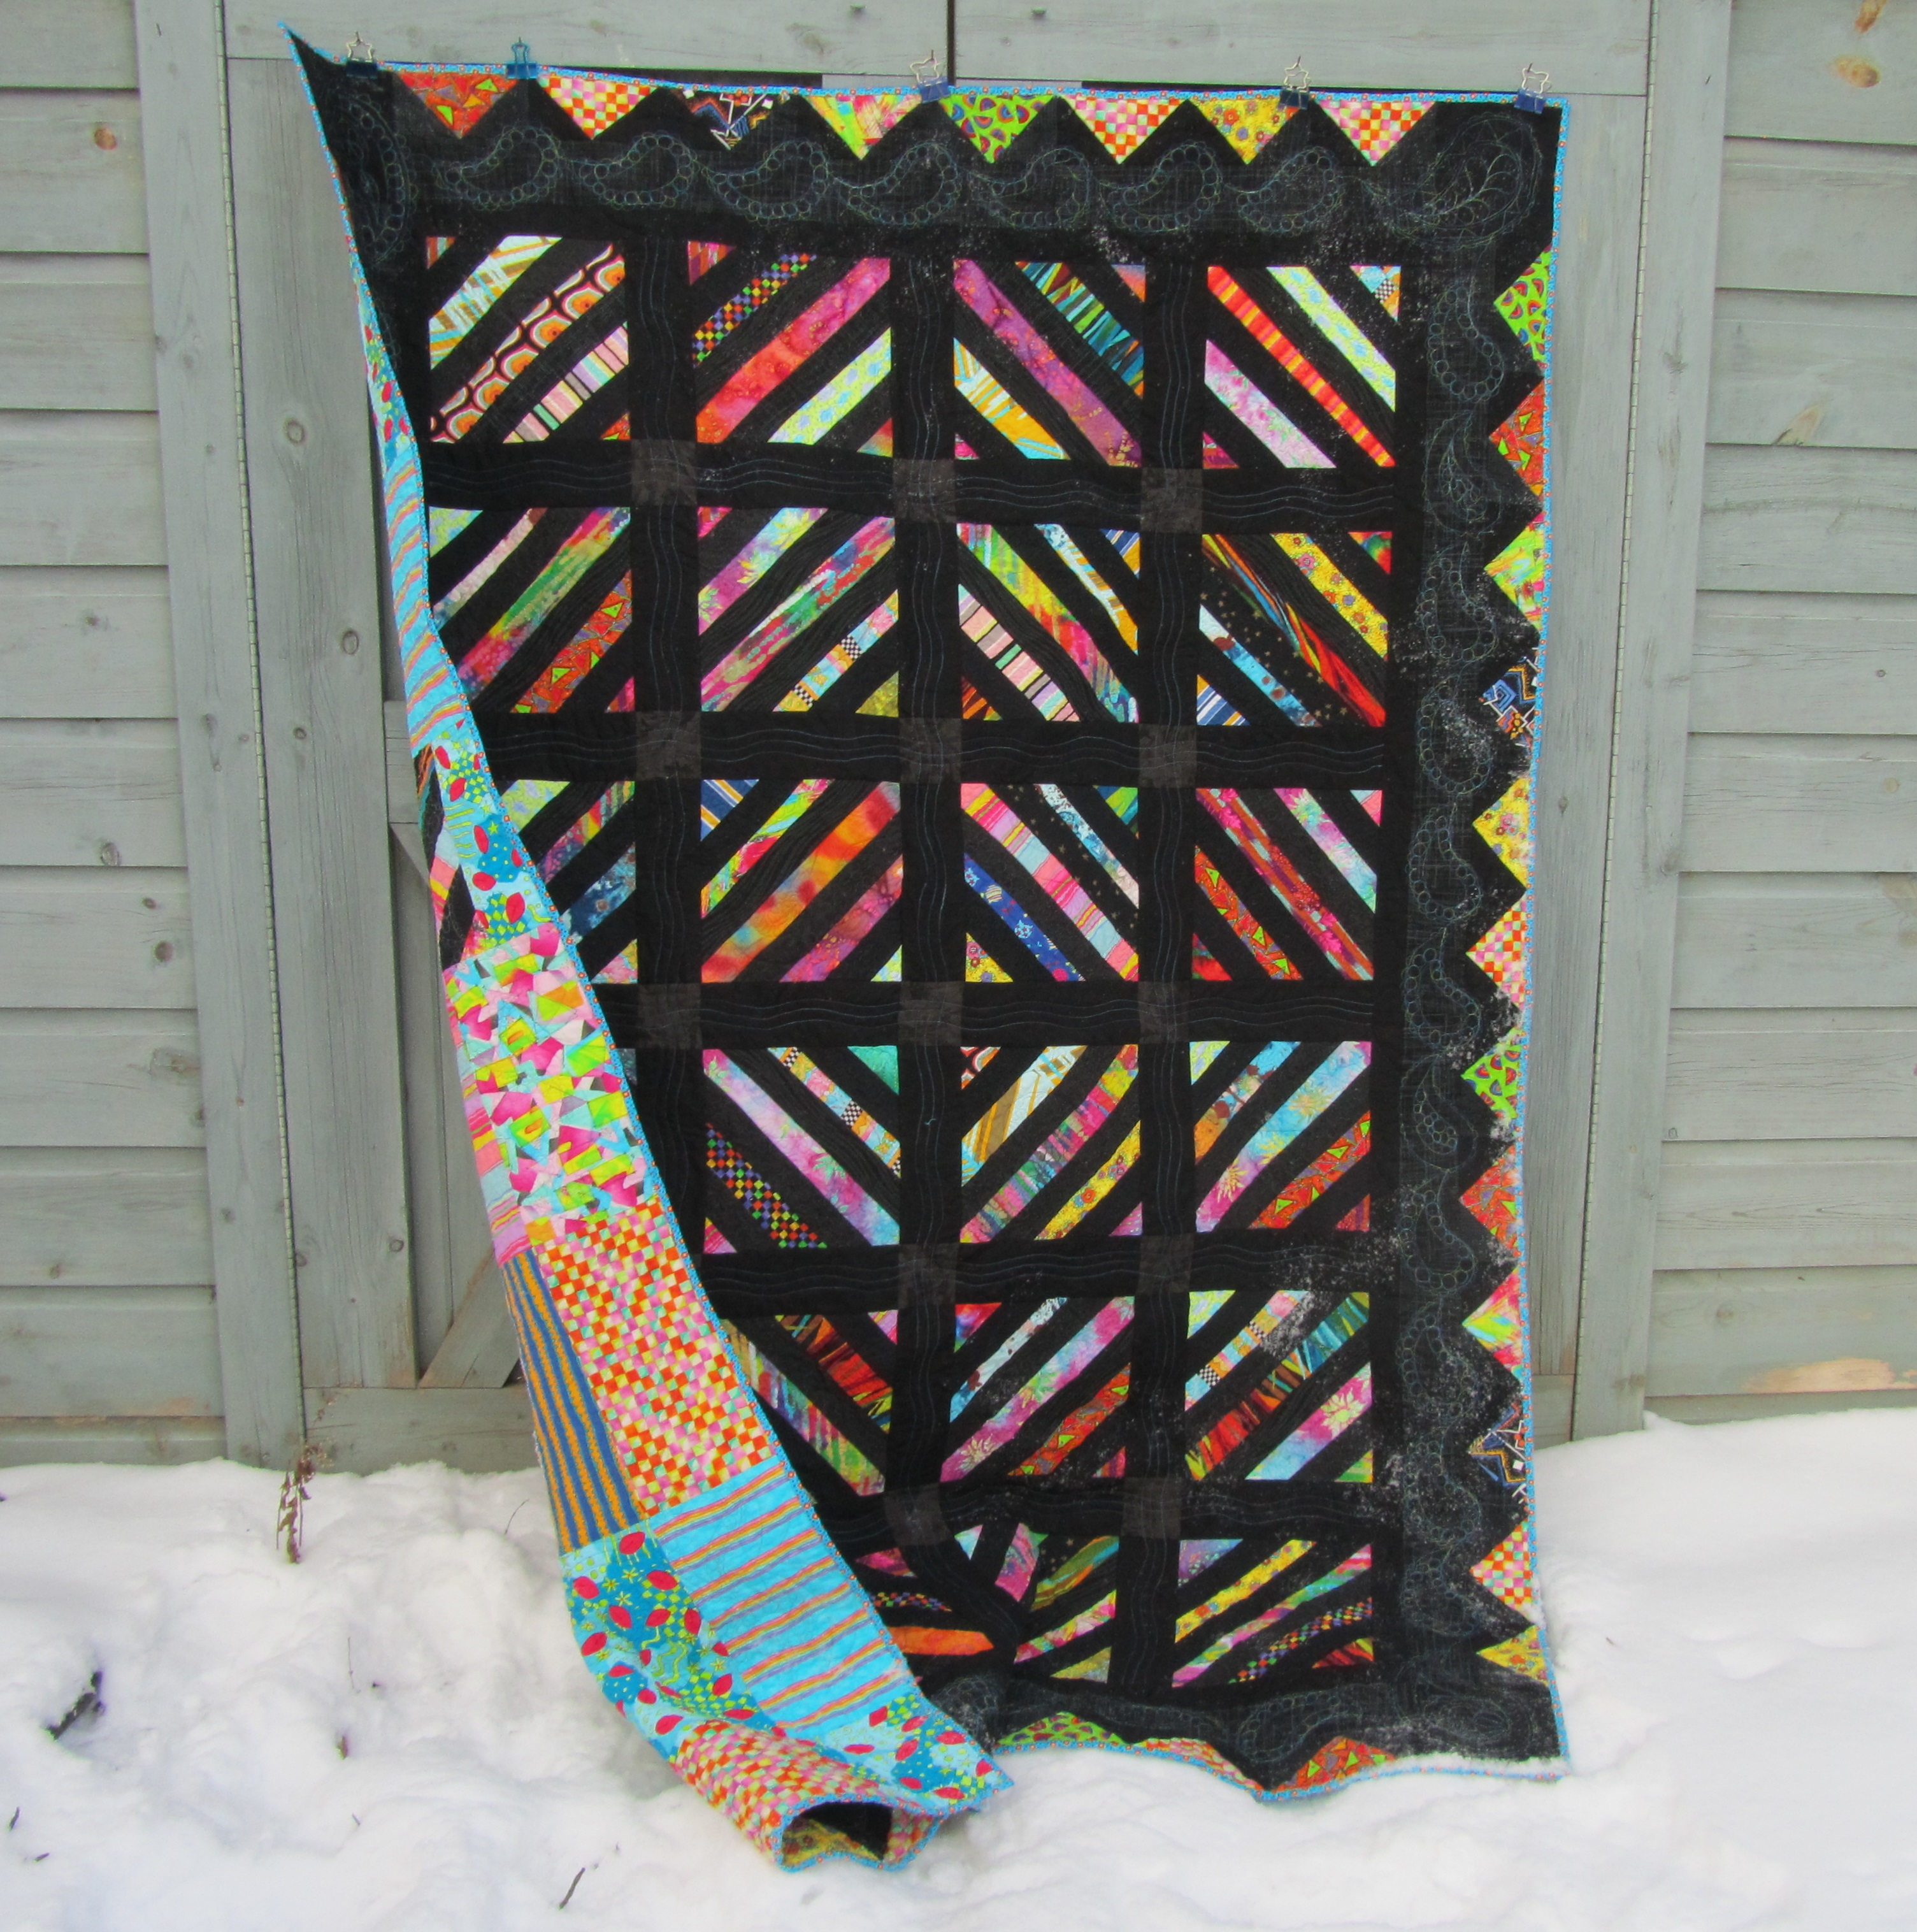
Yesterday I put a bright blue binding on this very Bright quilt. After washing, I took photos of it in the 9ºF weather. I waited for some lovely late afternoon light, but it was a quick shoot and this is all you’re getting, so enjoy! (No cats were harmed in the photographing of this quilt. They all had the sense to stay inside.)

What started as playing around with some strings that don’t fit into other color schemes evolved into quite a project, but the results are good. I think it says something about my former taste in color that I had this many garish very bright scraps, let alone enough brilliant fabrics to piece the back.
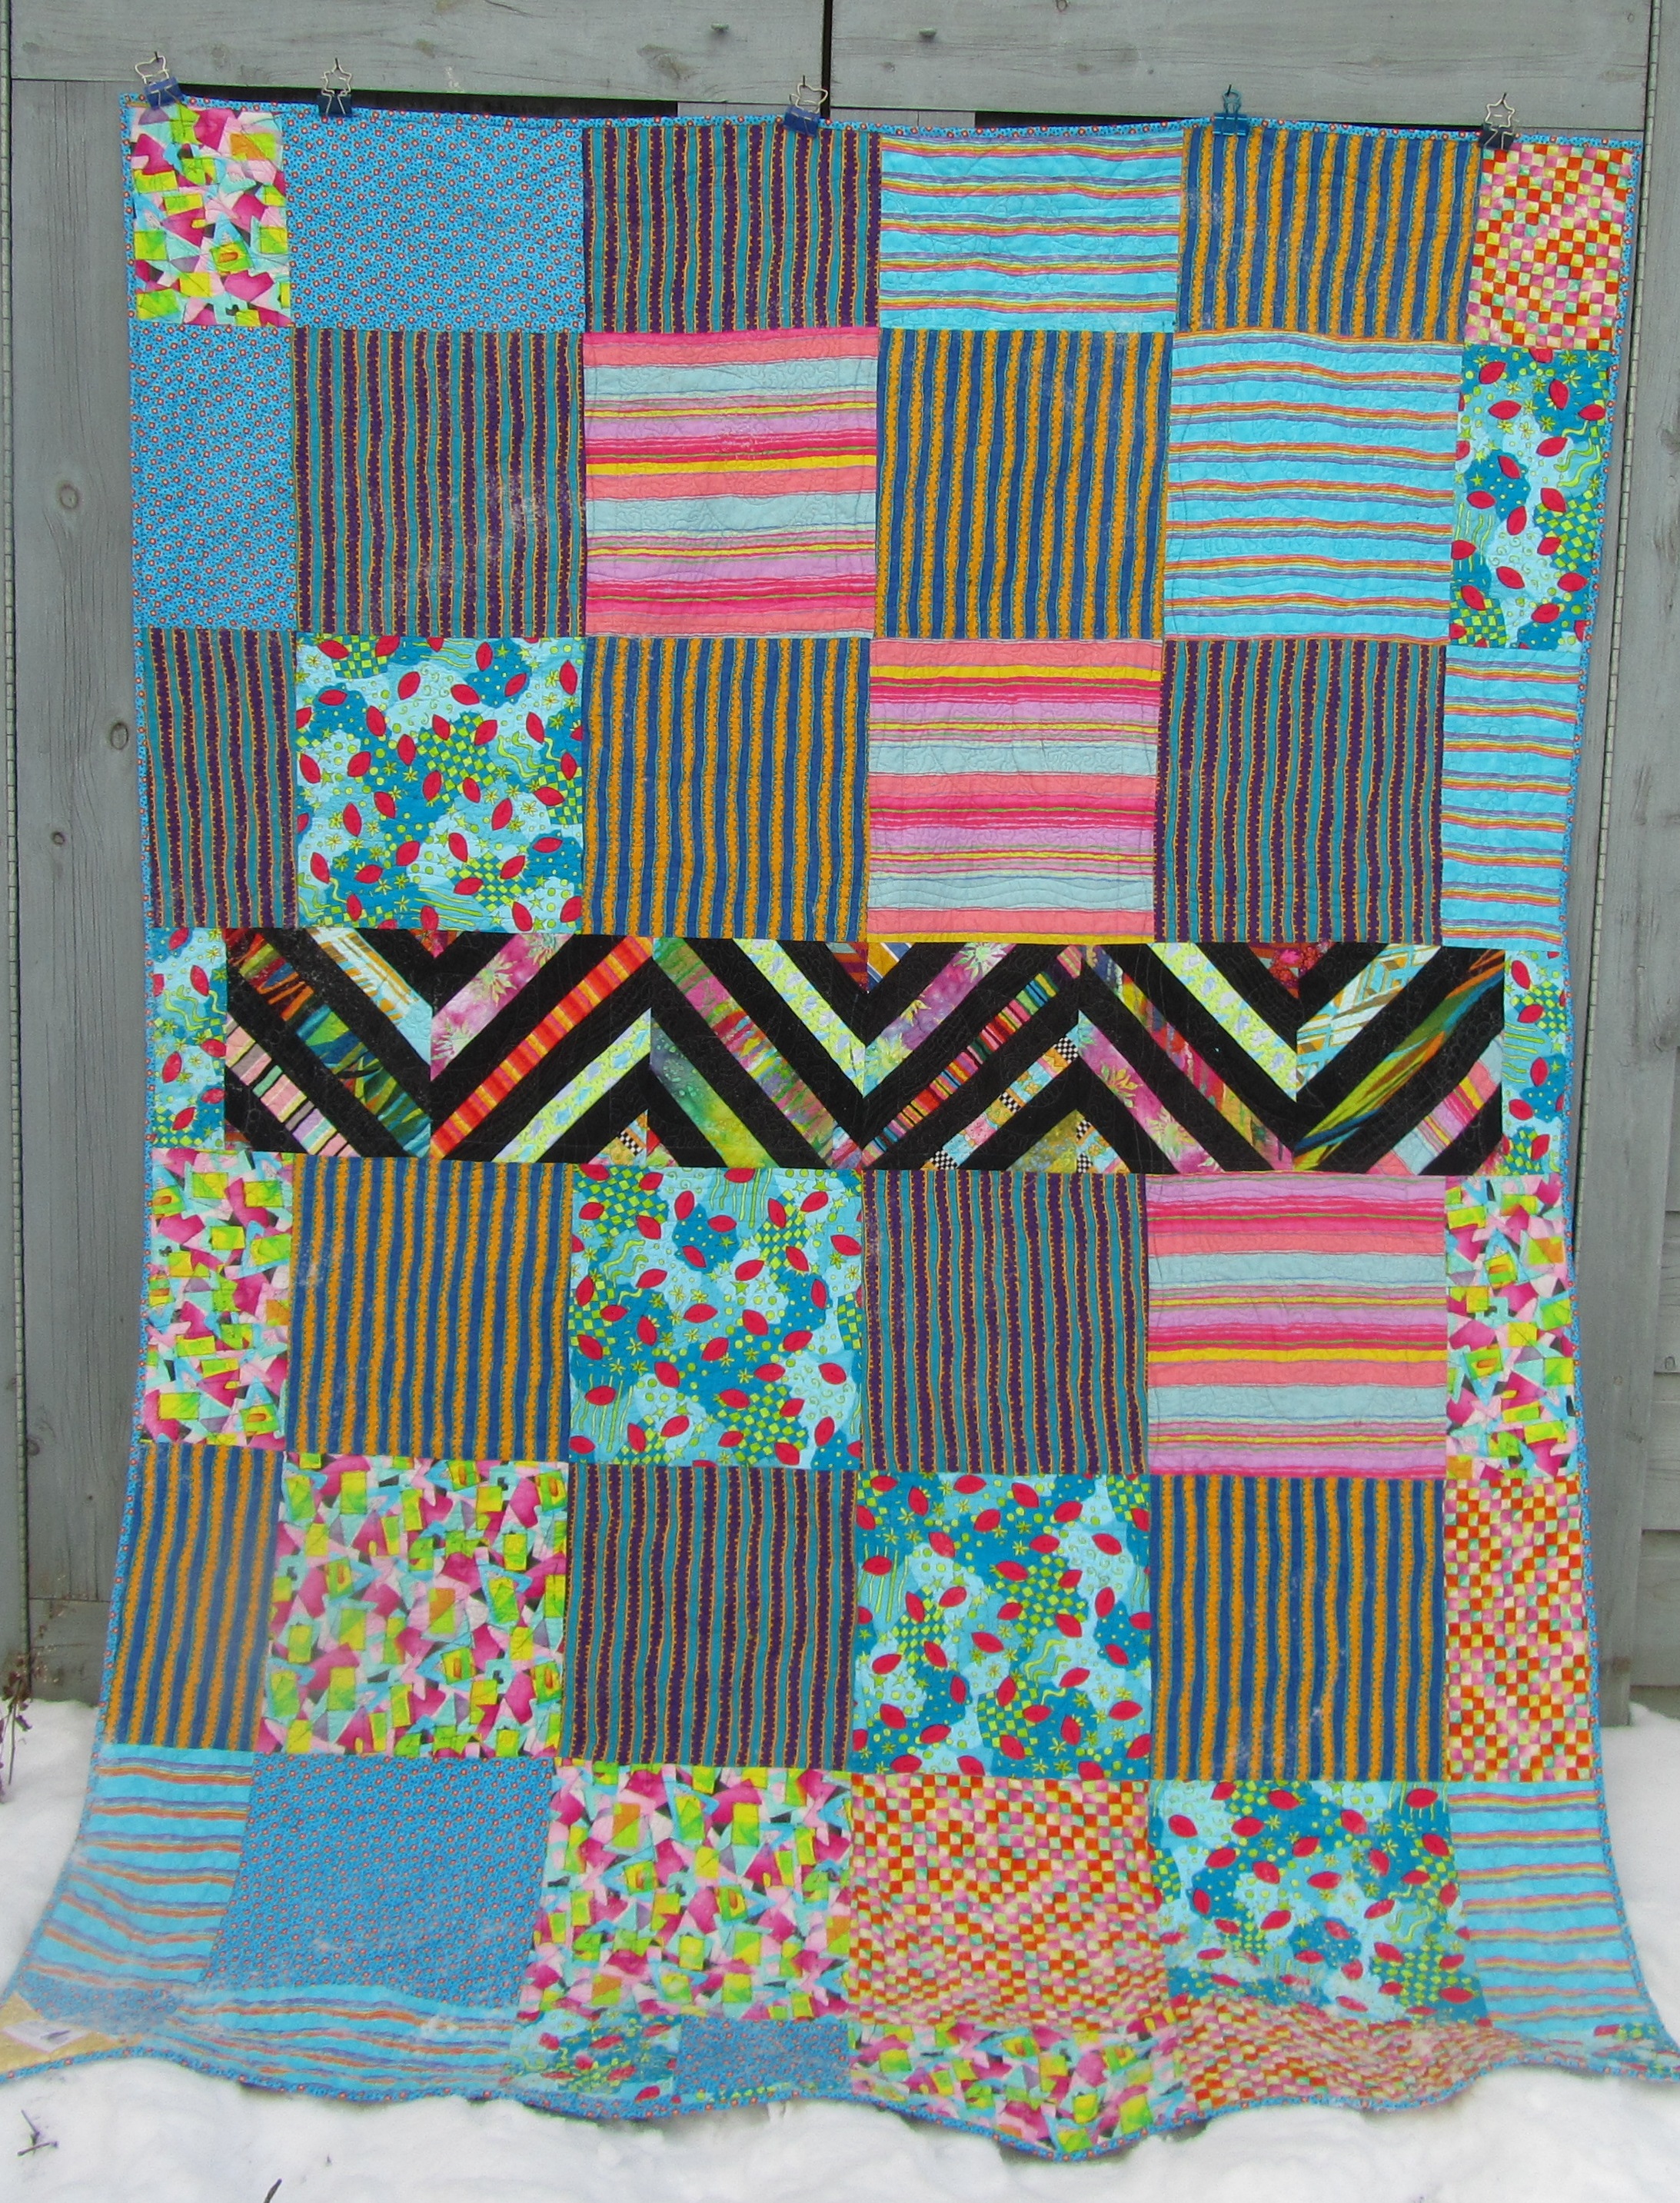
I still love color, but not quite as saturated as these prints. This wasn’t a planned slow quilt, but each design decision along the way led to another. I set the bright strings off with 2″ strips of black prints and black Kona solid. I’m really happy with the visual interest from the black prints. Then I sashed it with black Kona. It was beginning to resemble a vintage crazy quilt. Then the border needed to be black, but not all black, so I pieced in these bright triangles from scraps I had set aside for another project.
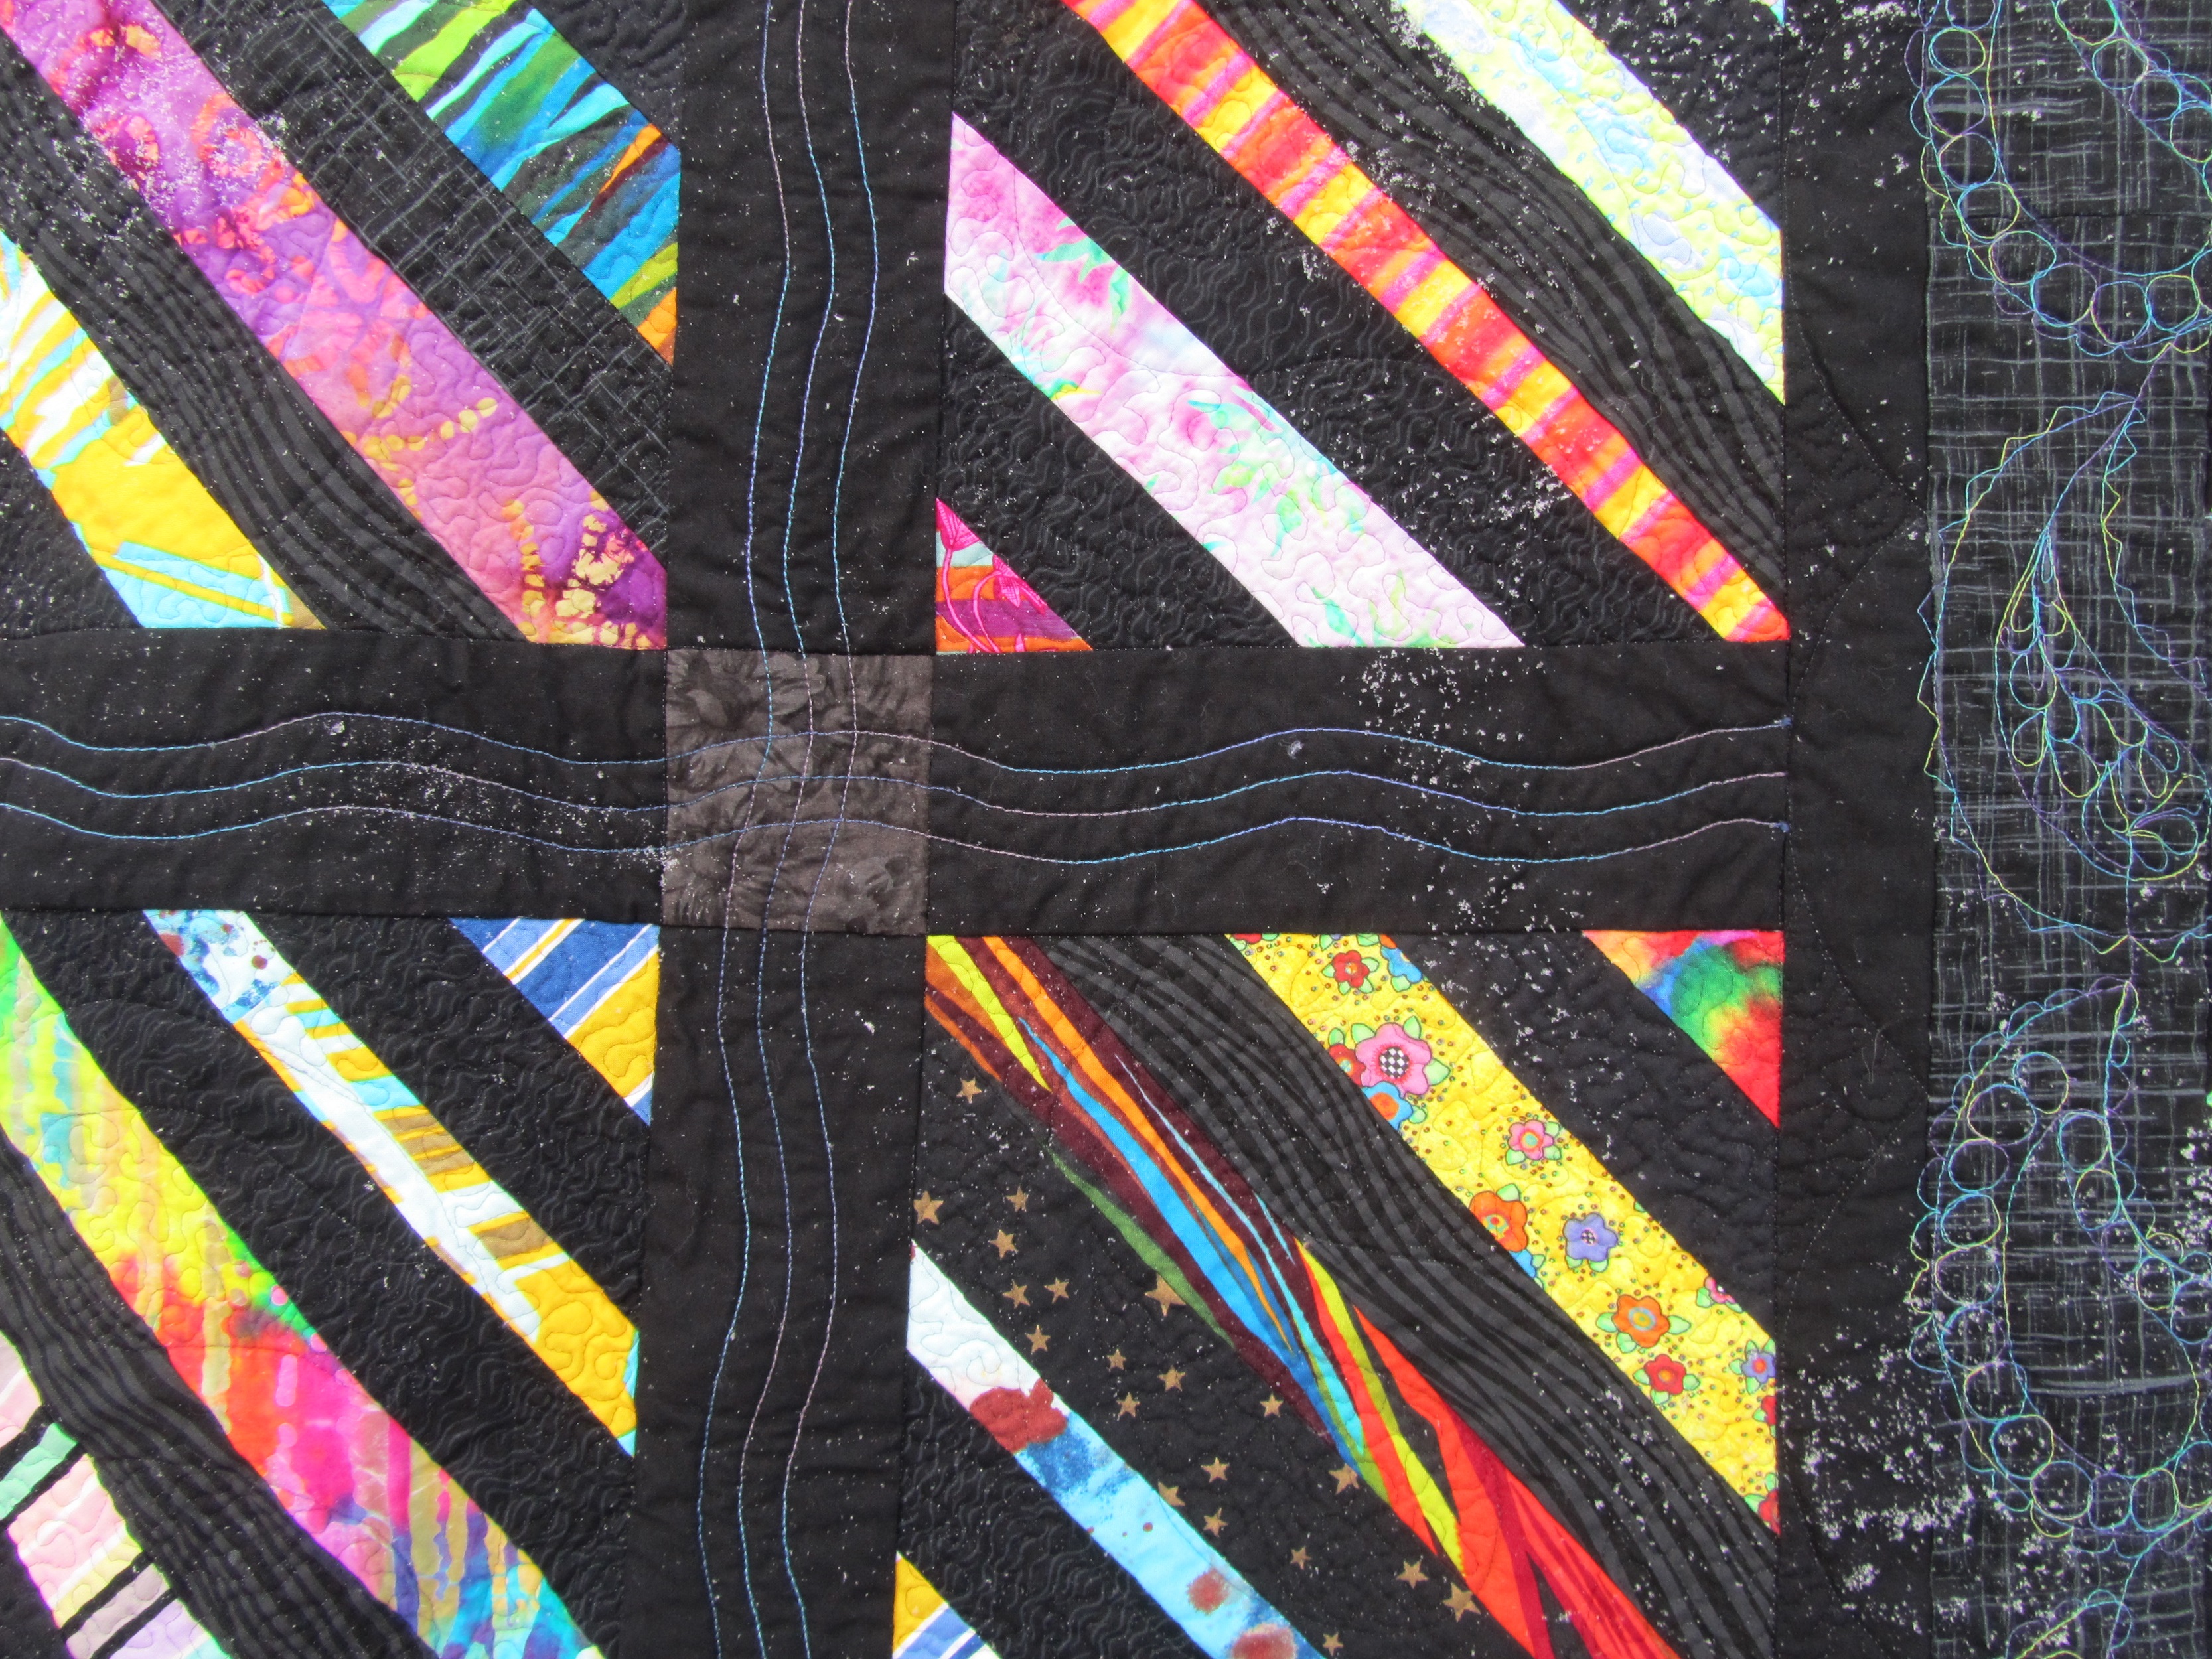
Nice effect, but still too much black, so I quilted wavy lines through the sashing using a purple/teal heavy cotton Sulky thread. I cut basic patterns for paisleys for the border, then free-motioned the details using Superior’s “Lava” in purple/teal/lime.
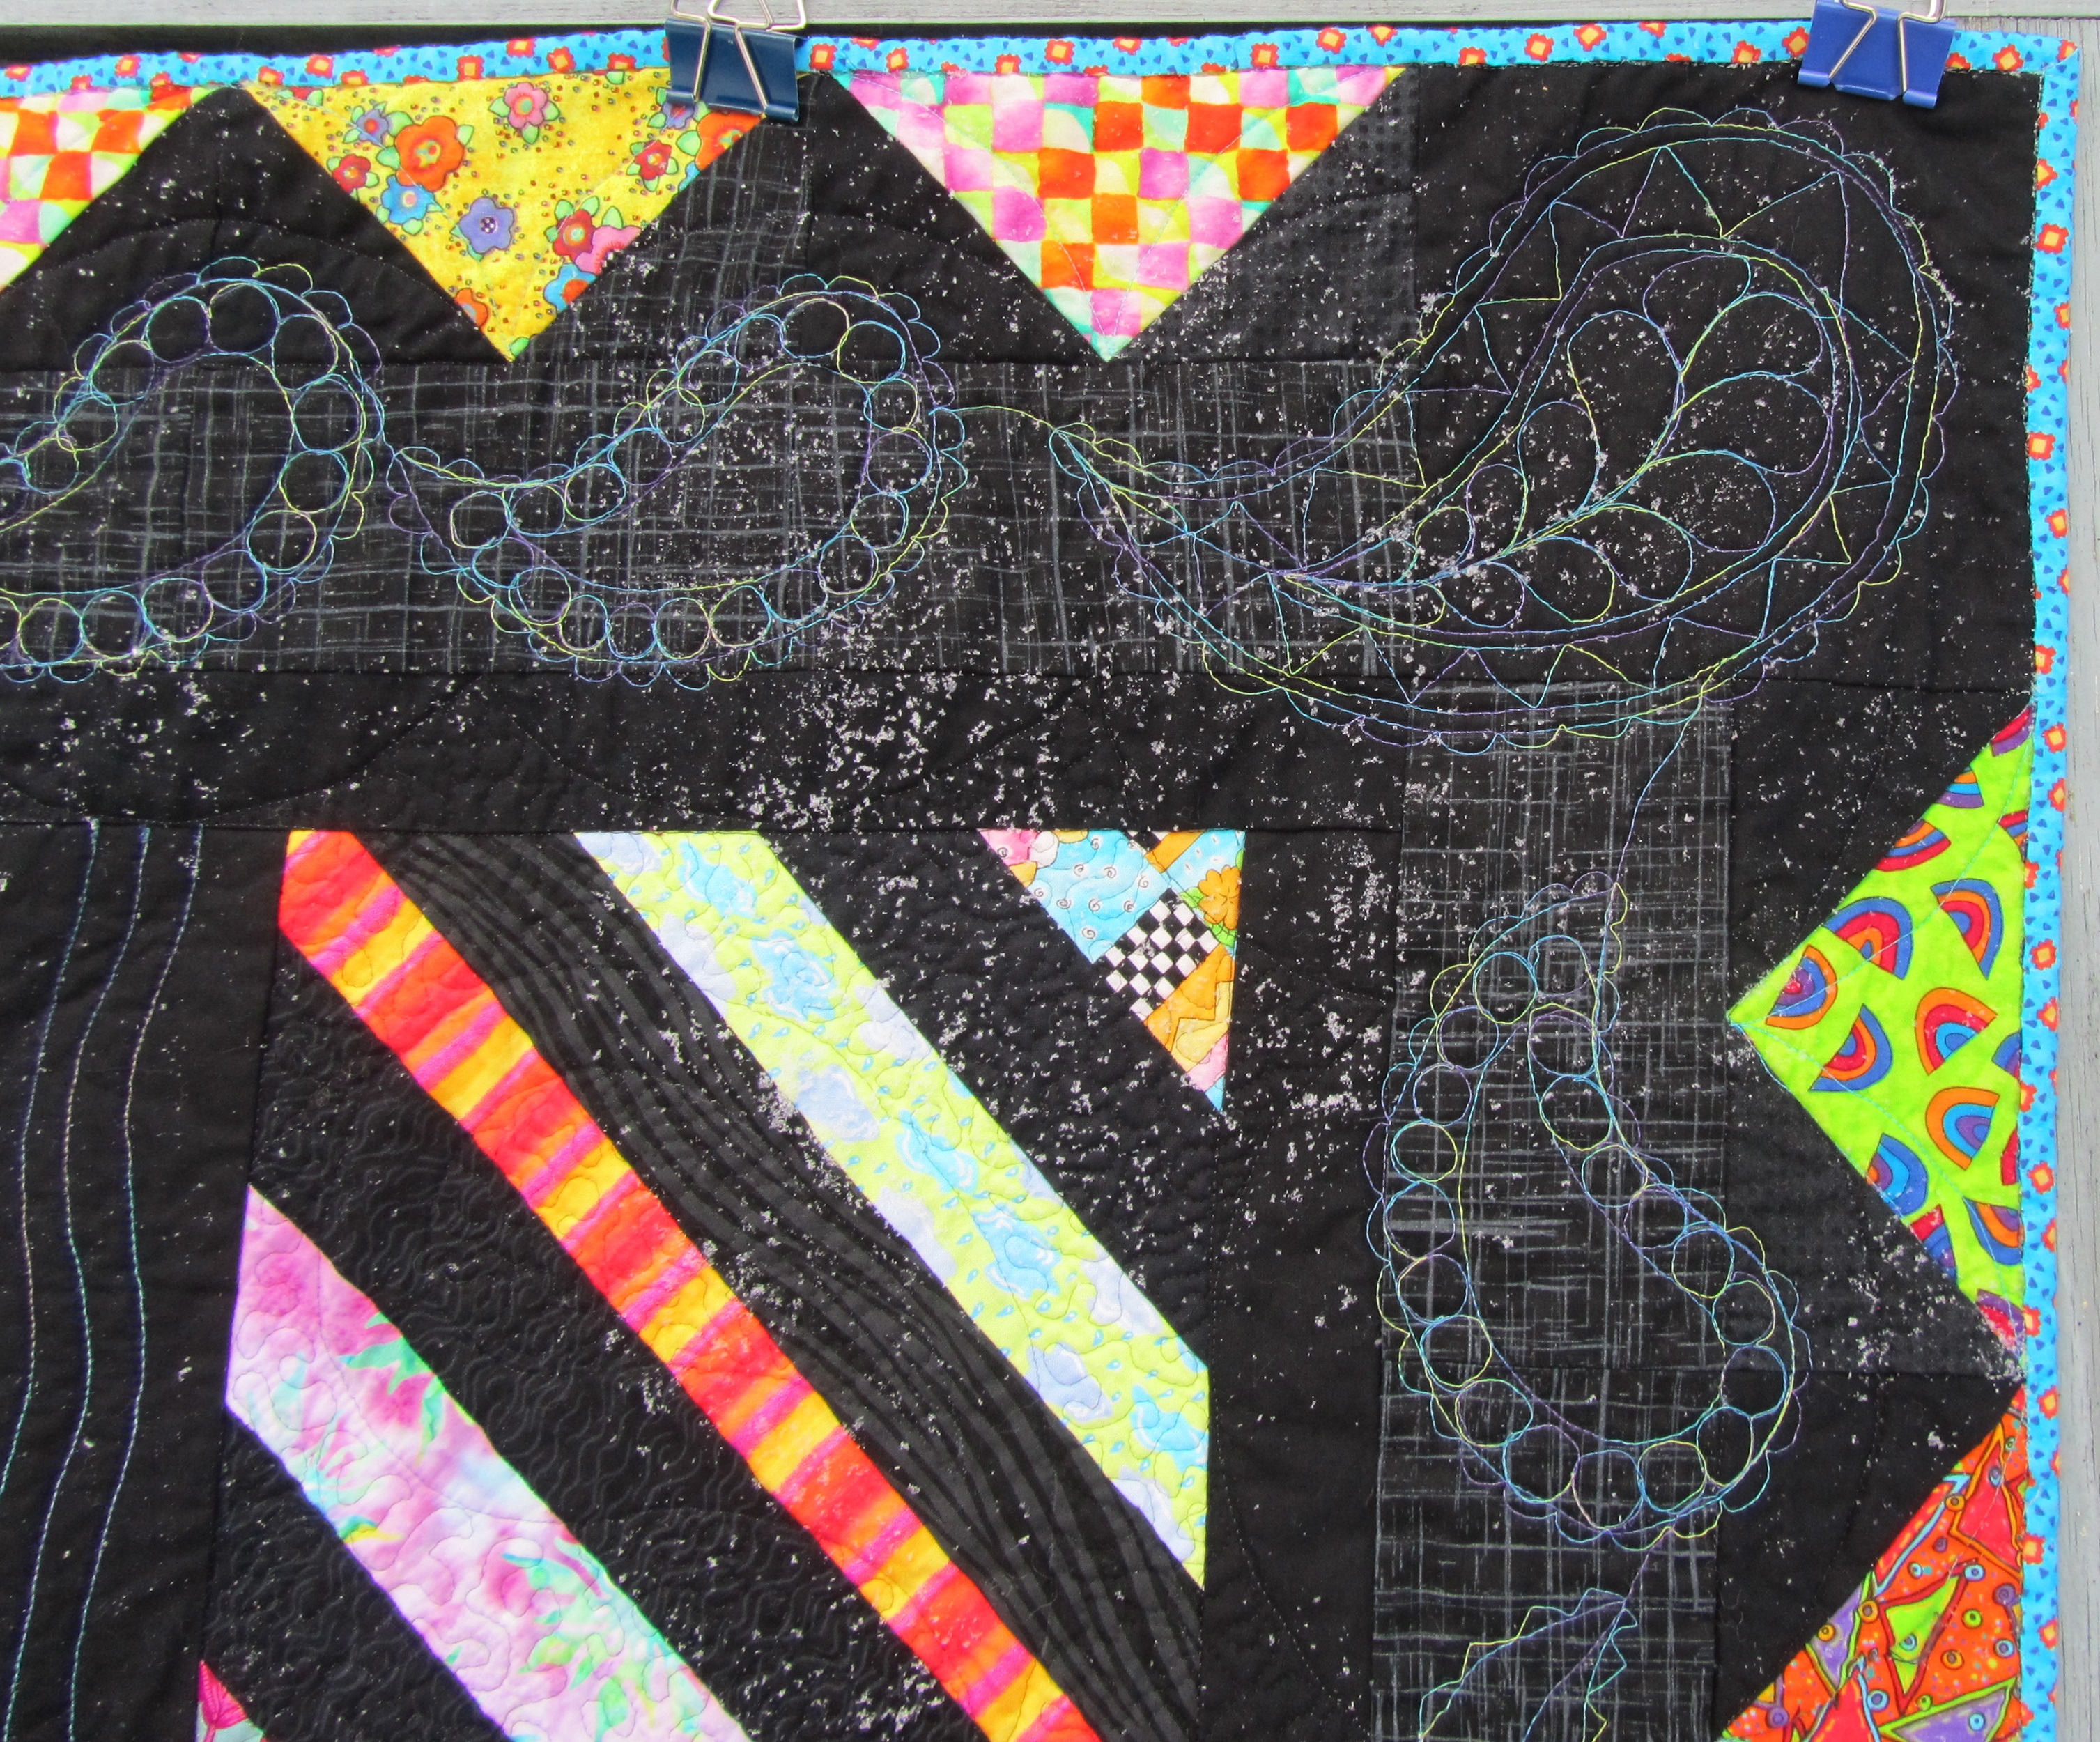
Each corner is different, and I tucked a few surprises into the little ones on the sides. Each block has a basic paisley surrounded by stippling. Marking was tricky, because of the contrast in color.

First, I cut sticky templates from Contact Paper, and tried to sew around them. That worked, except this large (60 x 84″) quilt scrunched around a lot, and the template wanted to come off. What worked best was to stick the shapes to each block, then trace around them alternating washable marker with white mechanical pencil. Then I started experimenting with threads. Thin black Bottom Line was invisible on the black stripes, but too harsh on the prints. Regular invisible thread was fine on the prints, but too shiny on the black. I settled on smoke colored invisible thread. It’s visible on some of the prints but very unobtrusive, and blends well into the black, with just a little shine. So this was a quilt for experimenting and learning. And lots of ripping. And it works now that it’s finished.
What I would do differently: use a black batting. I totally spaced on that. I guess that I seldom make dark quilts. It looks fine for now, I just hope it doesn’t beard down the road. It did cause me to vacuum my studio, which is always a good thing.
Hope you accomplished as much as you wanted this week. I’m linking up with Finish It Up Friday and Whoop Whoop Friday.