I am a big fan of machine quilt bindings, but I haven’t seen any I like as well as mine. Talking on Twitter, it seems that many people are doing something similar with decorative stitches (which can be really fun in certain applications), but I really like my blind stitched bindings. They look close to hand stitched, but are so much faster, and stronger, than hand work. Not to mention that I am far too impatient for much hand work these days. So little time, so many quilts to make!
I usually use straight grain binding (better use of fabric, less stretchy), but this works with bias binding, too. It will just be a little stretchier and need a little more coaxing into place. I accidentally combined both in a scrappy binding recently, and it turned out fine.
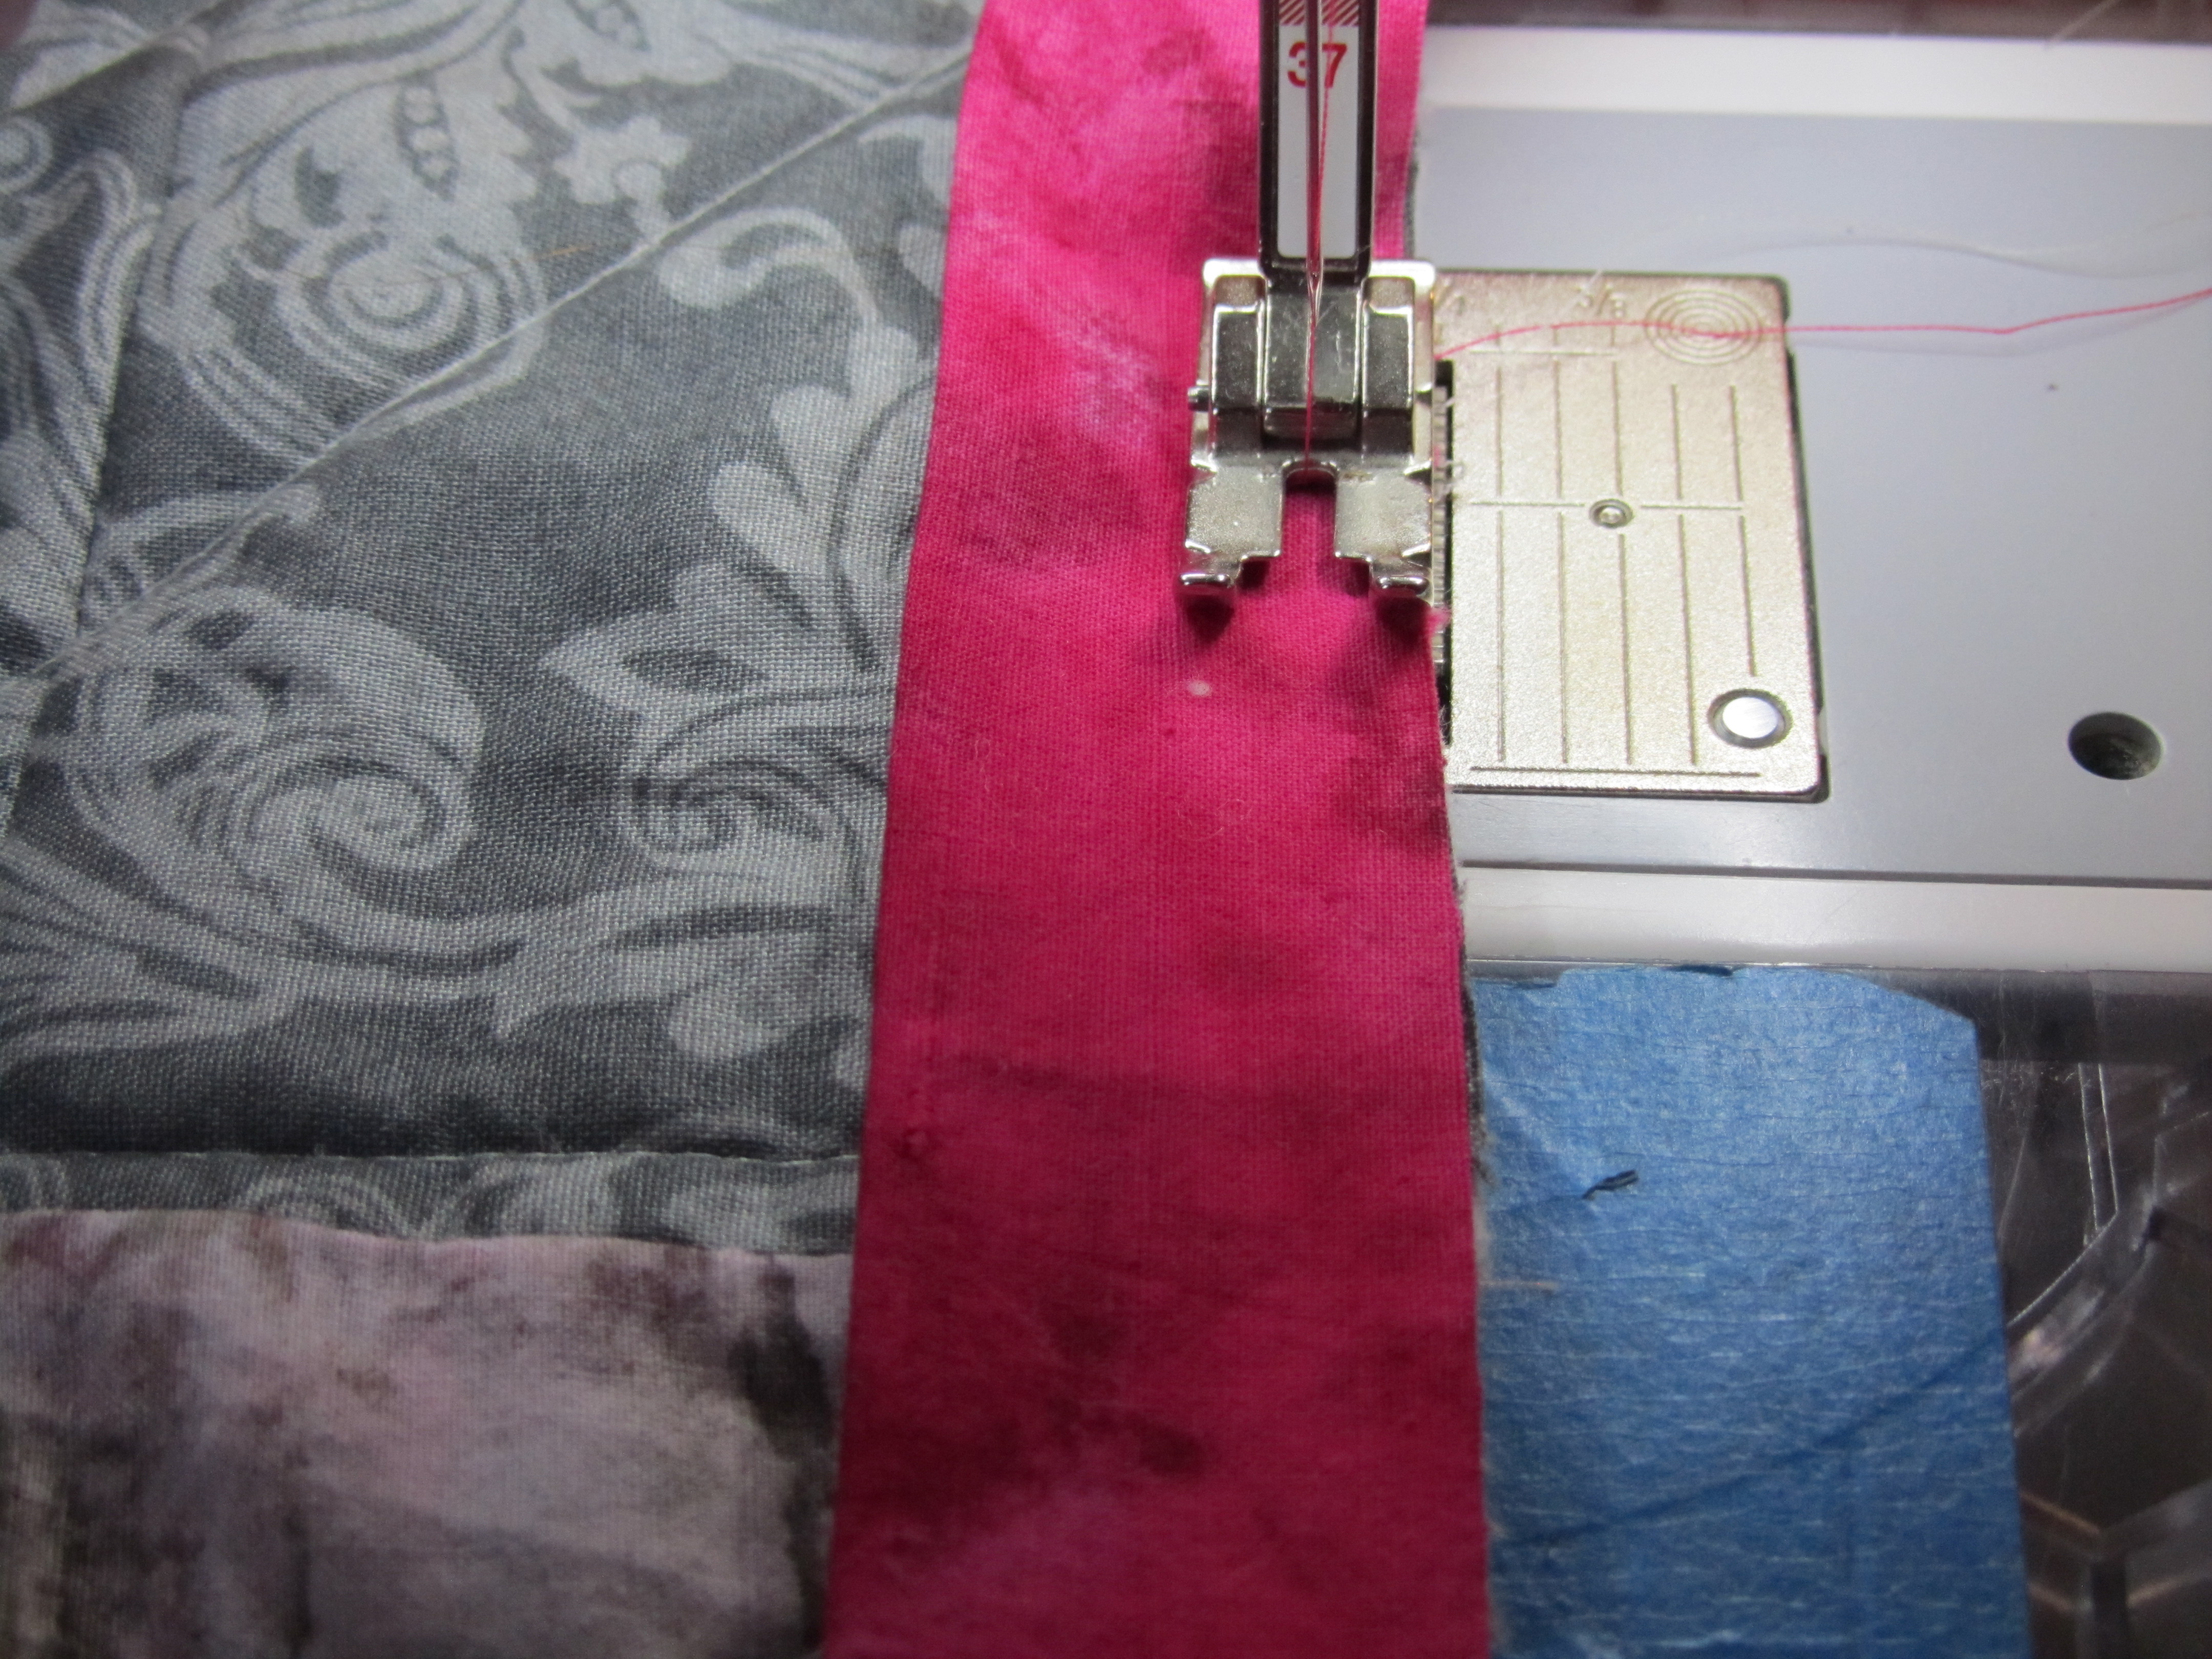
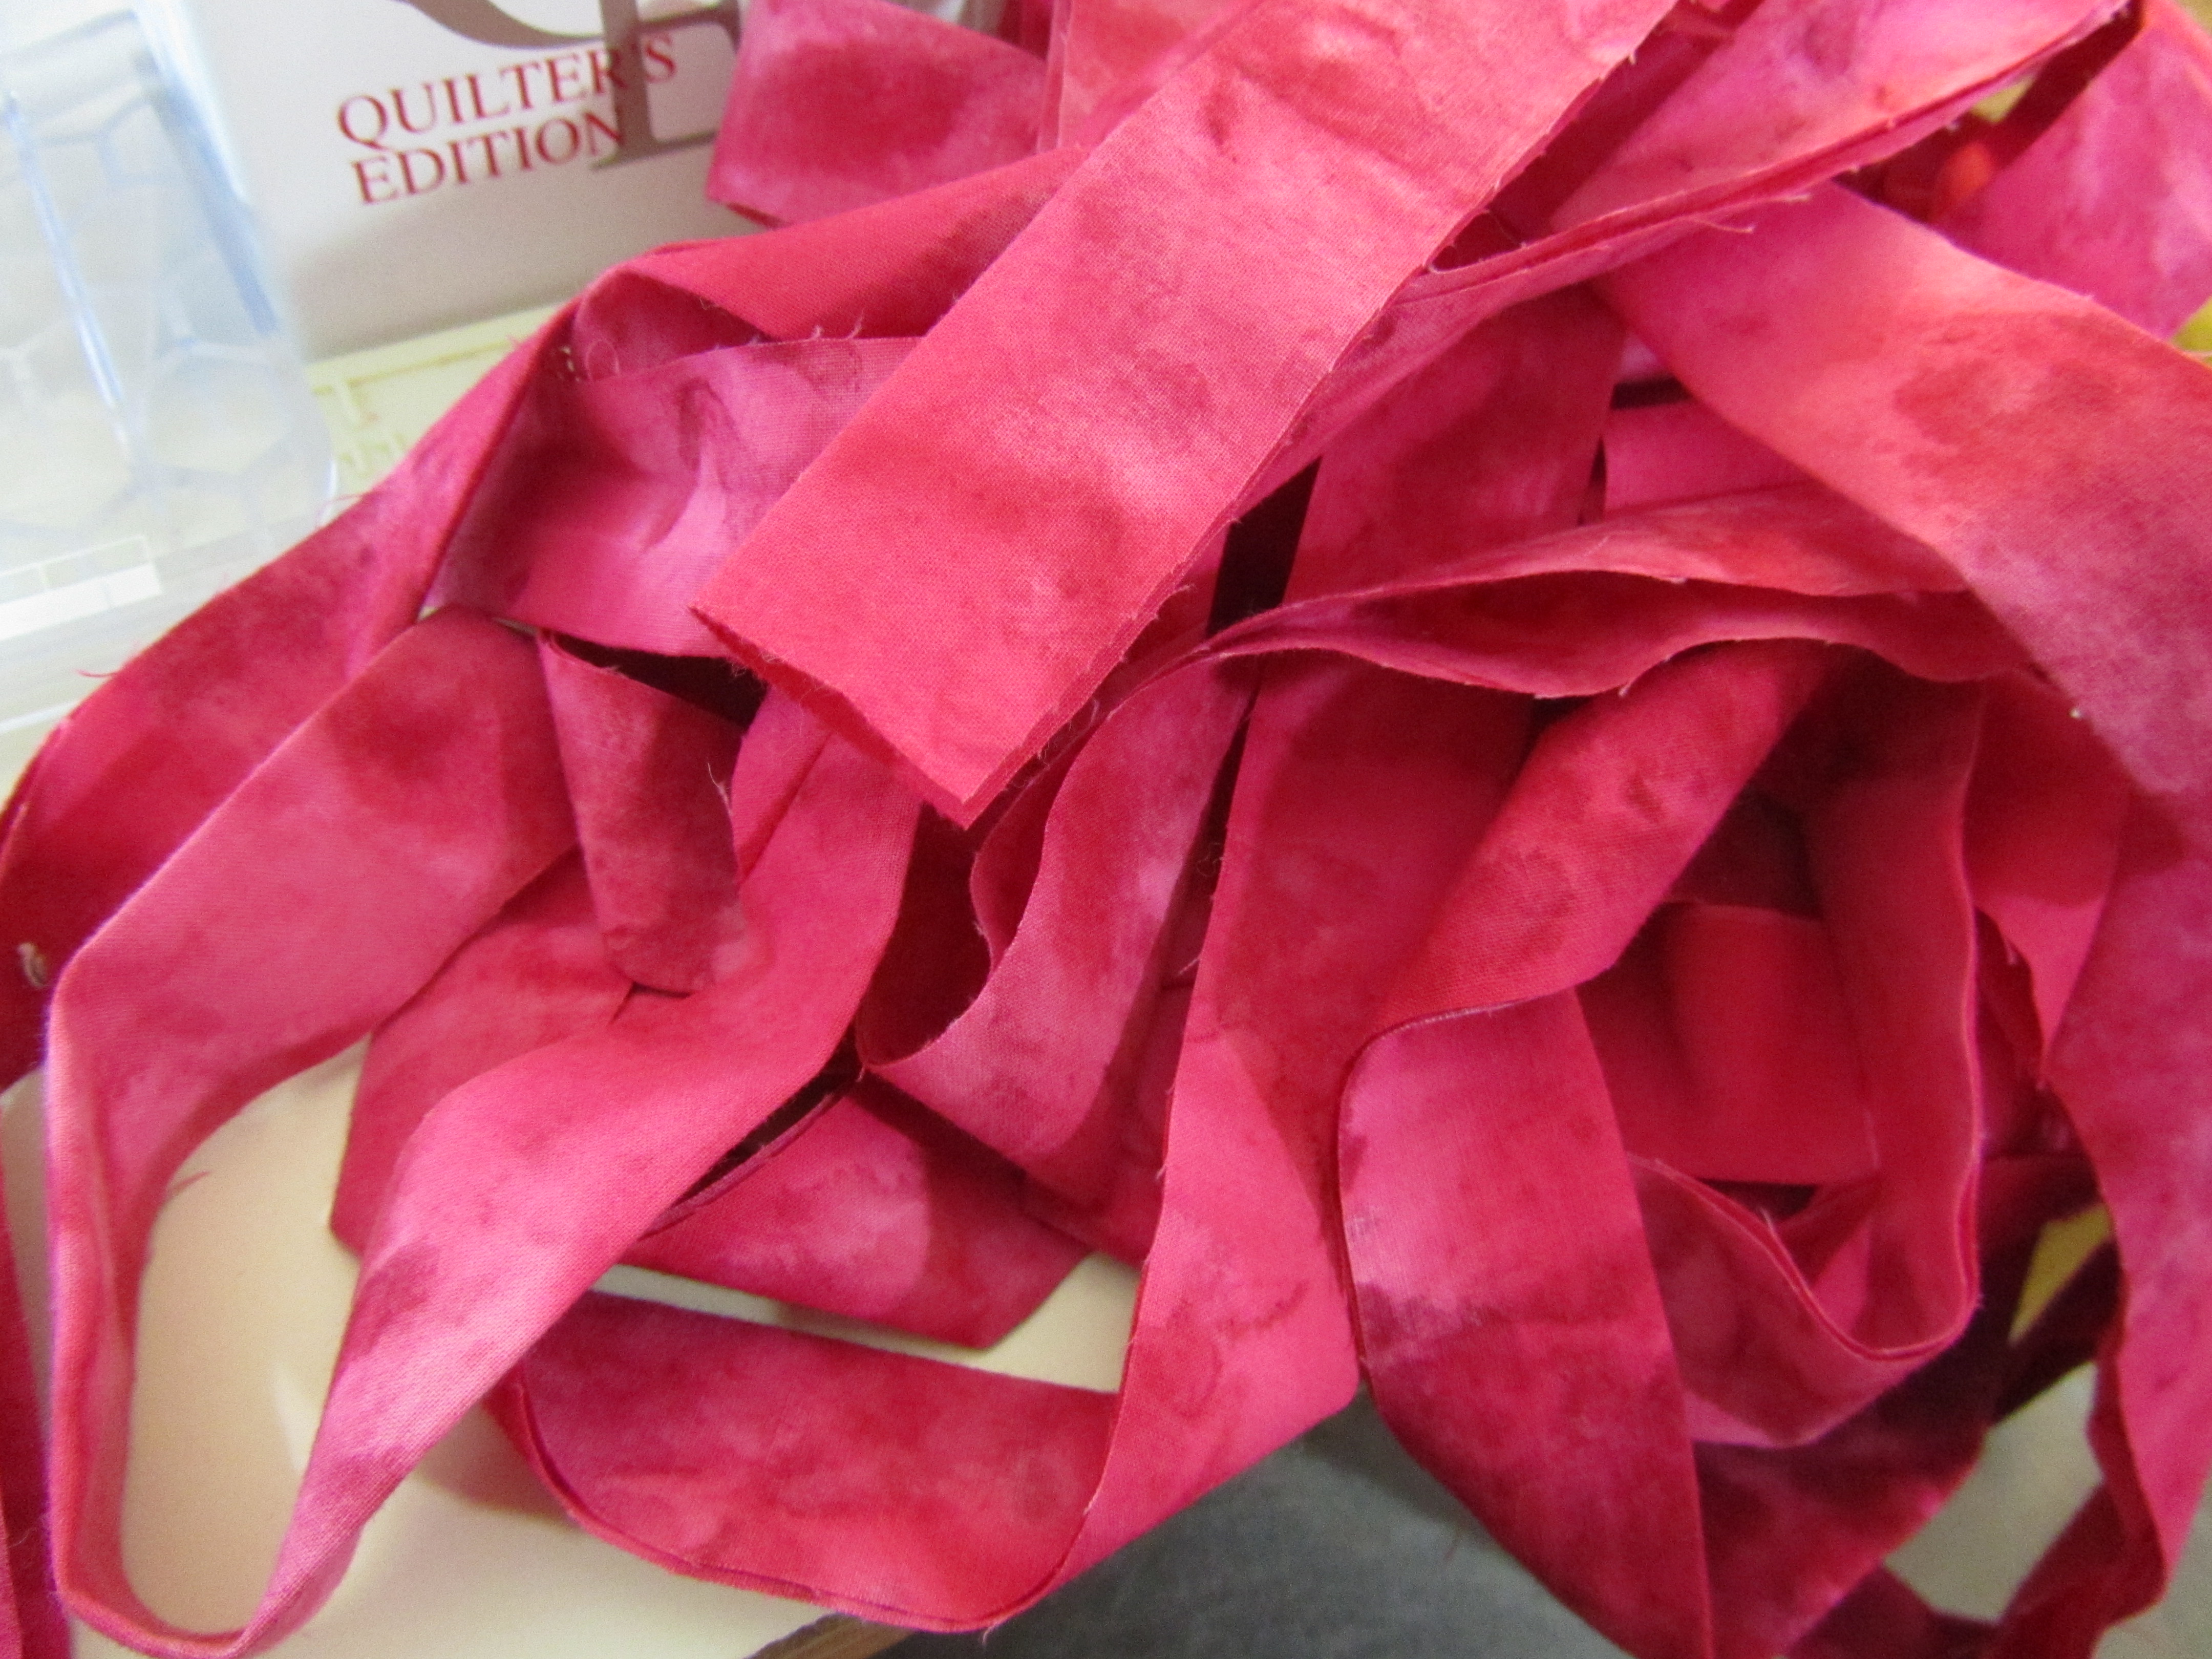
Any width binding would work, but I use 2″ strips of fabric, folded in half, sewn with a quarter inch seam, to form a narrow, tight binding. I join, press and sew the binding in the standard way (here’s a very clear Heather Bailey tutorial), except that I sew it to the back of the quilt. I’ve already basted the quilt edges during the quilting, so they are very stable. Therefore, I use a 1/4″ foot (Bernina 37) to sew on the binding. I’ve used a walking foot, and it works, but I have trouble getting a consistent 1/4″ with it. Use what works for you.

After attaching the binding to the quilt back, be sure to press the binding back over the seam (the way the finished binding will be).
At this point, I’m ready to change my machine to a blind stitch, so I switch to a wide, open toe foot (#20). Again, a walking foot or binding foot works. Also, make sure to change your throat plate if necessary to the one that allows zigzag, etc. Don’t ask me how I know this…

I set up my Bernina to look like this. I choose the blind stitch, reverse it, reduce the width to less than 1 (very narrow, barely bites the binding), and reduce the length. I use a thin (60 wt.) thread like Superior’s Bottom Line. Invisible thread is good, too, but it drives me a little crazy because I can’t see it. I use it when I have a really large contrast between quilt and binding color.
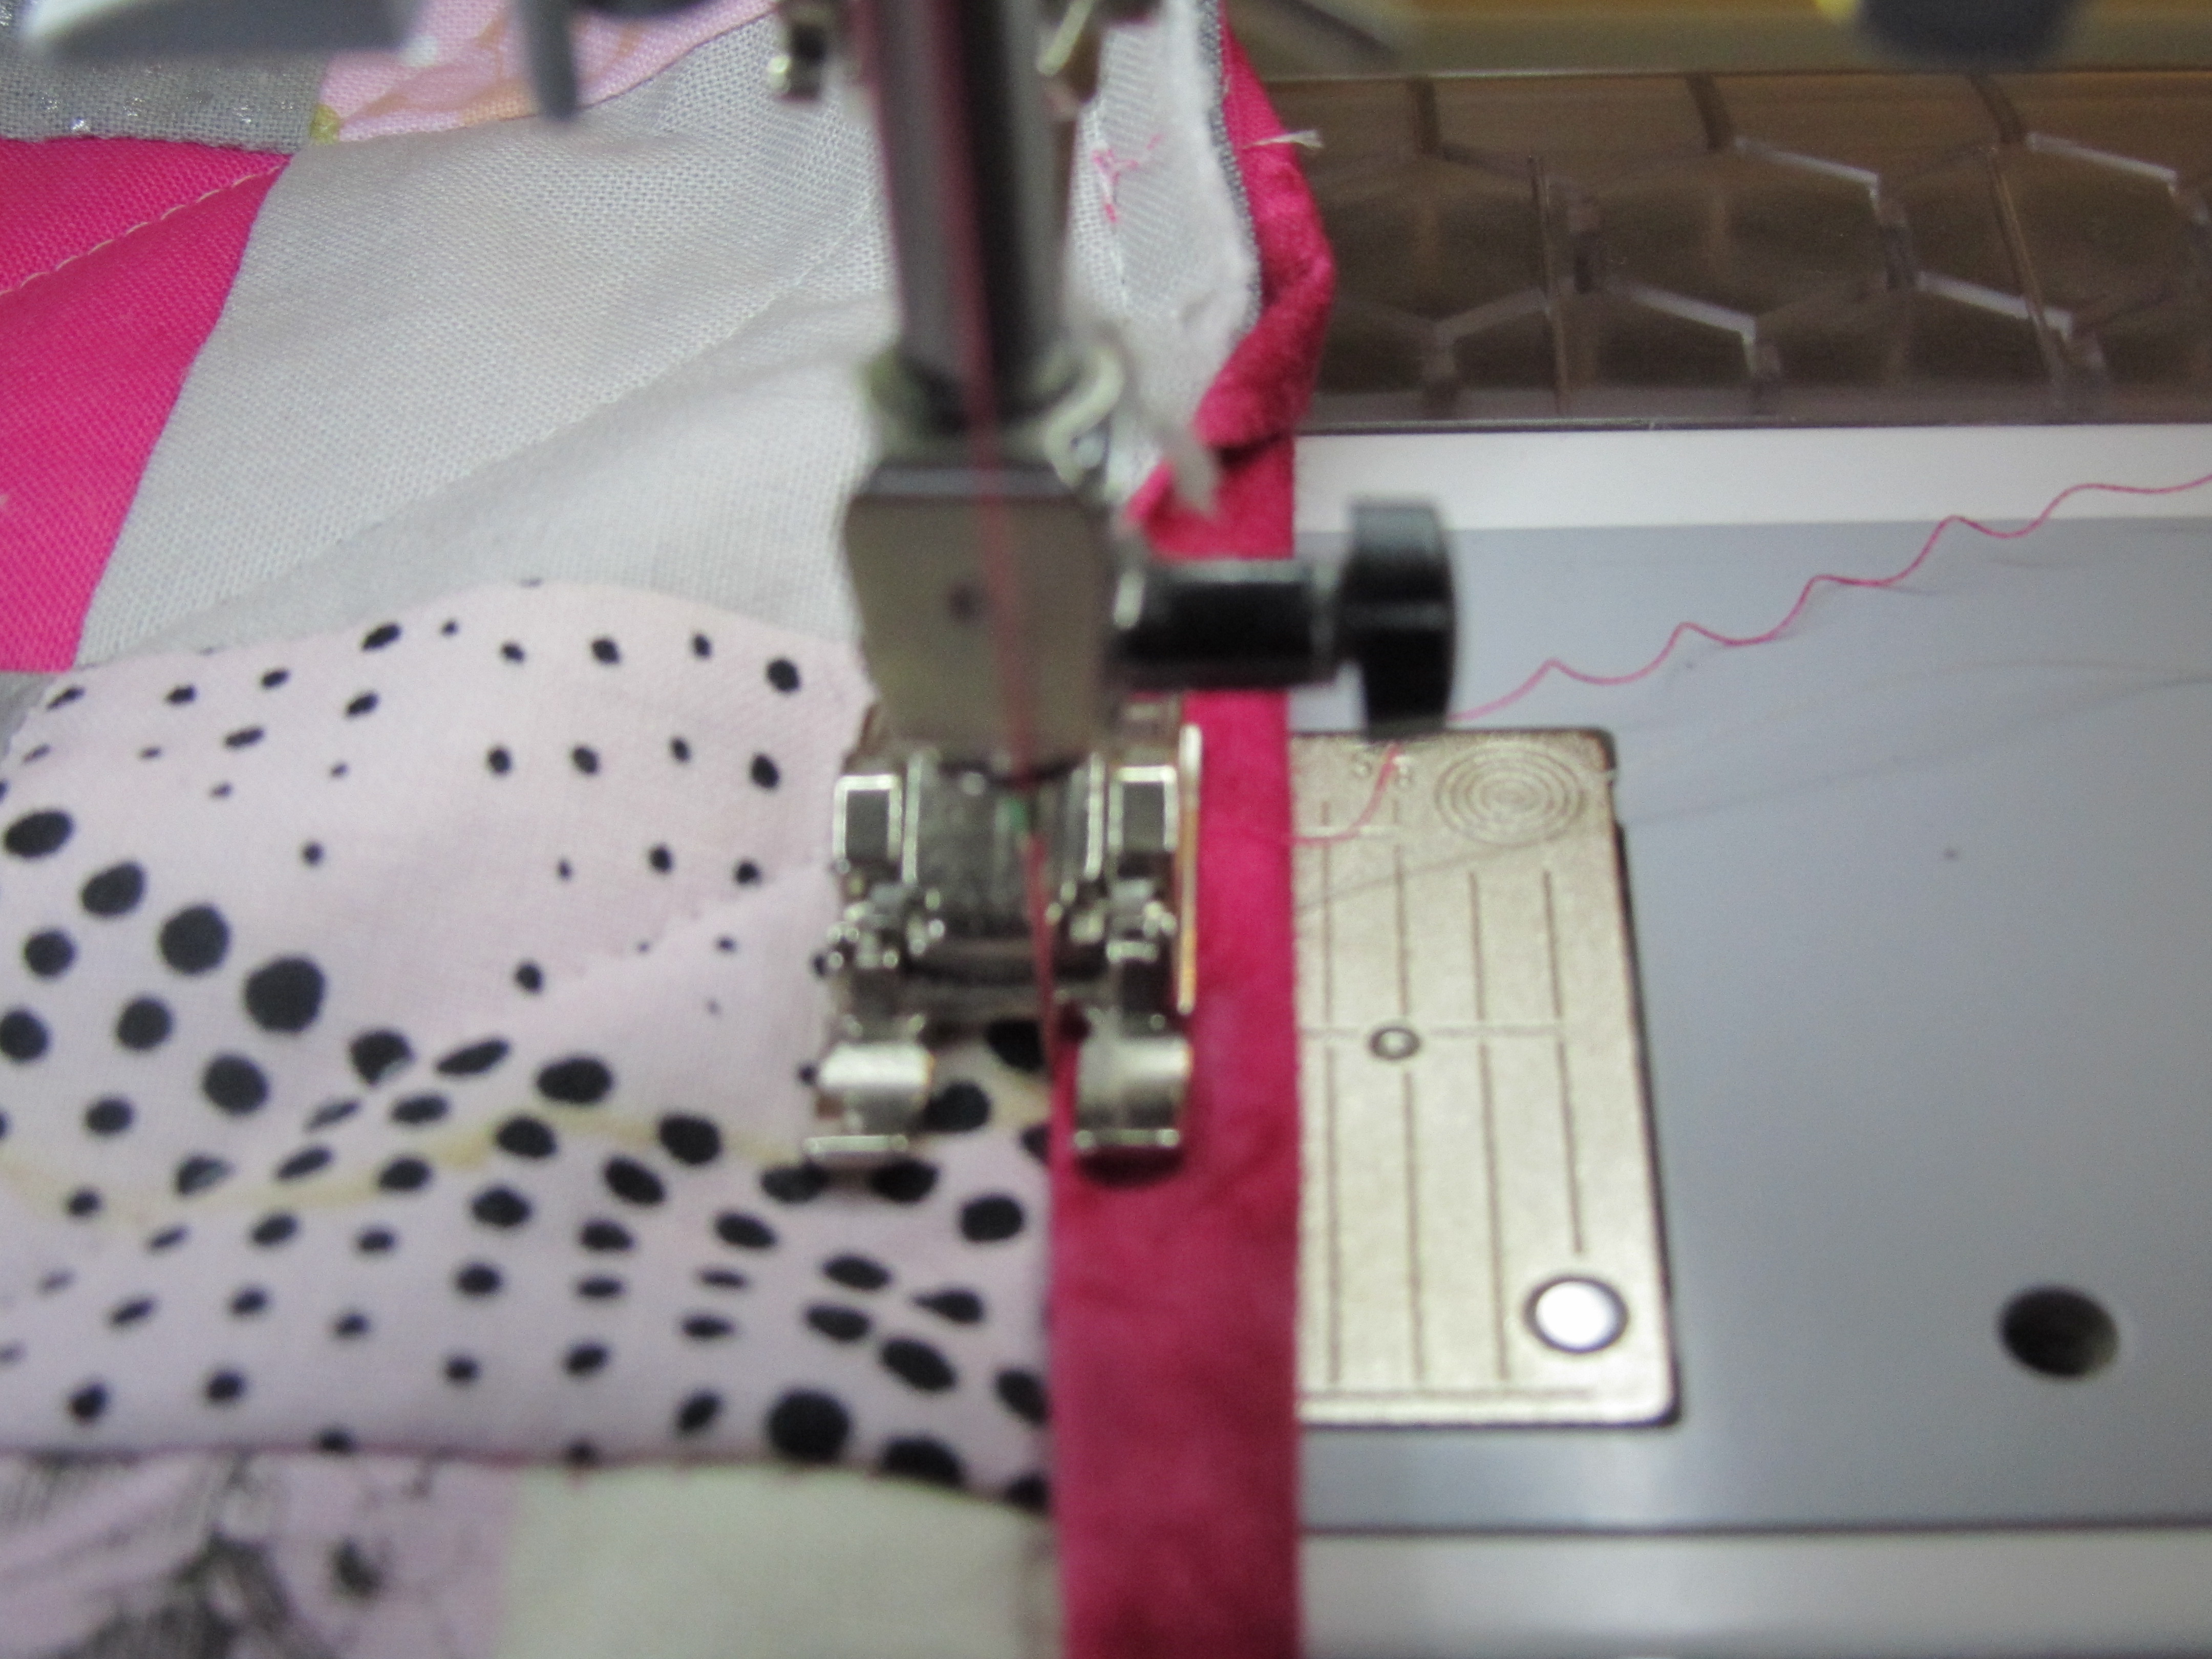
Then, from the front, I fold the binding into place, the edge just covering the 1/4″ stitching line showing through from the first sewing. I start in the middle of a side. The trick is to keep the stitching on the quilt, alongside the binding, very close to the folded edge of the binding, so that every few stitches the needle jumps over and nips the binding. You may have moments when this fails and the needle misses the binding, leaving a gap. This is easily fixed later. If you see it happening, mark it with a pin and try harder to do better with the rest.

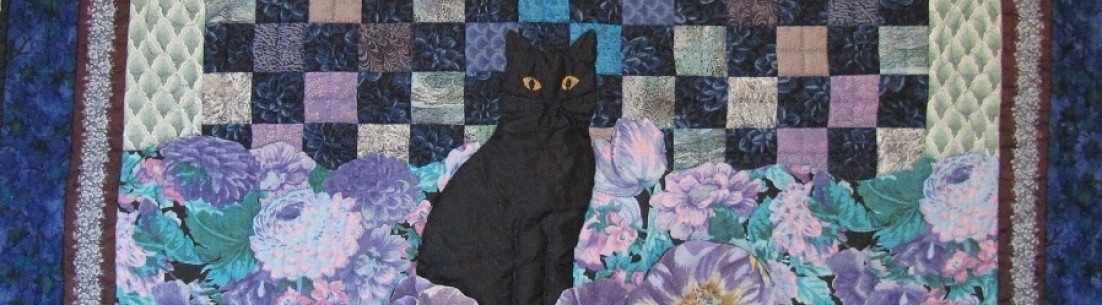
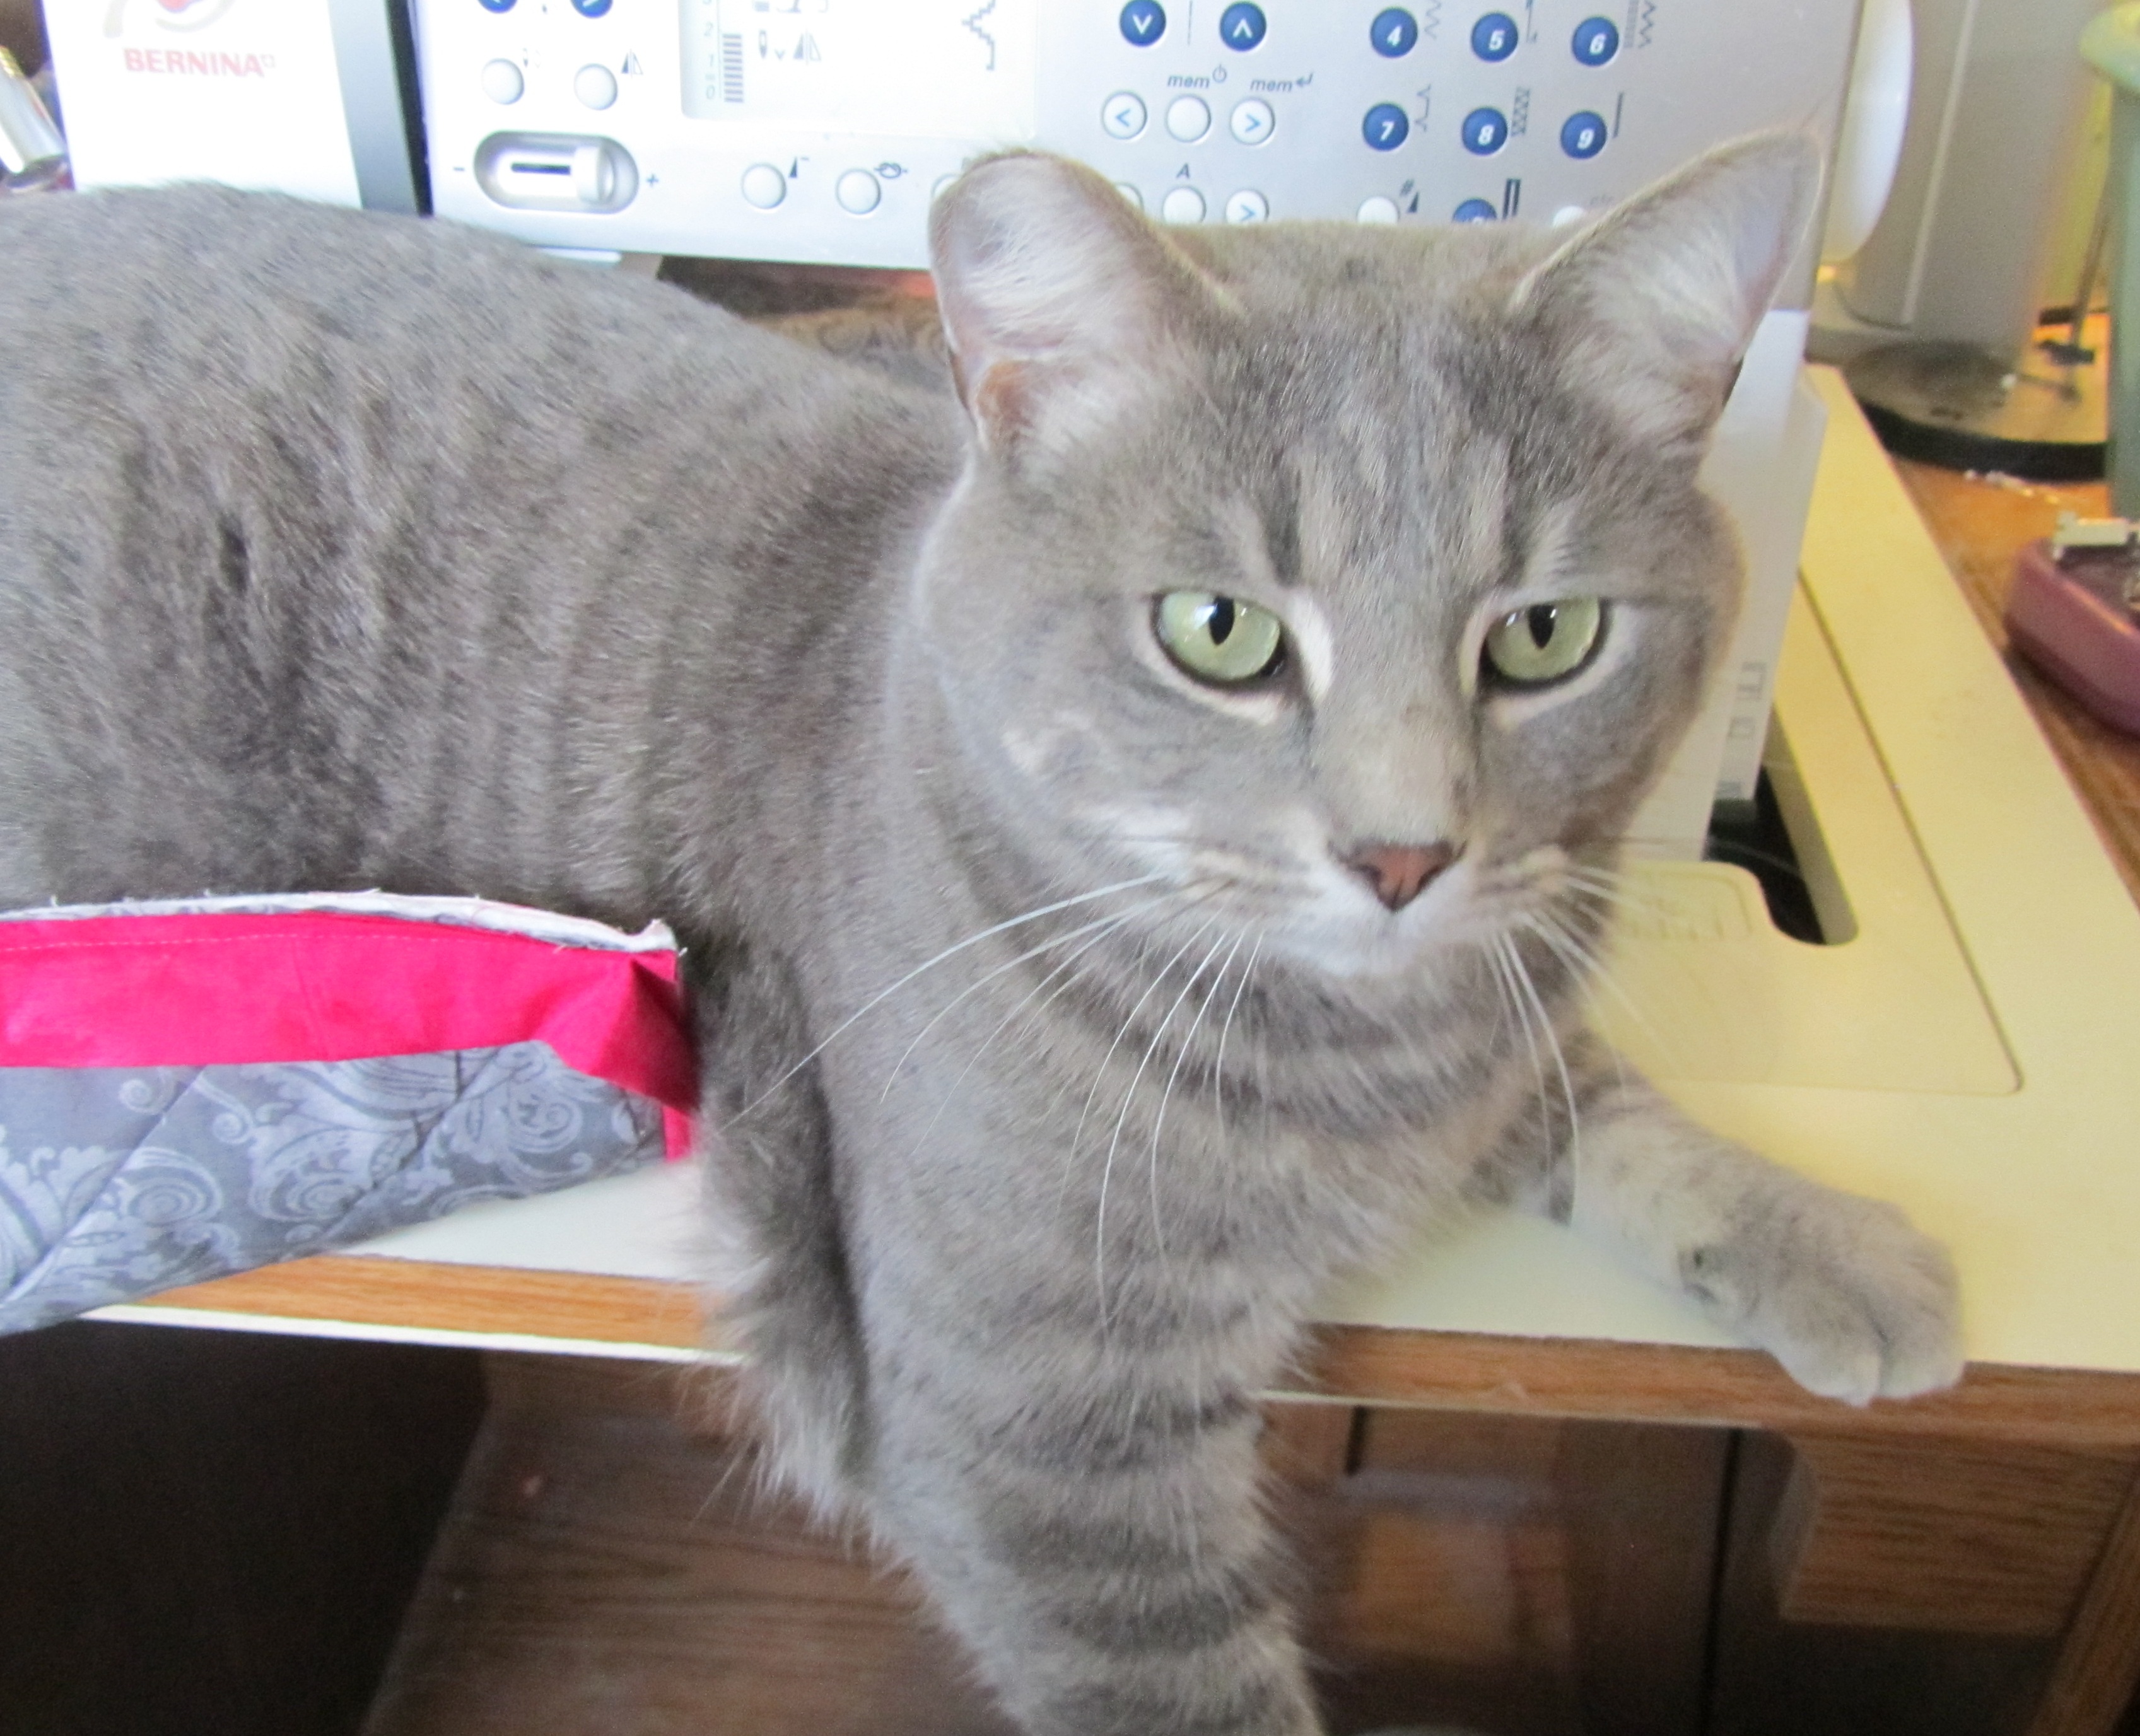
At this point, remove the cat from your quilt.

As you approach the corner, insert a pin about 3/4″ from the end to keep the binding in place.
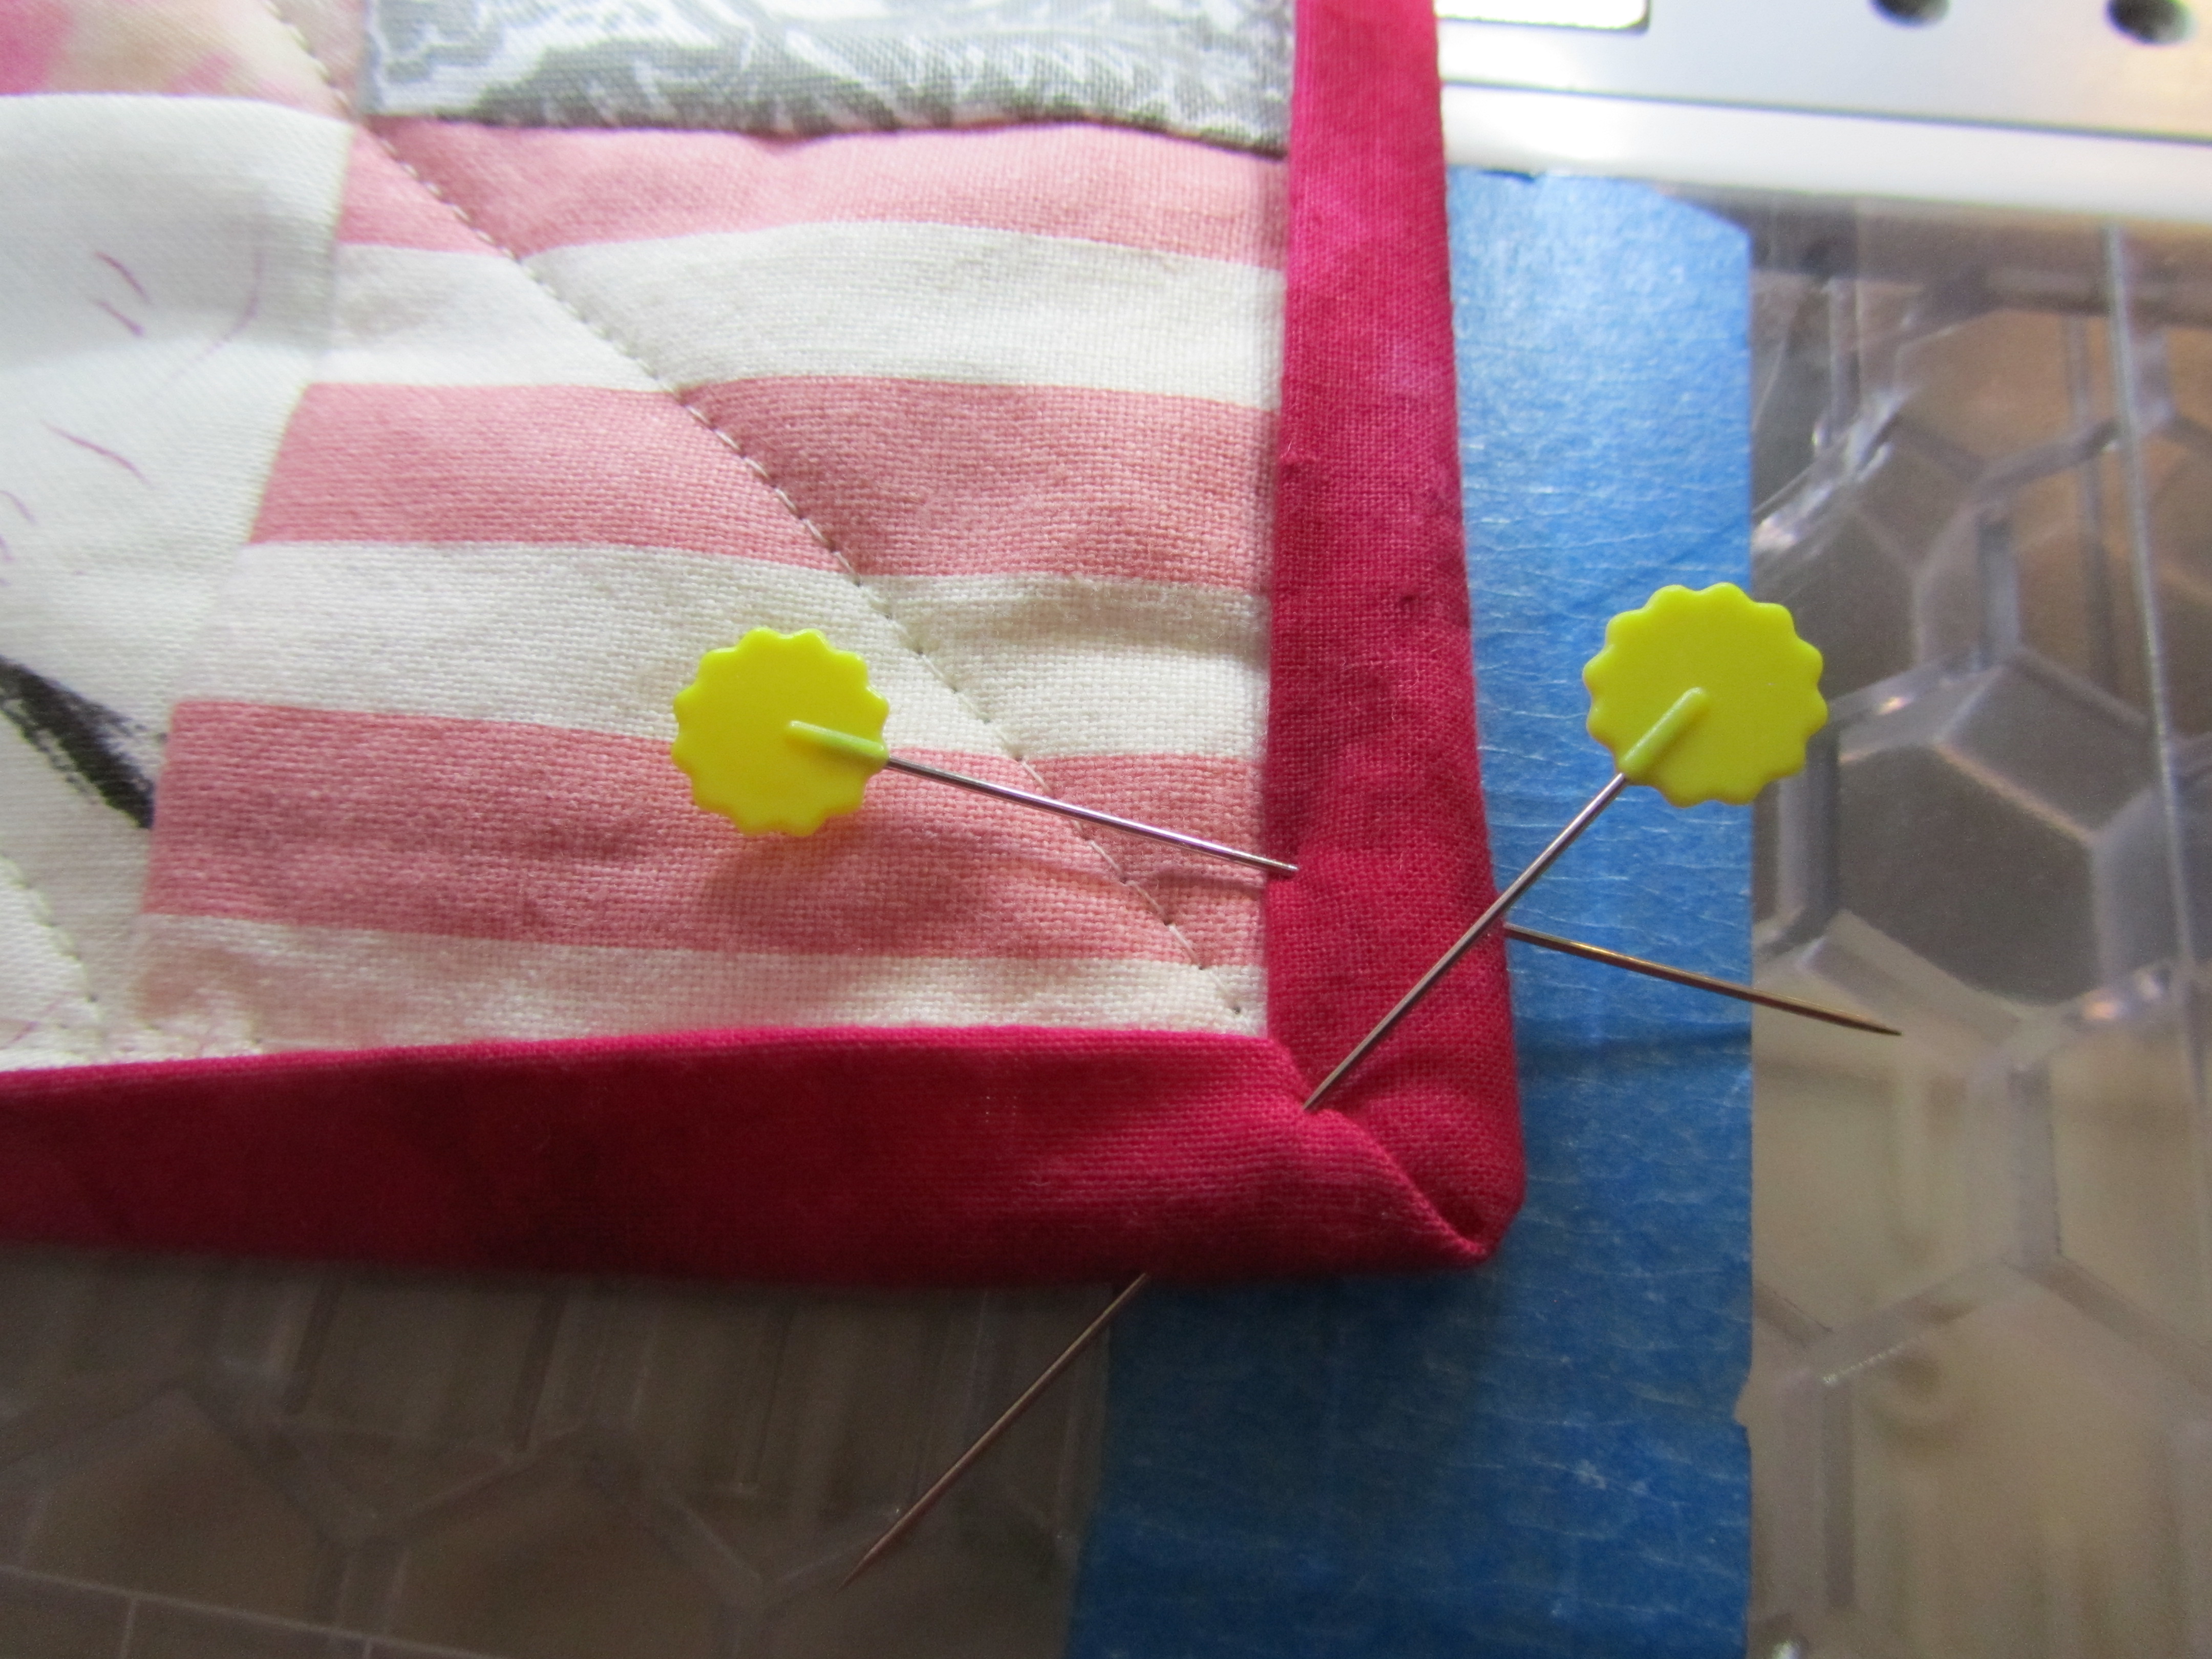
Fold to form your miter, then pin that in place. Sew to the miter, taking a stitch into the new side of binding. Remove pins and turn the quilt for the new side. I usually take a back stitch into the binding of the previous side to make sure the corner is really secure. Then resume attaching binding to the new side. Three more corners, and you are finished!

When you examine your work you are going to find gaps where you didn’t catch the binding. Just go back and go over these before you reset your machine. I tried to find one of these gaps for a photo, but for the first time I didn’t have any! I find it varies a lot, probably having to do with how tired I am, and also the texture of the binding fabric. Don’t despair if you have several to fix.

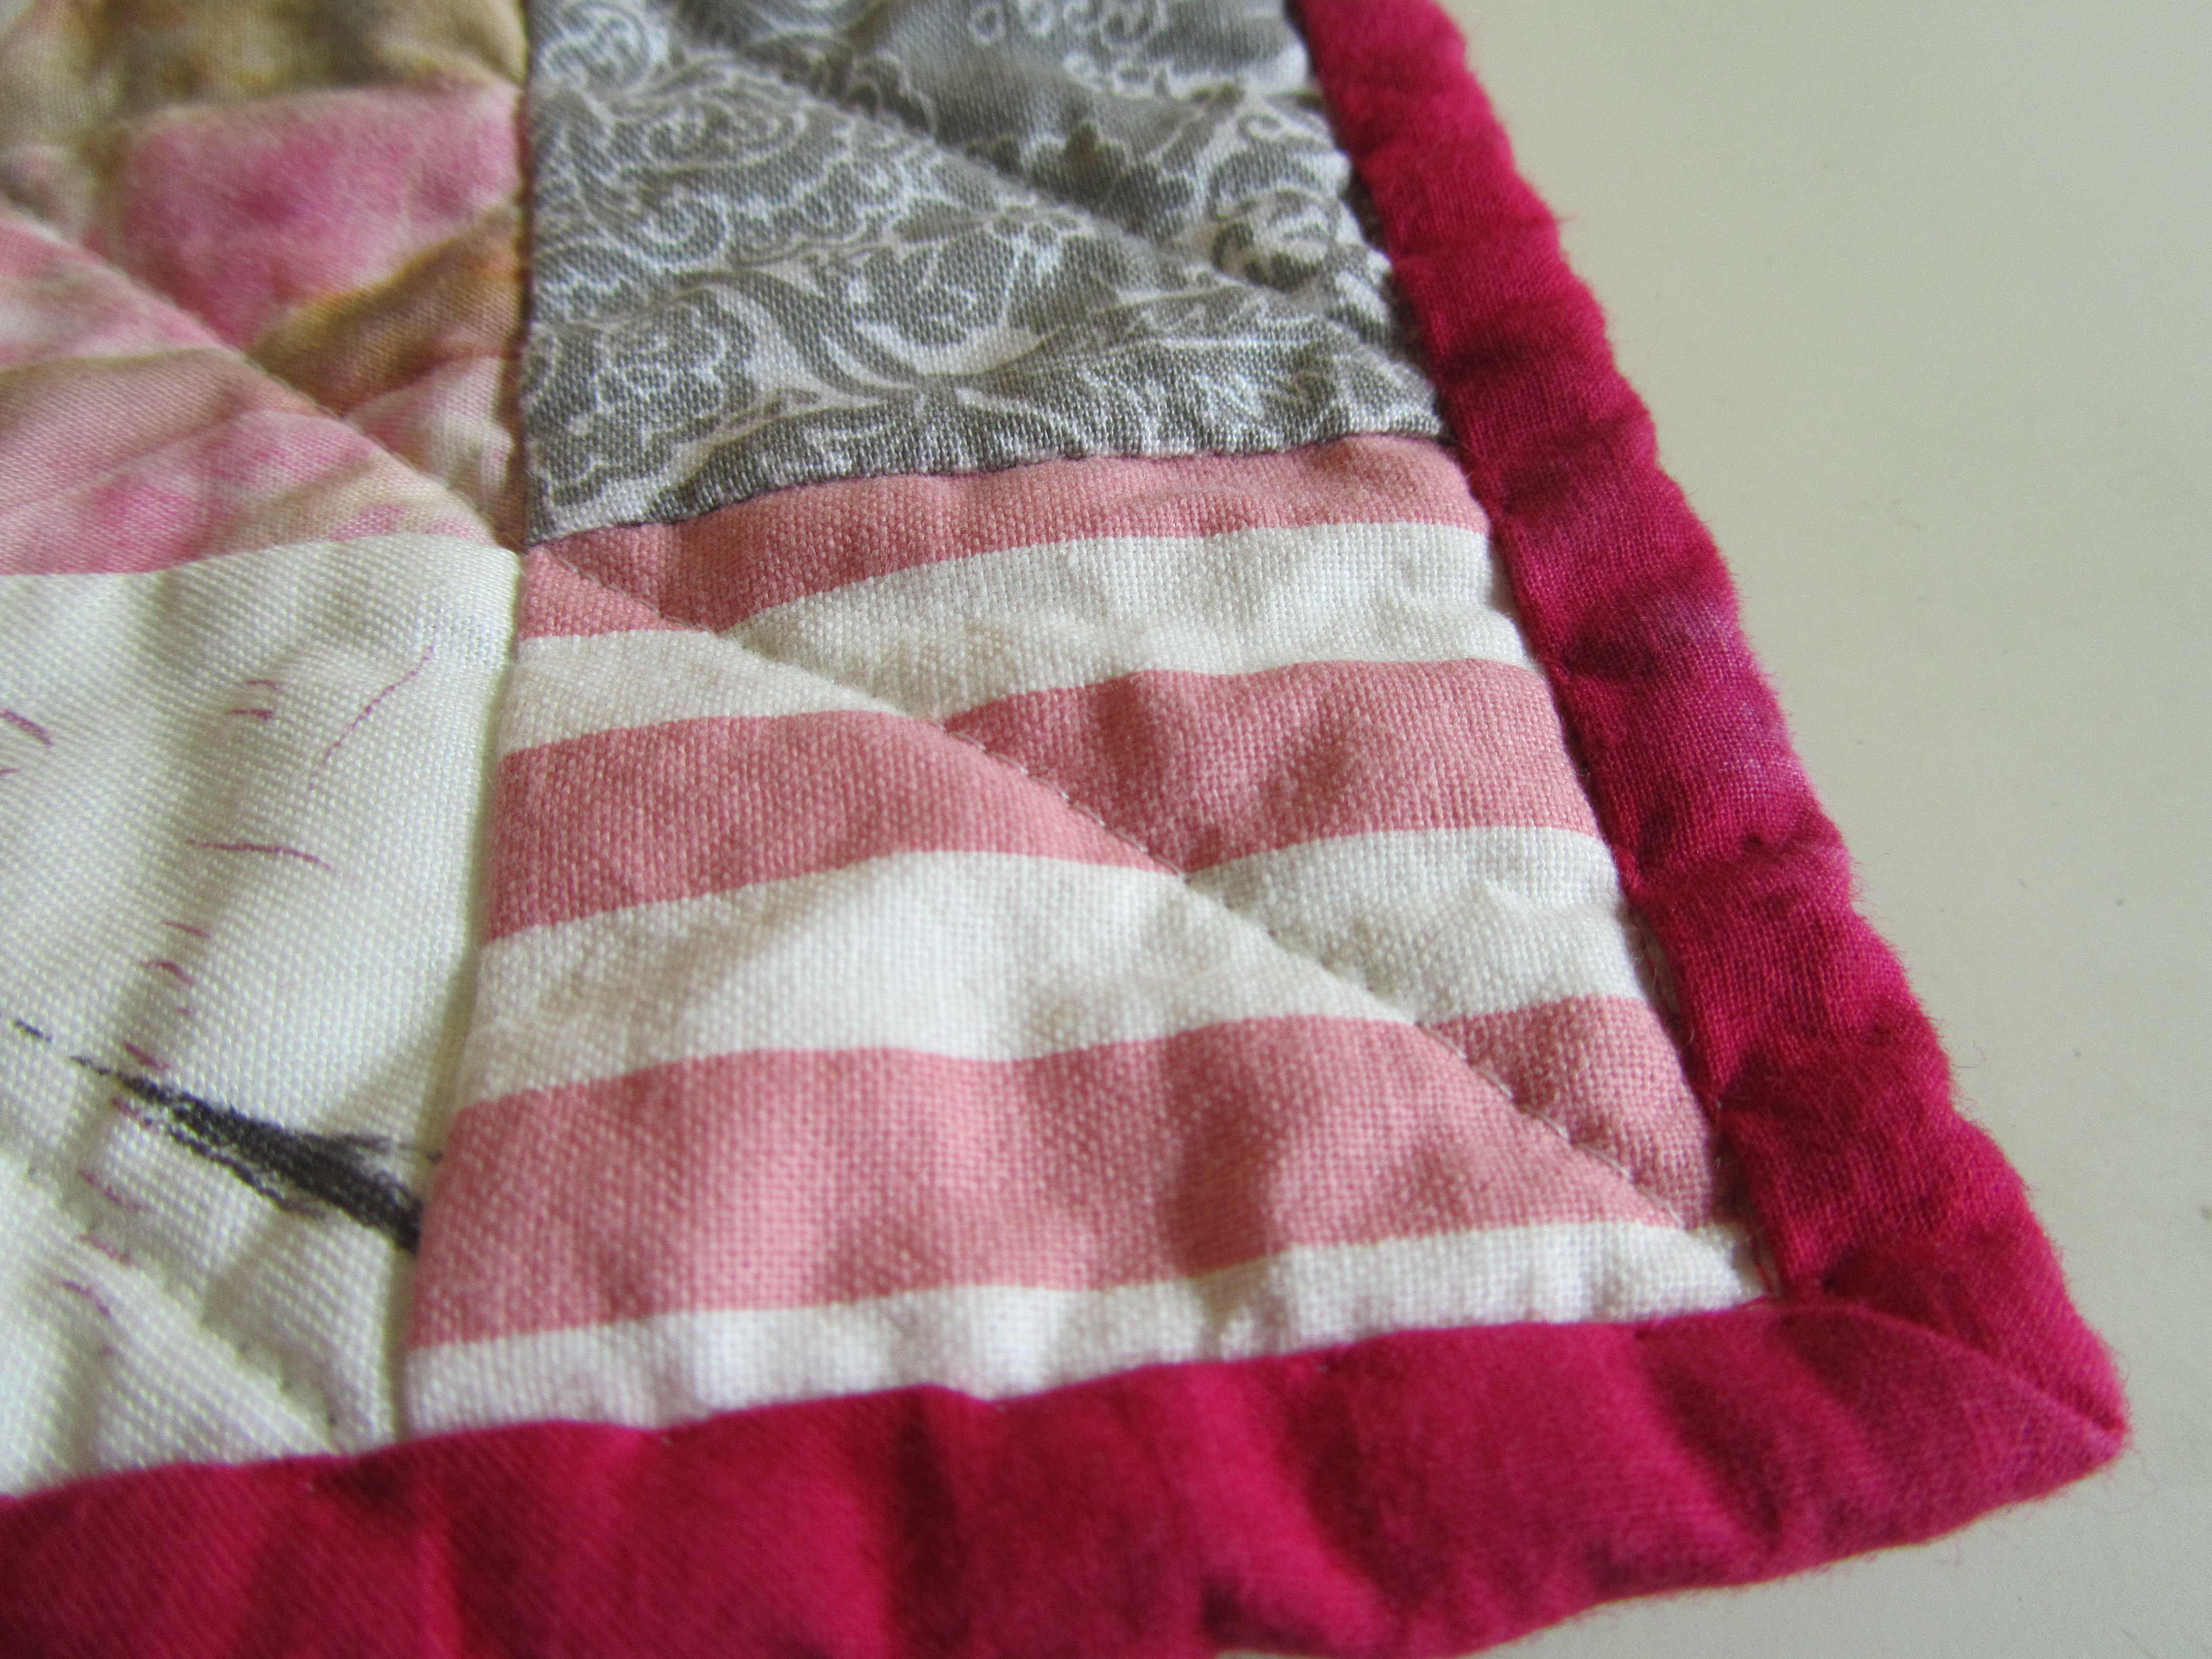
The back will look like this, with a slightly visible line of stitching alongside the binding. After washing and crinkling, this becomes even less noticeable.
Now get going and finish those quilts!
I’m linking up with Really Random Thursday at Live a Colorful Life.

March 22, 2013 at 12:11 AM
Hi Valerie,
I haven’t tried using a blind stitch for binding. I usually machine stitch to the front and hand stitch to the back. Might have to try this. Thanks for sharing! Found your blog through Really Random thursday!
Have fun
Jan
Pingback: Finish It Up Friday: Pink and Gray Donation Quilt | Evening in the Garden Quilts
March 24, 2013 at 8:49 PM
Pinning this for future reference. Thanks!
March 24, 2013 at 10:14 PM
I sew my binding on almost the same way you do…but I never use pins, I just fold as I go. I just might have to try it your way next time!
April 2, 2013 at 10:29 AM
Thank you Valerie, I pinned your tutorial on my board :))) The corner trick is really neat. I have to start pinning the opposite way…
September 1, 2015 at 2:04 PM
“At this point, remove the cat from your quilt.” Hahahahahah! Thanks for the laugh Valerie!
Your technique is fascinating and one I’d like to try. The results in your photos speak for themselves!
September 1, 2015 at 2:04 PM
Pinning this for sure!
September 2, 2015 at 10:59 PM
This seems so simple and basic. Why didn’t I know about this sooner. There needs to be a book, 100 Different Ways to Do Binding. This should be number one.